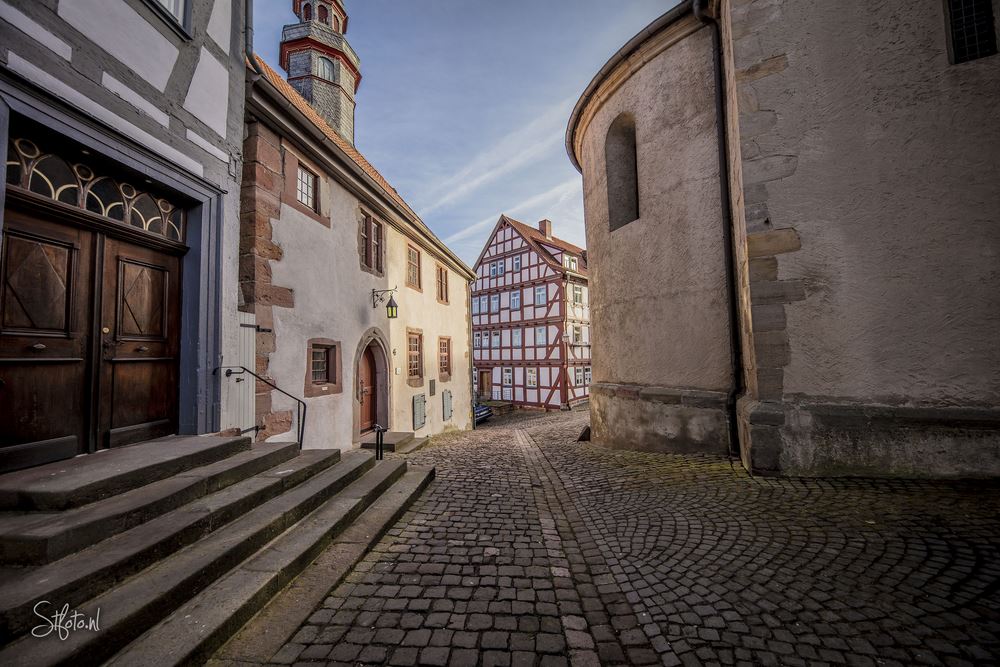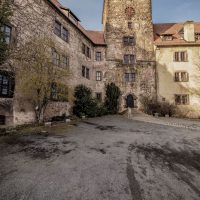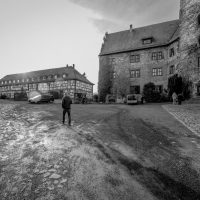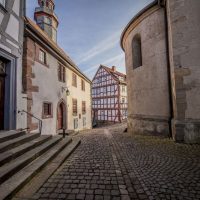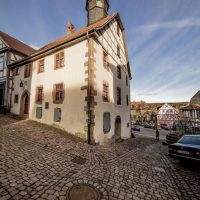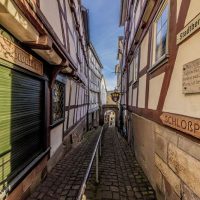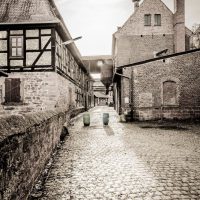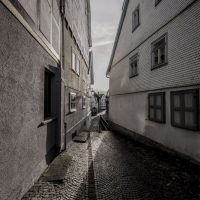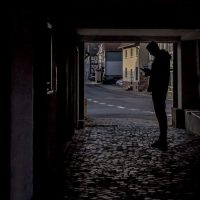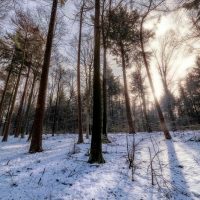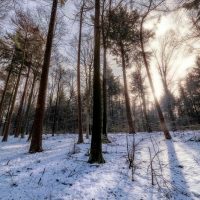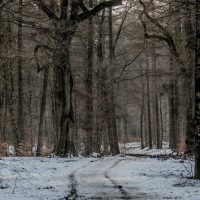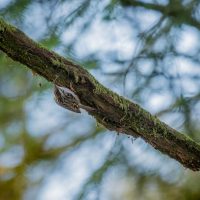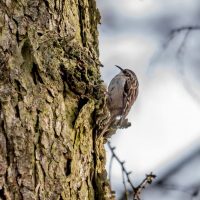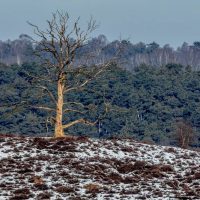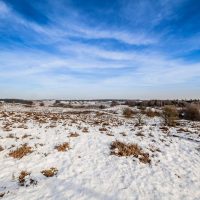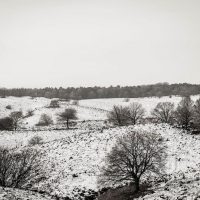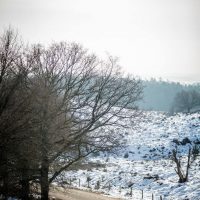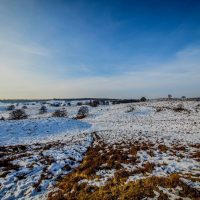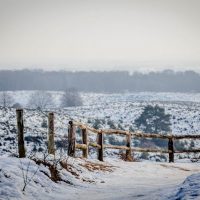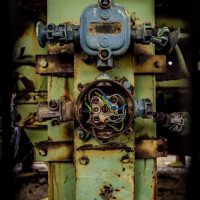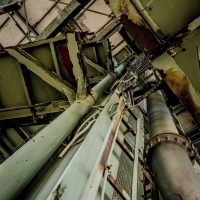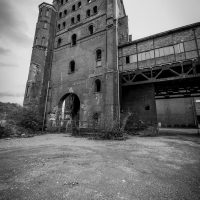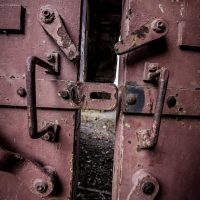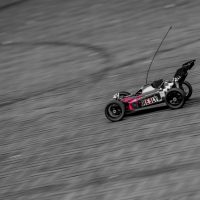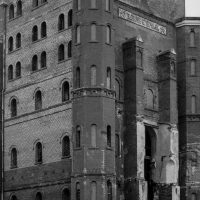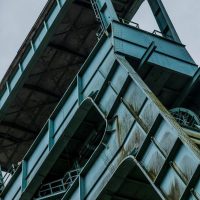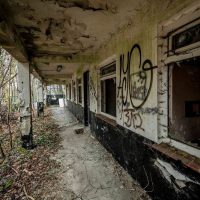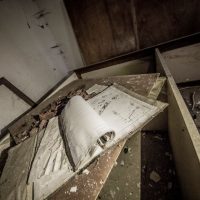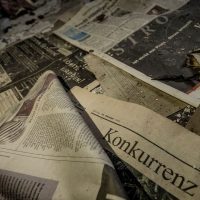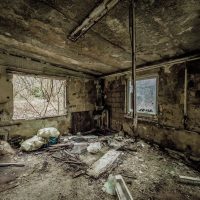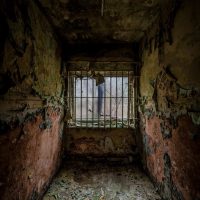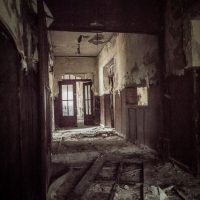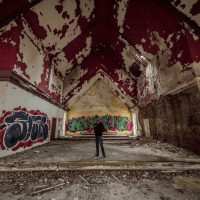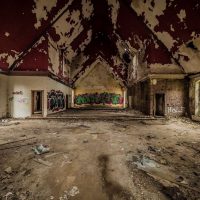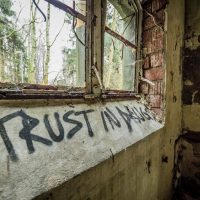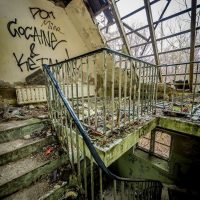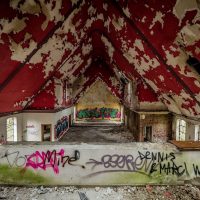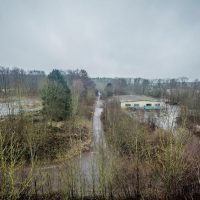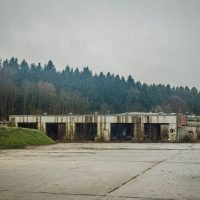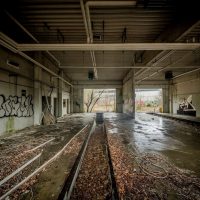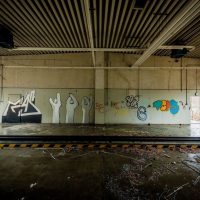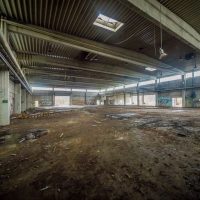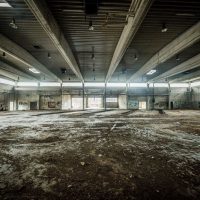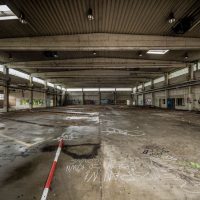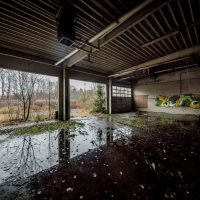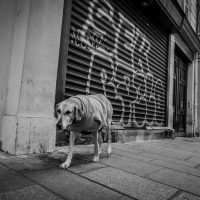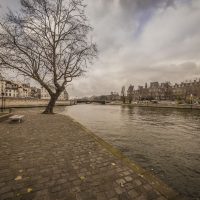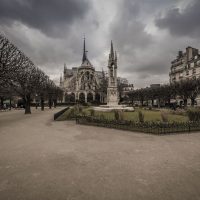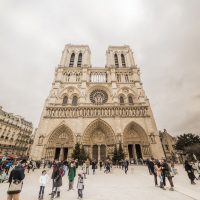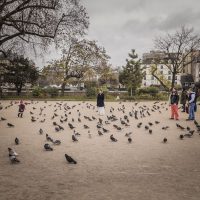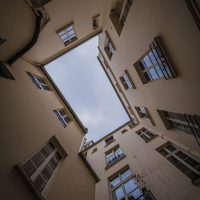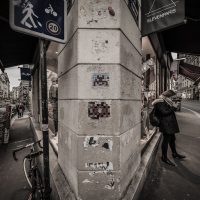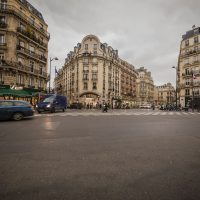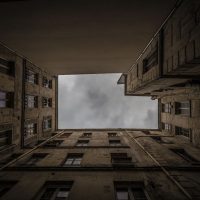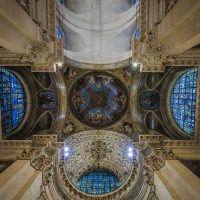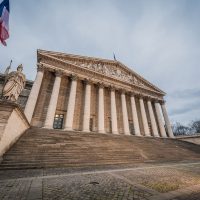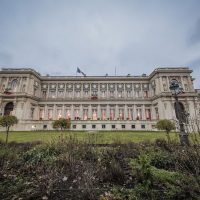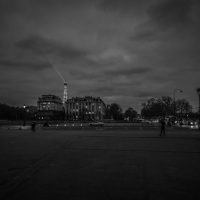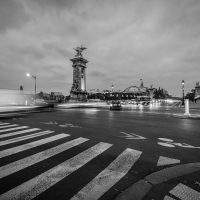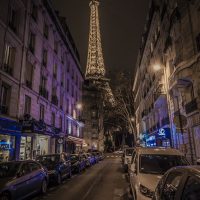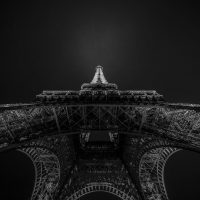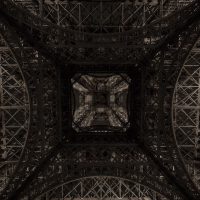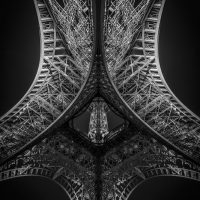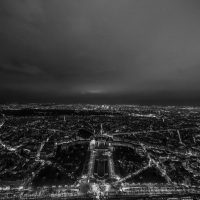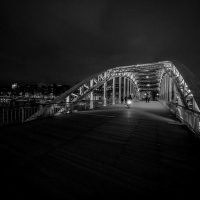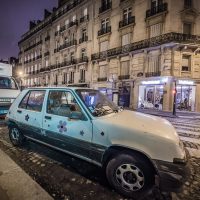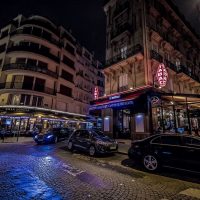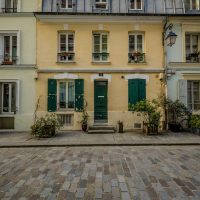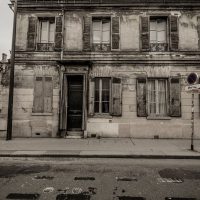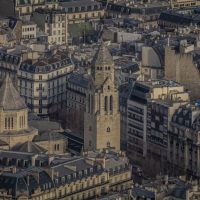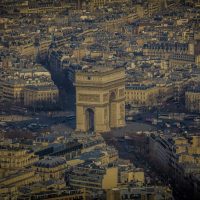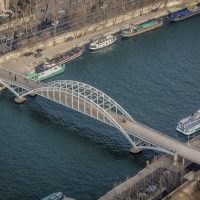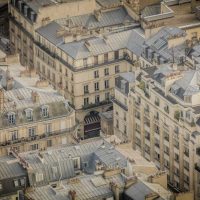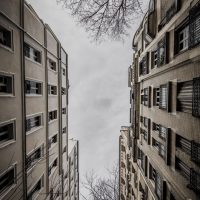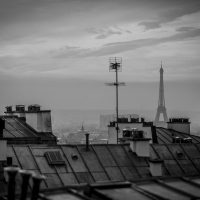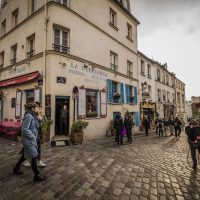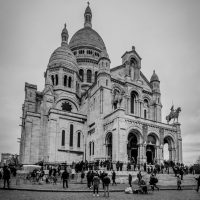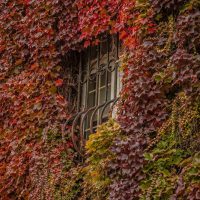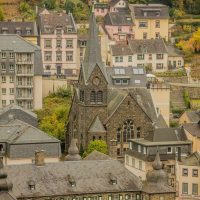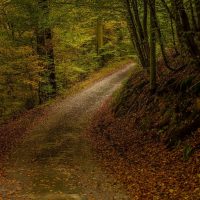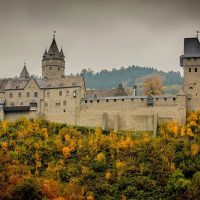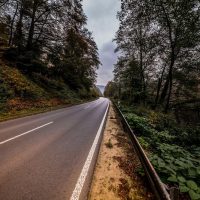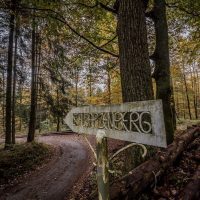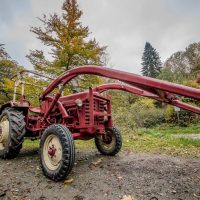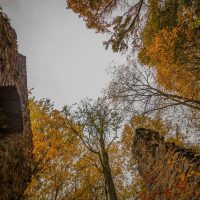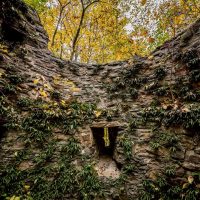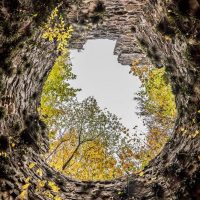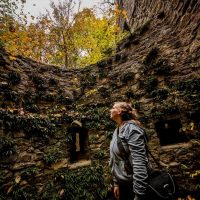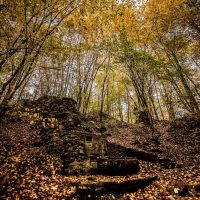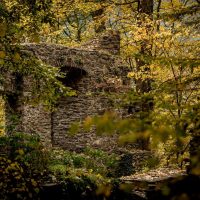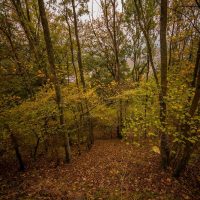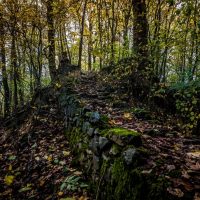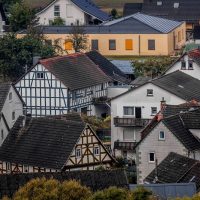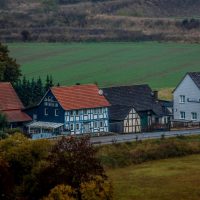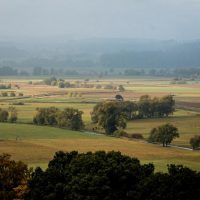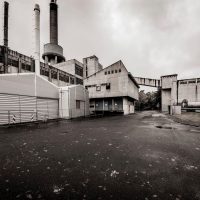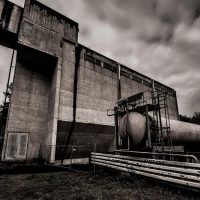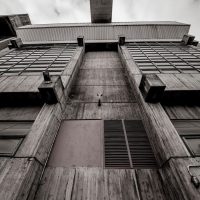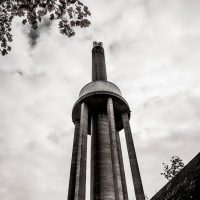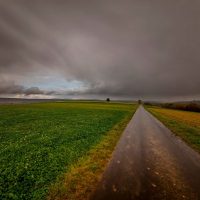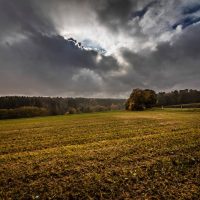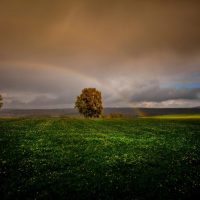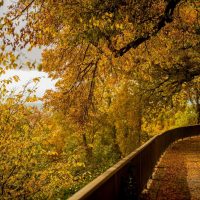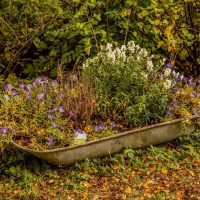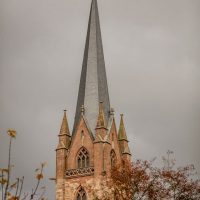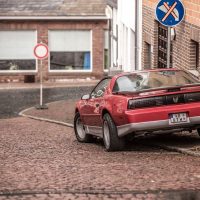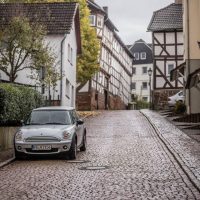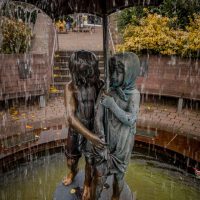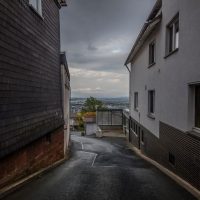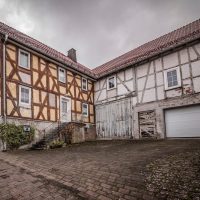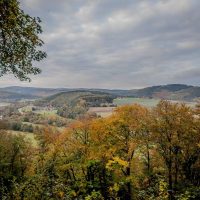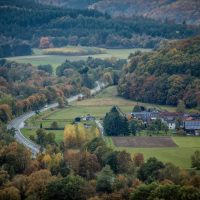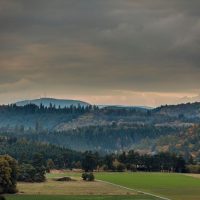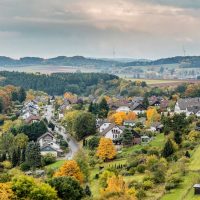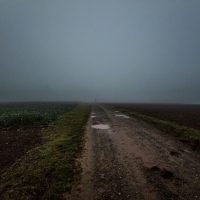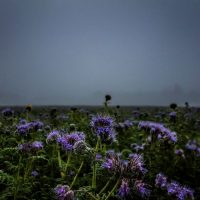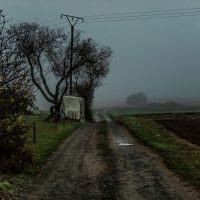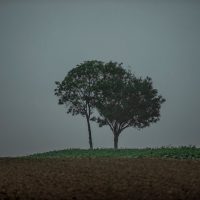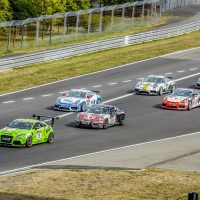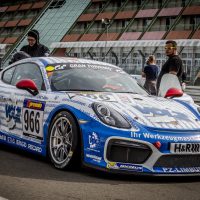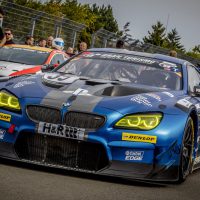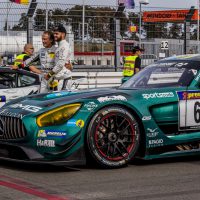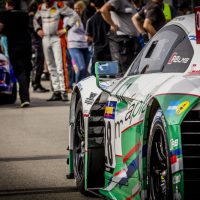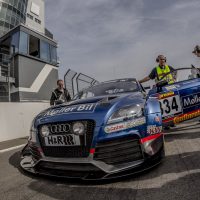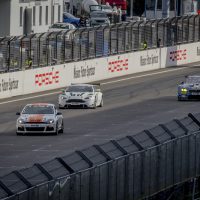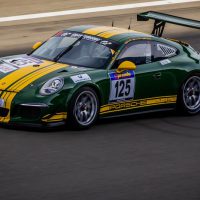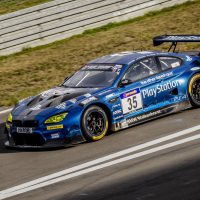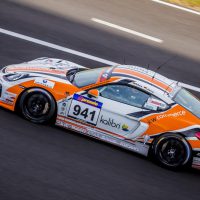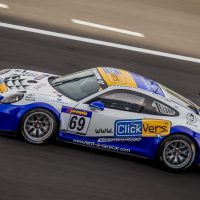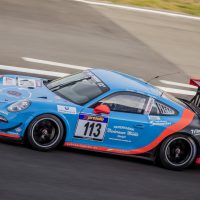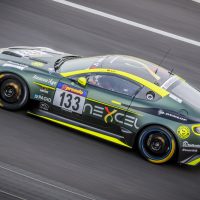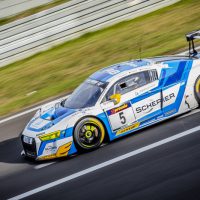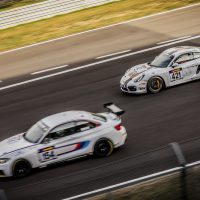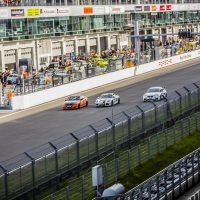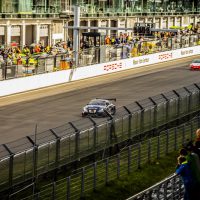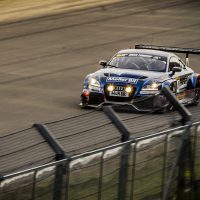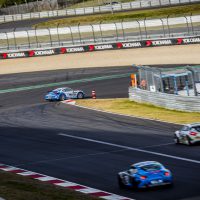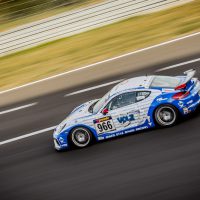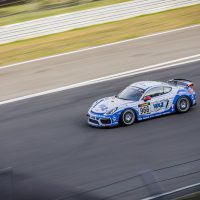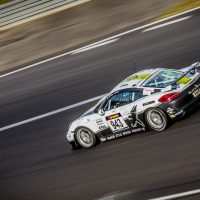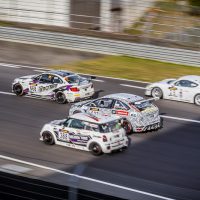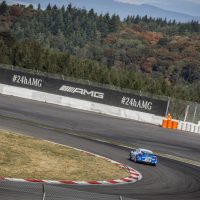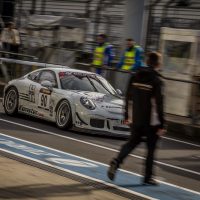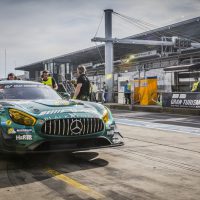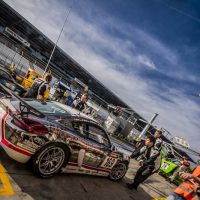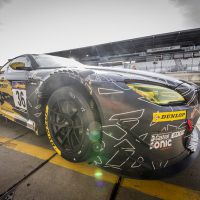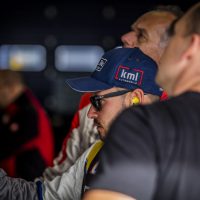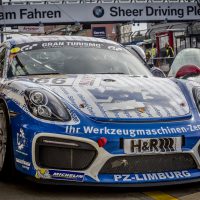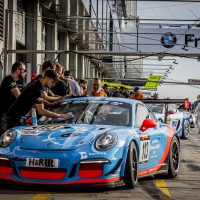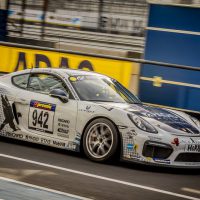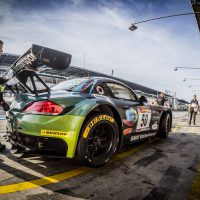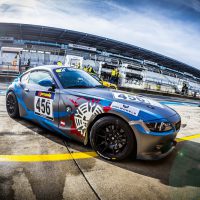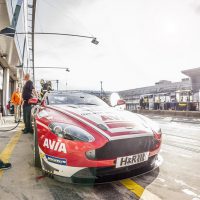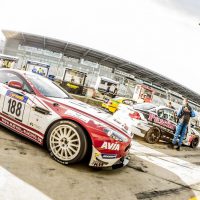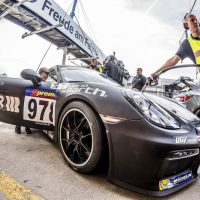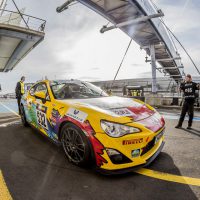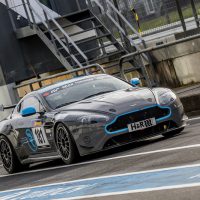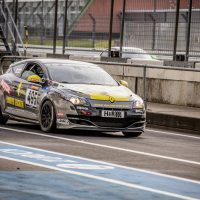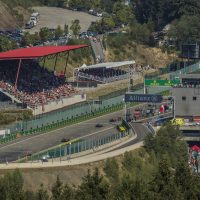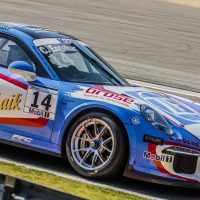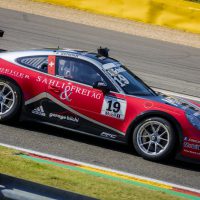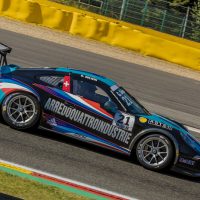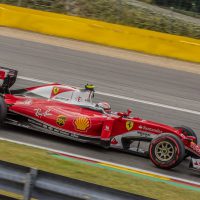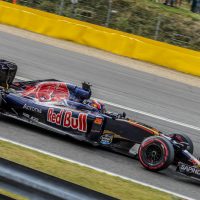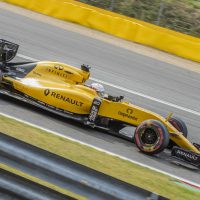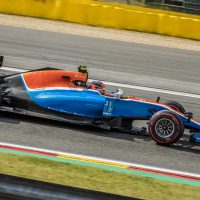
Roadtrip through Poland
It has been years since I’ve posted anything here. But after Corona seriously limited my traveling, and work turned photography into, well, work, I’m pretty much back where I was before all of that.
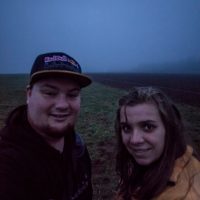
I’ve changed jobs back to where I was and re-ignited my passion for photography. As one thing led to another, I found myself in a car on our way to Poland. Armed with cameras, looking for adventure. And adventure we found…
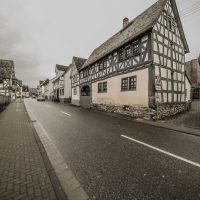
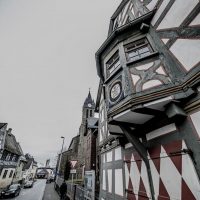
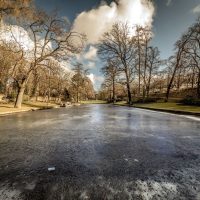
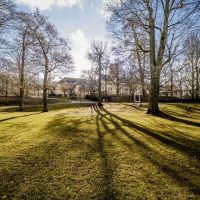
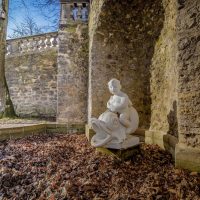
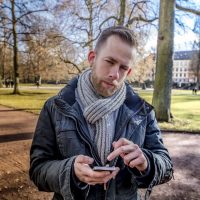
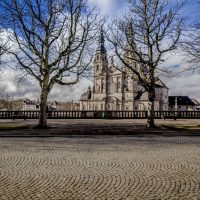
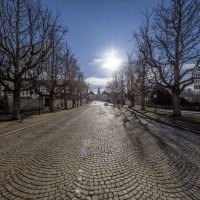
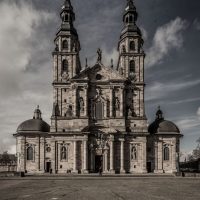
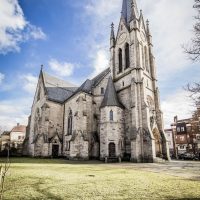
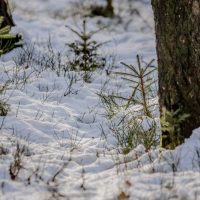
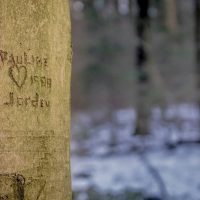
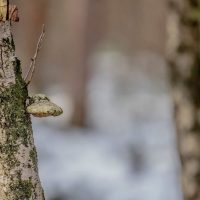
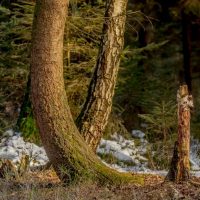
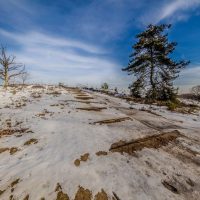
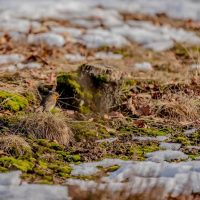
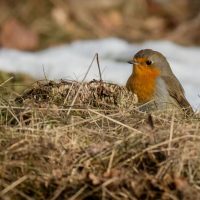
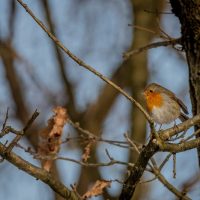
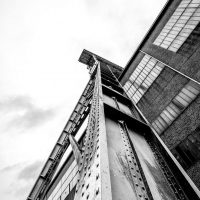
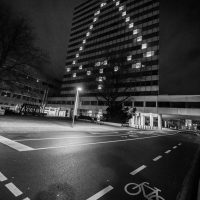
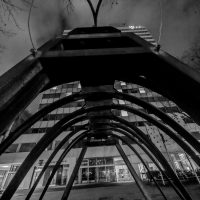
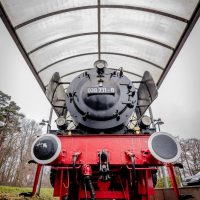
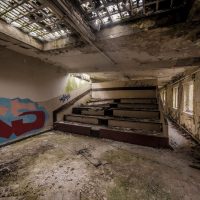
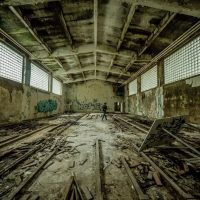
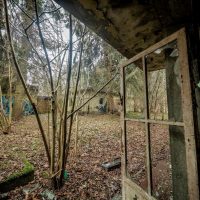
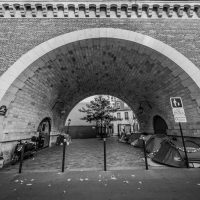
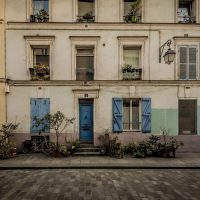
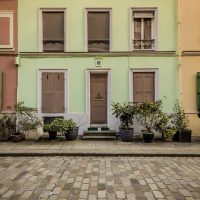
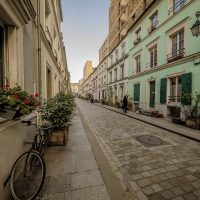
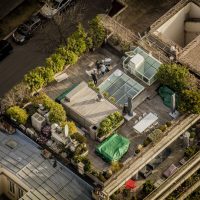
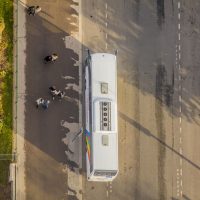
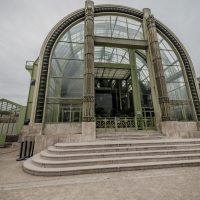
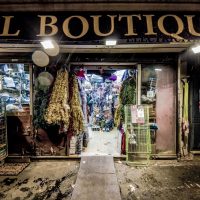
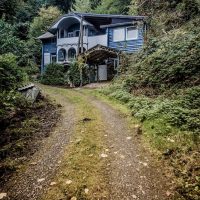
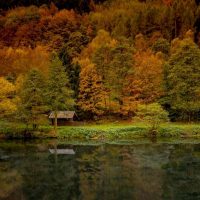
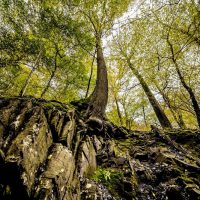
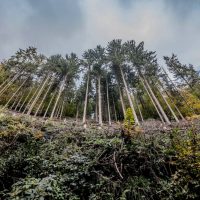
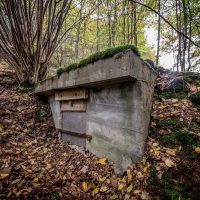
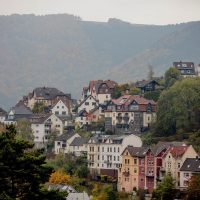
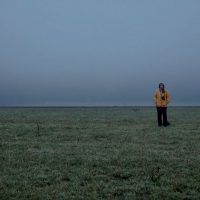
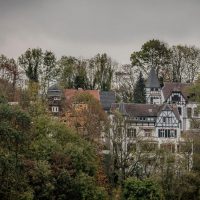
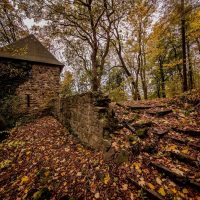
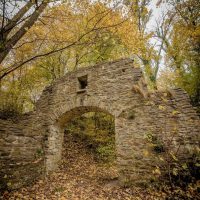
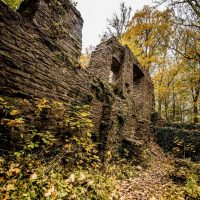
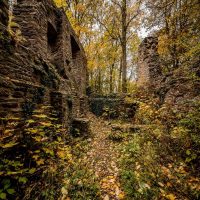
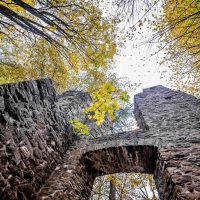
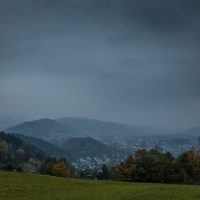
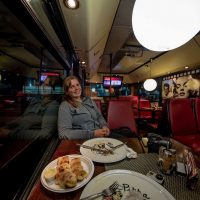
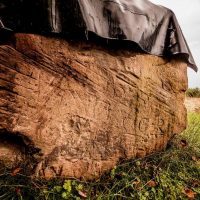
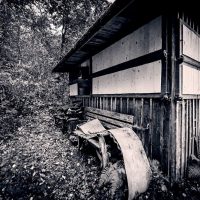
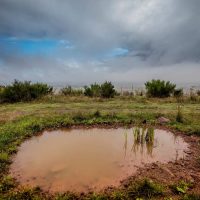
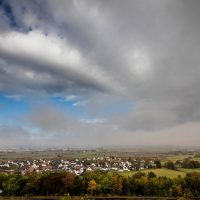
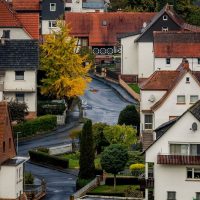
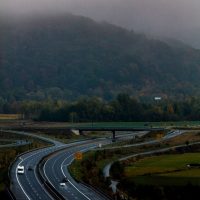
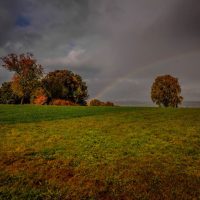
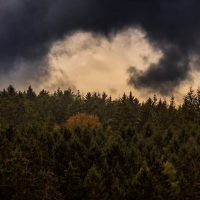
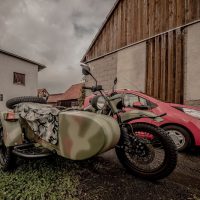
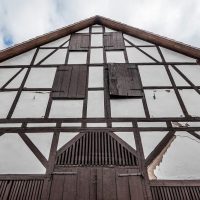
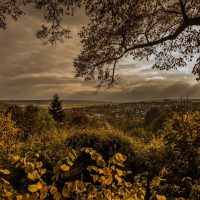
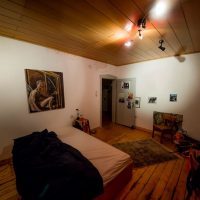
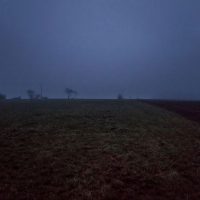
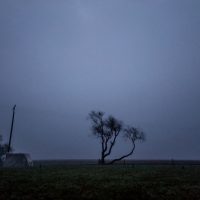
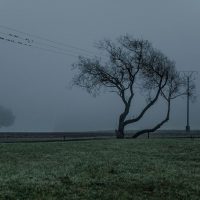
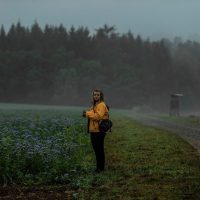
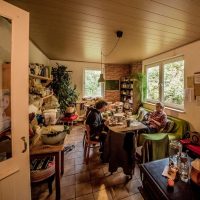
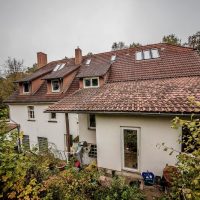
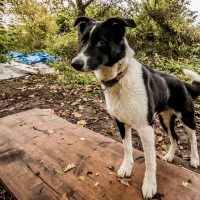
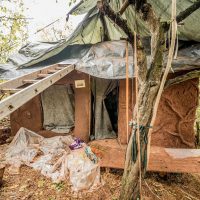
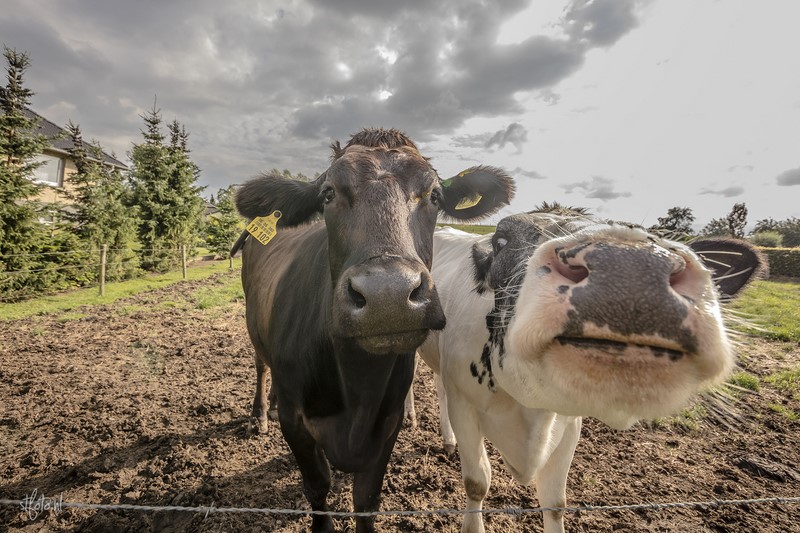
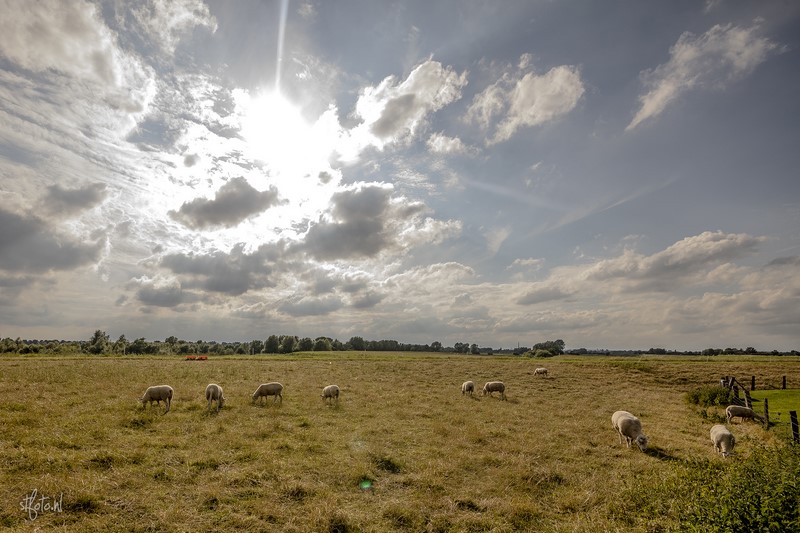
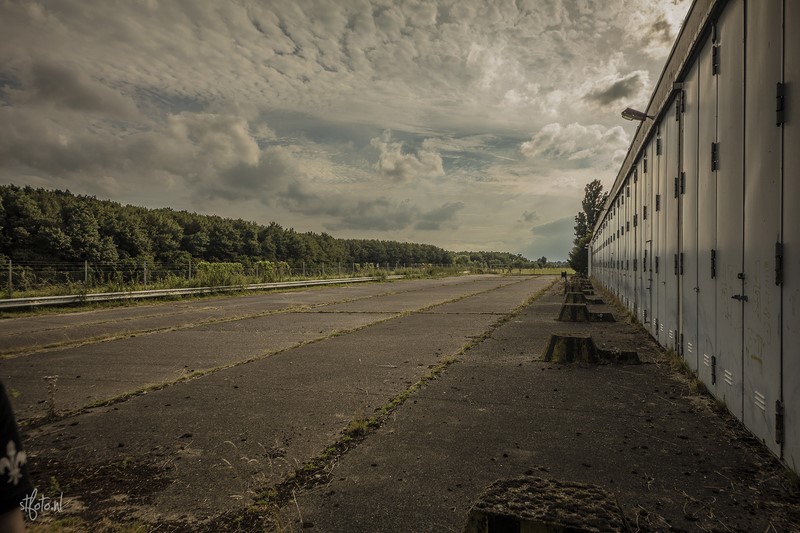
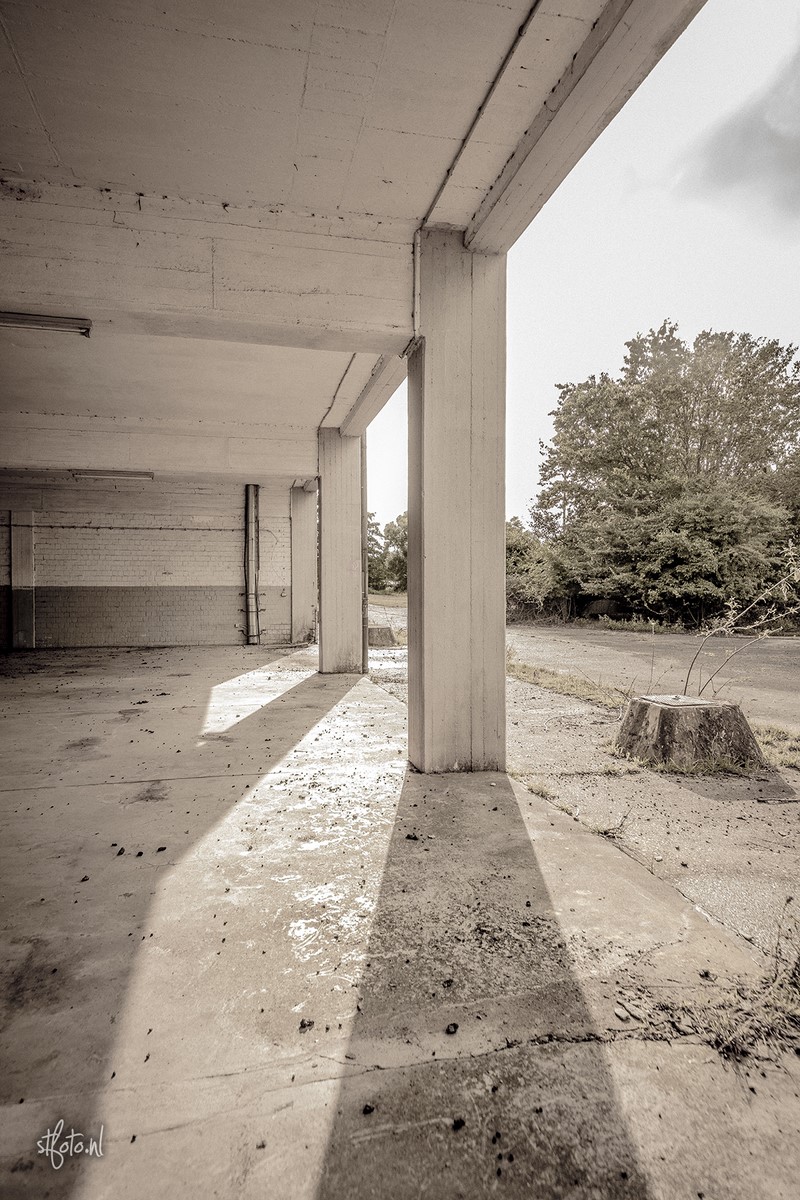
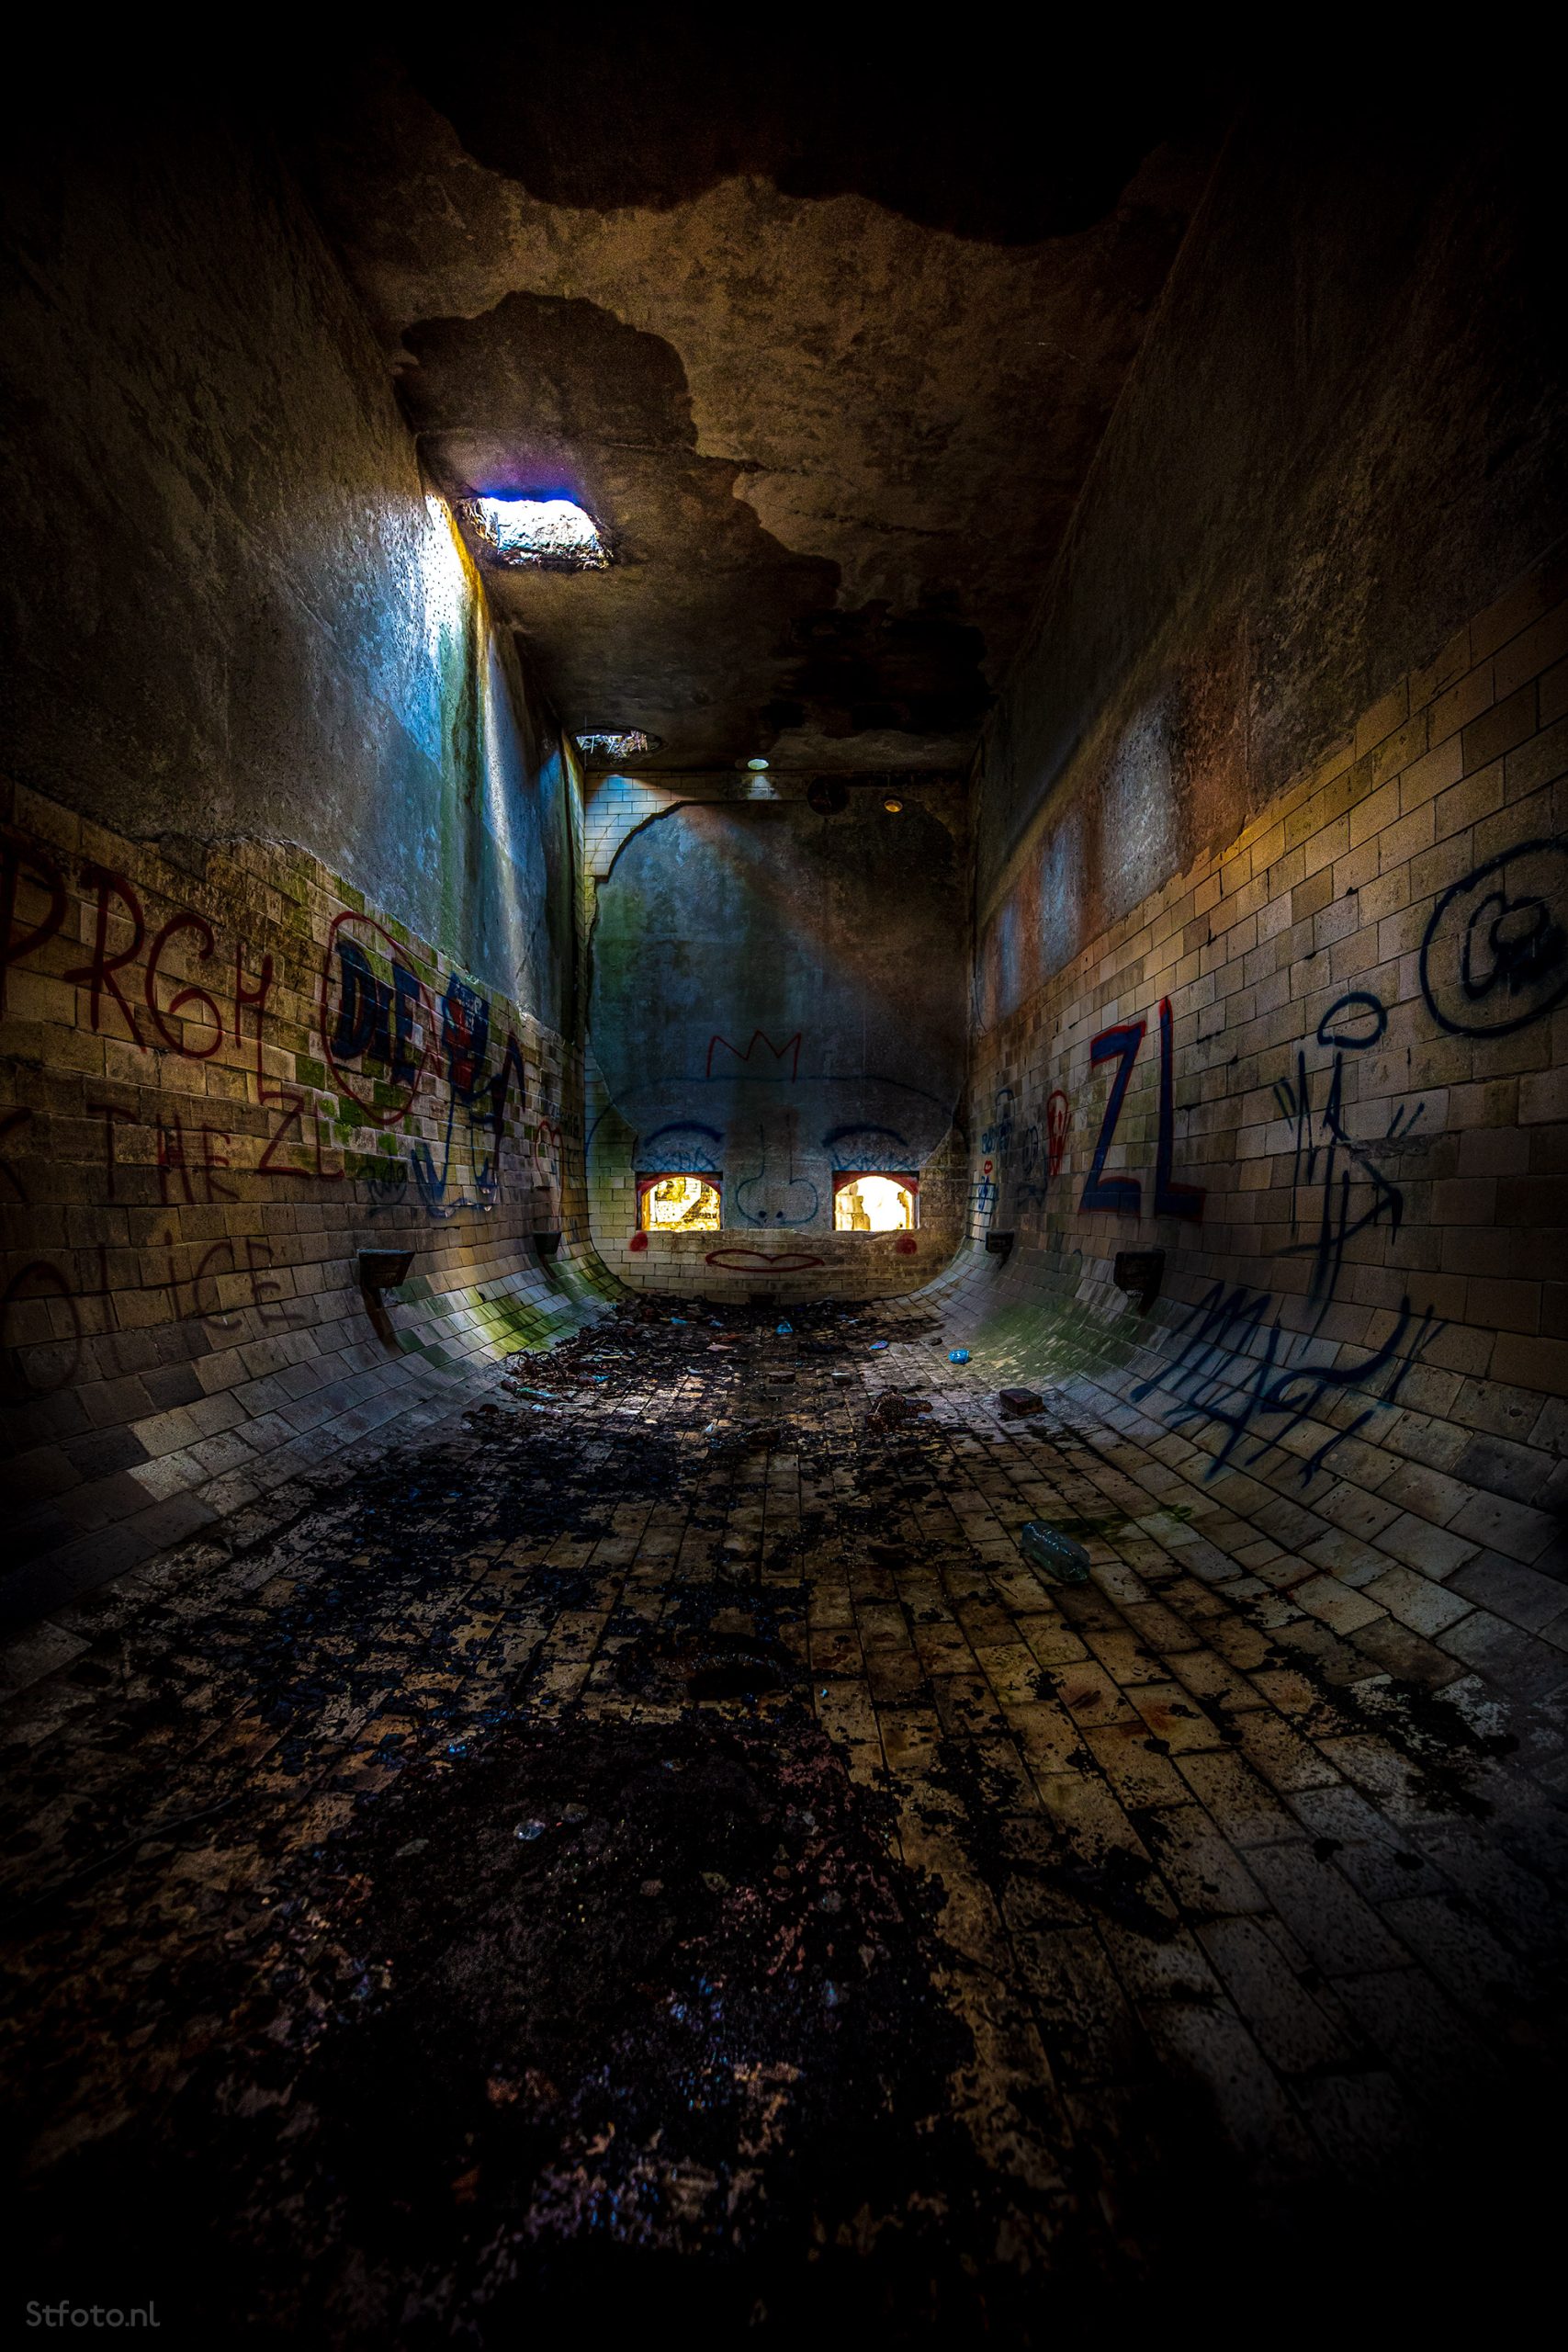
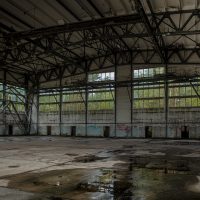
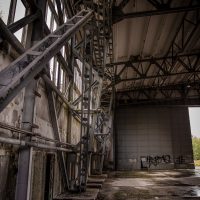
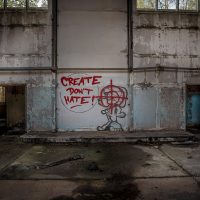
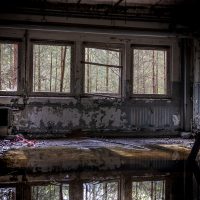
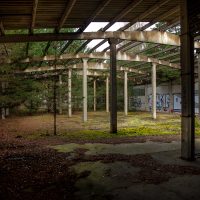
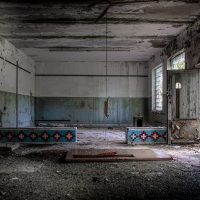
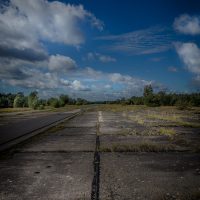
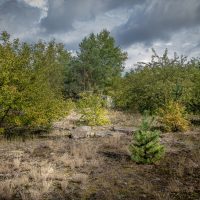
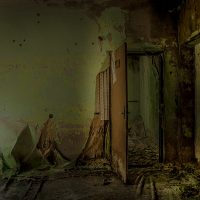
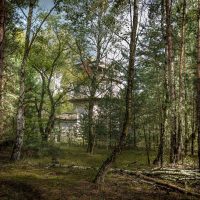
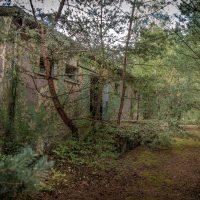
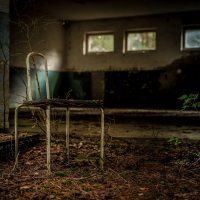
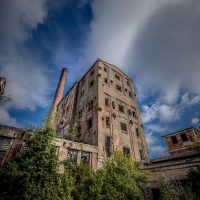
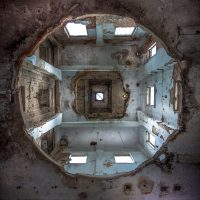
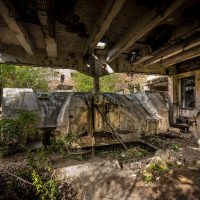
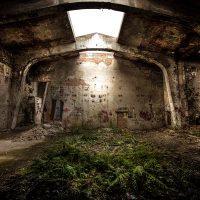
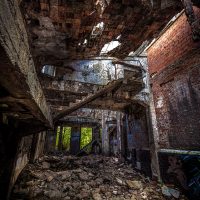
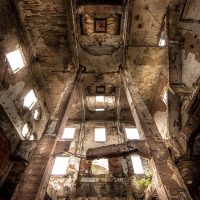
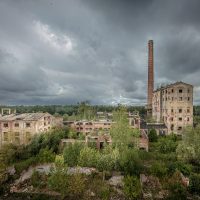
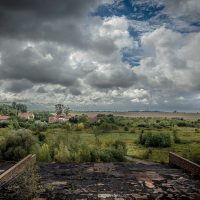
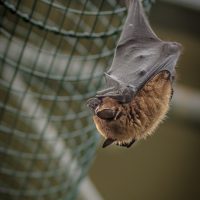
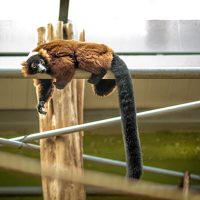
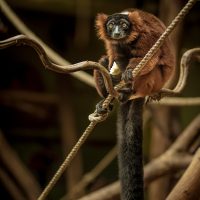
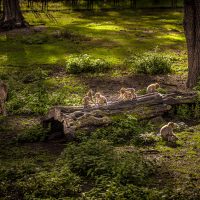
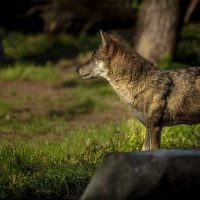
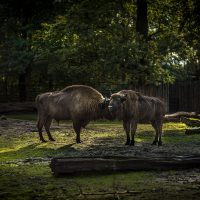
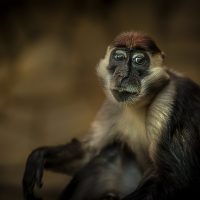
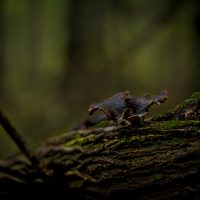
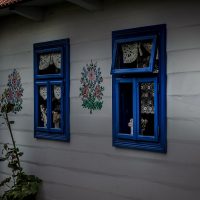
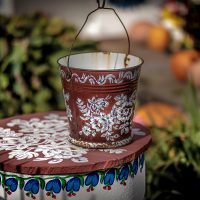
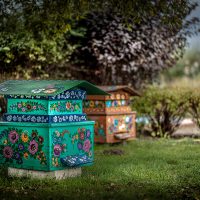
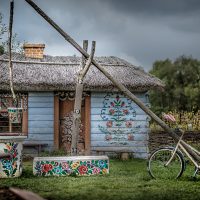
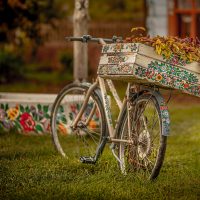
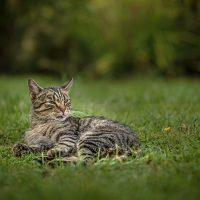
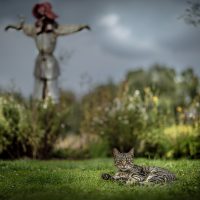
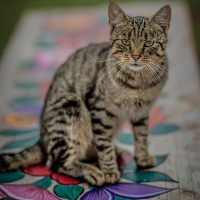
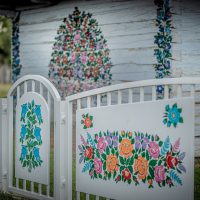
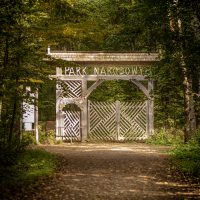
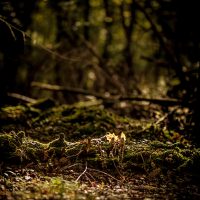
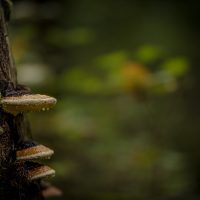
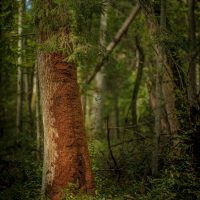
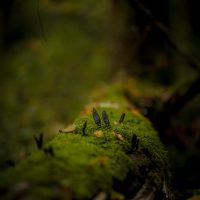
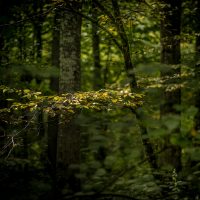
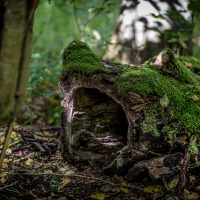
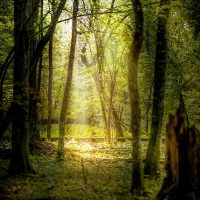
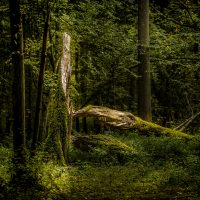
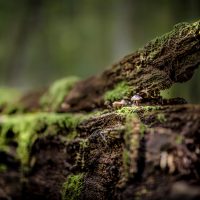
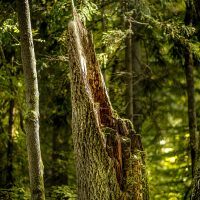
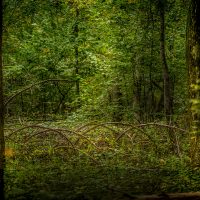
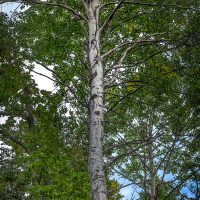
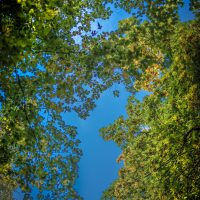
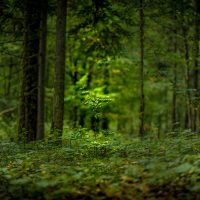
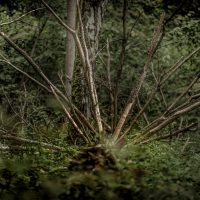
Photolocations include Flugplatz Sperenberg, Wrocław Zoo, Zalipie (flower-painted houses), and the Białowieża Forest.
Enjoy!
Saal Digital Acrylglas review [Dutch]
Vorig jaar heb ik voor Saal Digital een review gedaan van één van hun producten; een fotoboek. Ik was ontzettend onder de indruk van de kwaliteit van dit boek en dat smaakte dus naar meer.
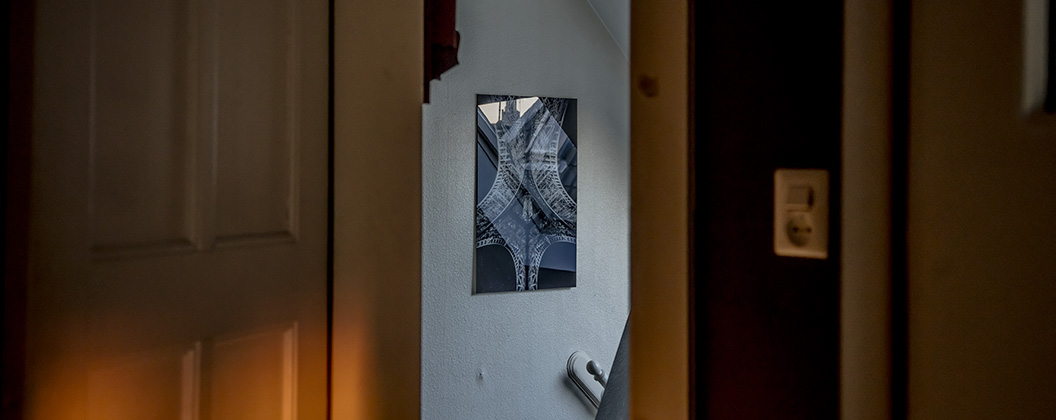
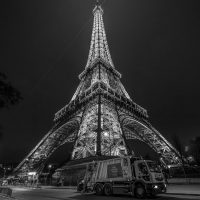
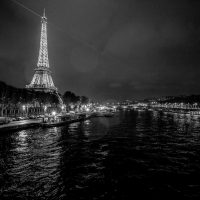
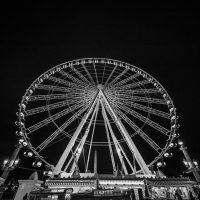
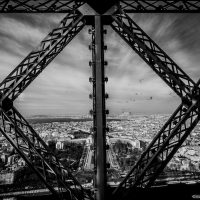
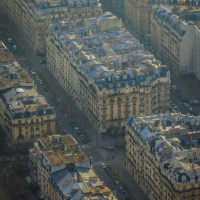
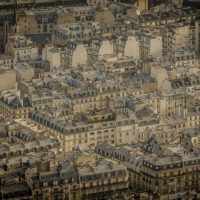
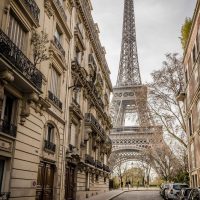
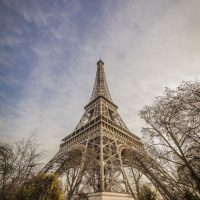
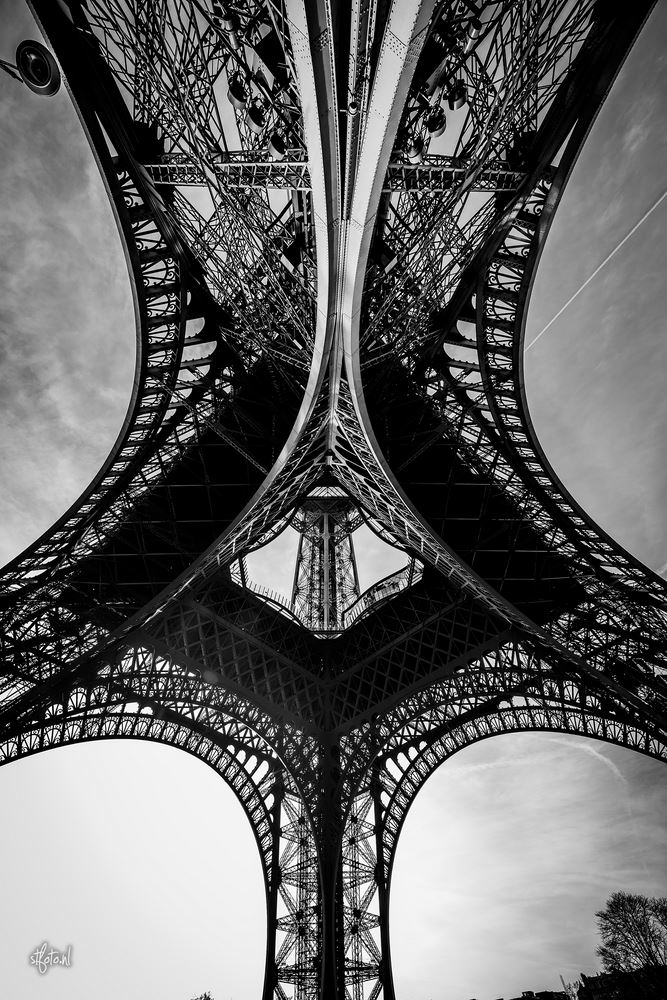
Je kunt er natuurlijk voor kiezen een foto gewoon op fotopapier af te drukken. Lijst er omheen, en klaar. Ook is het al jaren populair om je foto op “schilderscanvas” te laten afdrukken voor een mooi chique effect. Een iets nieuwere techniek is het afdrukken achter acrylglas. De foto komt direct achter een doorzichtige acrylglasplaat wat zorgt voor perfecte kleuren, een prachtige diepte en een strakke reflectie. Na mijn tripje in Parijs had ik eindelijk een foto die ik écht perfect aan de muur wou hebben, mijn Eiffeltoren foto. Een goed moment om Saal Digital eens goed aan de tand te voelen. Er zijn veel aanbieders van acrylglas prints, maar het is zeker niet de goedkoopste manier van afdrukken. Vanwege m’n eerdere positieve ervaring met Saal Digital koos ik dus voor hun.
De foto aanleveren
Net zoals bij het boek kun je gewoon in Lightroom/Photoshop je foto klaarmaken voor afdrukken. Vervolgens kies je in hun software voor de Wanddecoratie waar je Acrylglas kunt kiezen. Alles wijst zichzelf, en bestellen is in een handomdraai gedaan. In mijn geval had ik een vrij donkere foto. Op de site van Saal Digital kan je ICC Profielen downloaden. Zo kun je met een gecalibreerd scherm heel nauwkeurig zien hoe de print gaat worden. In mijn geval heb ik de foto net wat lichter gemaakt dan dat ik hem had, zo kwam hij perfect naar voren. Als je hierover twijfelt, zoals ik in het begin had, neem dan vooral contact op met Saal Digital. Ze hebben me hier prima bij geholpen waardoor ik uiteindelijk zelfs bij mijn donkere foto een hele strakke afdruk heb gekregen.
Eerste indruk
Na de bestelling kreeg ik al snel een update dat de foto in productie is, gaaf! Ik was natuurlijk razend benieuwd en het kon allemaal niet snel genoeg gaan. De foto kwam zelfs eerder binnen dan de geschatte levertijd! Eenmaal thuis van werk stond daar het prachtige pakket. De foto was met heel veel zorg verpakt. Het glas zelf was bedekt met een laag plasticfolie. Wanneer je die er af haalt zie je nog geen één vingerafdruk of stofje. Verder zat er nog een foam omheen en meerdere lagen karton. Kortom: die gaat ook bij heftige omgang van een koerier géén schade oplopen. Top.
Na alles uitgepakt te hebben had ik dan eindelijk mijn print voor me: wauw. Echt ge-wel-dig! Deze shot is een van mijn mooiste foto’s die ik tot nu toe gemaakt heb, en hij knalt er direct nog sterker uit dan ik had kunnen dromen.
Reflectie
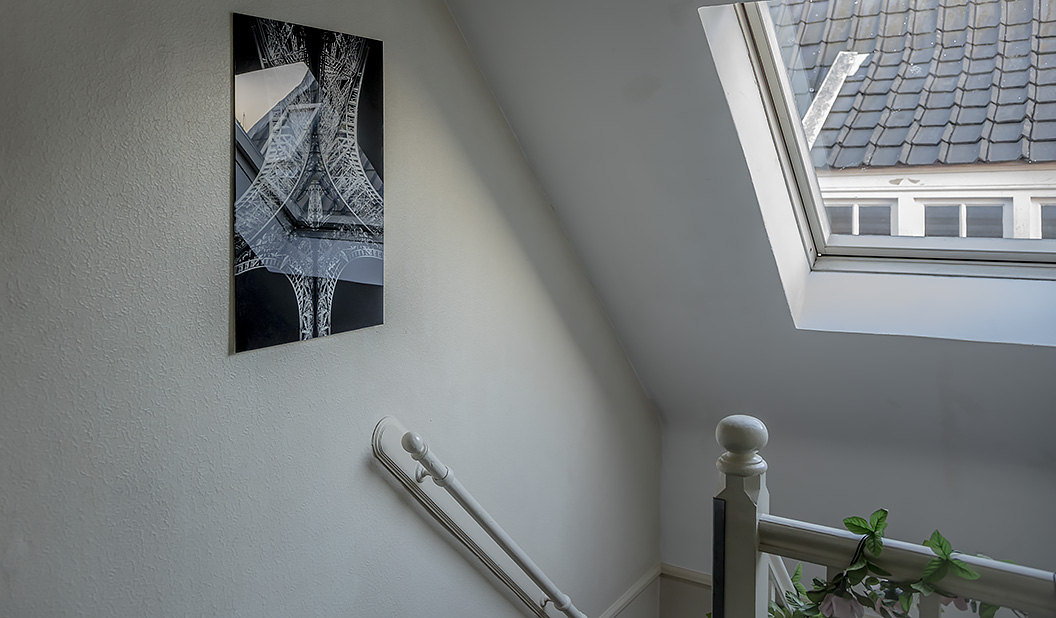
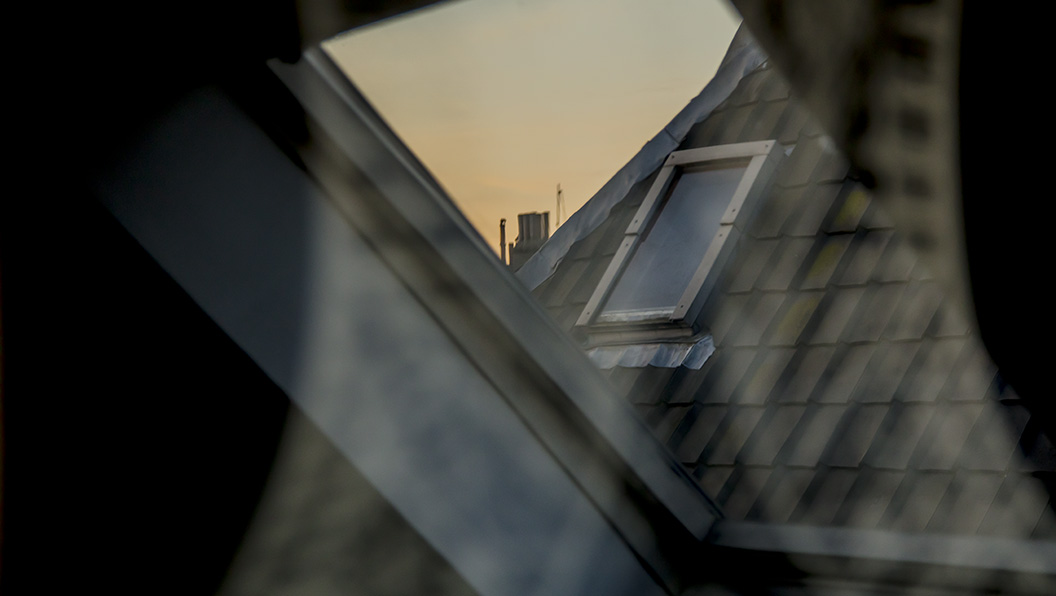
Opvallend aan een acrylglasfoto is natuurlijk de reflectie. Dit is écht een effect waar je bewust voor kiest. In mijn geval heb ik mijn afdruk naast een raam hangen, dat geeft een hele mooie lichtval over de foto heen. Sta ik echter vóór de foto of kom ik van de andere kant dan zie ik hier niets van. De foto geeft zo een bijna futuristische feel terwijl ik de foto ook perfect kan bekijken als ik er recht voor sta. Persoonlijk vind ik dit onwijs gaaf en ben ik enorm te spreken over dit effect. Wanneer je bijvoorbeeld ‘s avonds een goud-kleurige lucht hebt mengt dit prachtig met je foto. Zeker met zwart wit krijg je ineens veel omgevingskleur in je foto. Zo blijft je foto altijd onwijs gaaf, maar past het zich goed aan bij de sfeer op dat moment.
Kleur en contrast
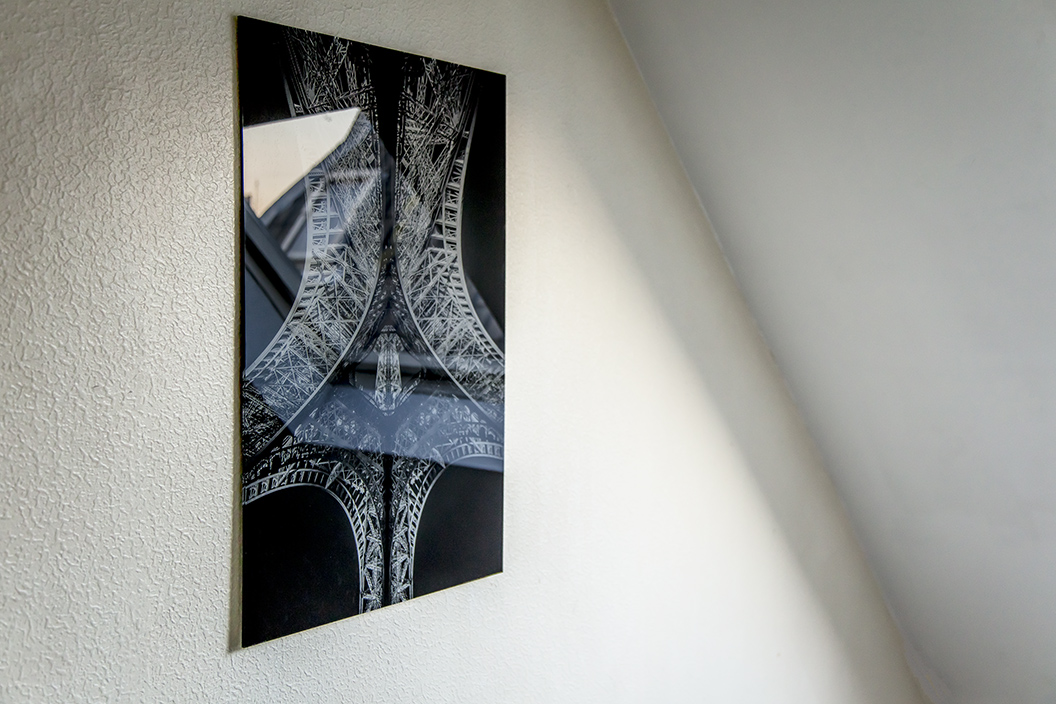
Wat ik bij andere acrylprints duidelijk heb gemerkt, is dat de kleuren veel intenser zijn dan bij papier- of canvasprints. Je kunt het vergelijken met iets onder water plaatsen. In mijn geval kan ik het qua kleur niet echt testen uiteraard, maar het contrast komt prachtig naar voren. Wat zwart is, is ook écht heel diep zwart. Ik heb geen wit-waarden maar hen gezorgd dat “heel licht grijs” het meest lichte is. Ook dit komt prachtig naar voren in de afdruk. In Photoshop zag ik al dat er heel veel subtiele verschillen zitten in mijn foto qua grijswaarden, en ook in de print komen die heel netjes naar voren.
Scherpte en detail
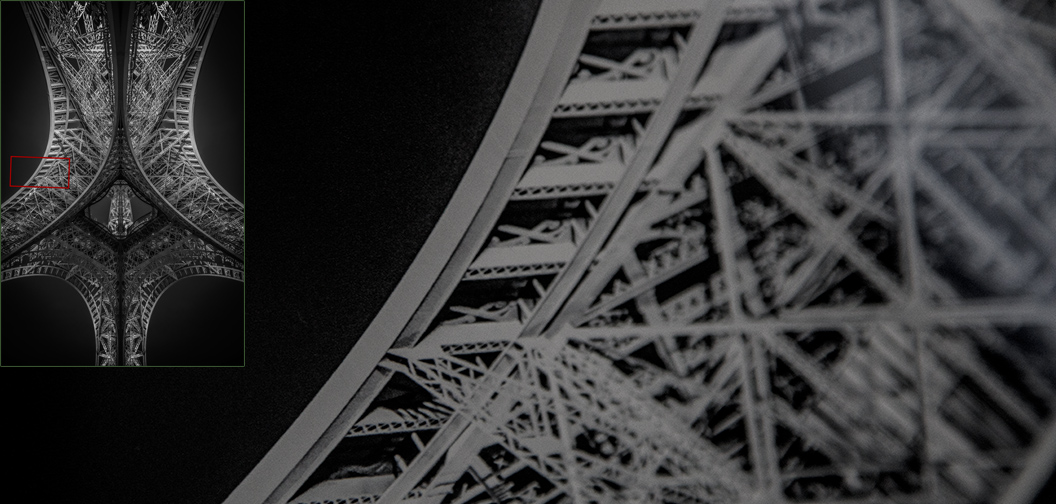
Wanneer je met een lens van bijna 1700 euro en een 51 megapixel camera werkt dan wil je natuurlijk een afdruk die dat ook écht laat zien. Zelfs als ik met me neus op de plaat zit lukt het me niet om pixels te bekennen. De foto is even scherp als dat ik deze op mijn 4K scherm zie. Sterker nog, nog scherper. Als ik écht mijn best doe kan ik op mijn scherm nog wel een pixel vinden, maar bij deze print lukt dat me niet. Best netjes, bij een foto die op iso 1600 en 1/20e sluitertijd gemaakt is.
 Ophanging
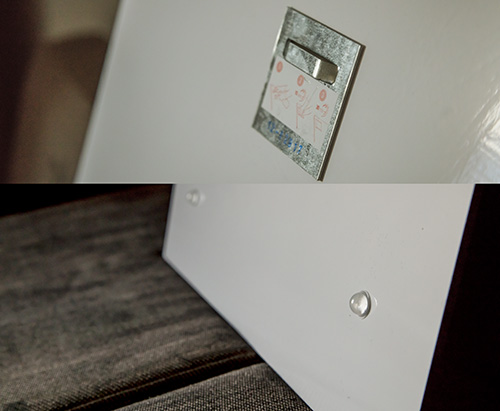
Wanneer je een acrylglas print besteld bij Saal Digital kun je kiezen voor verschillende ophangsystemen. Ik heb zelf gekozen voor de standaard ophanging. Ze adviseren deze te gebruiken tot maximaal 40X60cm. Echter, op deze 50X75 print werkt het ook prima. Ze leveren voor de standaard ophanging twee metalen plakkers welke vervolgens prima blijven zitten achter een schroef of spijker in de muur. Ook komen er twee rubberen nopjes met plakkant zodat de foto in zijn geheel net even van de muur af komt.
Wil je een iets professionelere ophanging kun je kiezen voor een aluminium profiel aan de achterkant. Om de foto iets permanenter op te hangen (bijvoorbeeld voor buiten) kun je ook kiezen voor afstandhouders. Je kunt de foto dan echt vast maken aan de muur. Nadeel is alleen wel dat je aan de voorkant vier metalen stippen hebt.
Conclusie
Voor de allermooiste foto’s is acrylglas naar mijn mening dé manier om je foto af te drukken. Saal Digital maakt het bestellen hiervan eenvoudig en snel. Het product zelf is echt van topkwaliteit en nog betaalbaar ook. Ik heb zo snel geen concurrent kunnen vinden die goedkoper is, iets wat ik bij zo iets gaafs niet eens zó belangrijk vind. Je wilt vooral kwaliteit.
De foto is super strak met geweldige kleuren, diepten en contrasten. Maak voor het bestellen je foto íets lichter dan je in eerste instantie had, en je krijgt een print waar je nog vele uren naar gaat staren met een glimlach.
Saal Digital, wederom bedankt, ik ben al weer bezig met een volgende bestelling!
Tip: Ze hebben ook regelmatig kortings-acties. Check dus ook hun Facebookpagina.
Pokétrip with Herman
So, when I went to Paris in December, I caught quite some Pokémon. Herman, a colleague of mine also plays the game, so we thought it’d be nice to do a Pokémon Go roadtrip.
Just like the experience in Paris, Pokémon Go really brings you to new places. On a large map, we looked for small towns which had some Pokégyms. These are locations where you can battle and leave some of your strongest Pokémon to defend them. The longer they hold your gym, the more coins you can collect.
This brought us to some really nice cities we had never heard of before. Anyway, here are some pics.
Winter in Gelderland
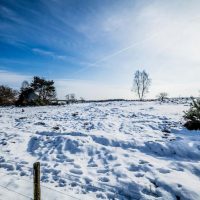
Gelderland is probably one of the most beautiful places in the Netherlands. There’s lot’s of nature and some really old towns.
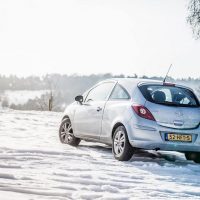
So what does it look like when snow falls down on our heads? Amazing! I took my car out for a ride just to discover so much awesomeness. Here’s some pics, enjoy!
Hannover trip with Victor
Victor and me really like to travel. So when I got a car, we decided to plan a roadtrip. And here it finally was! We didn’t have much time, but hey, a 2 day trip would prove to be great fun.

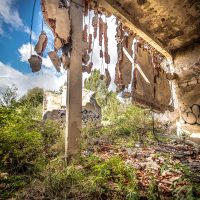
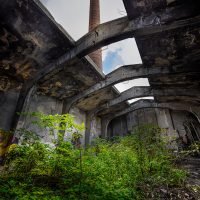
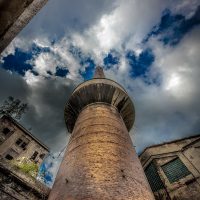
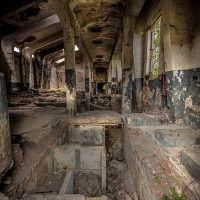
During this trip, we found a lot of nice places. We quickly found an abandoned factory building which gave us some really cool shots.
After that, we drove, stopped in a lot of small places, had dinner and then crashed in Hannovers most shady hotel ever.

When we woke up, it was Christmas morning. We left quite early to find an old steamengine which they had turned into a restaurant. We did a live broadcast on Facebook, whished everyone a mery x-mas and headed off back to the Netherlands so we could be with our families and celebrate.

But halfway home we saw an abandoned military base on our map. We decided to check it out. When we got there, access was really easy. There was already a hole in the fence, so we could just hop in, easy as that.

Anyway, here are the rest of the pics, abandoned base included. Enjoy!
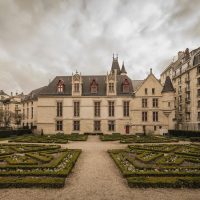
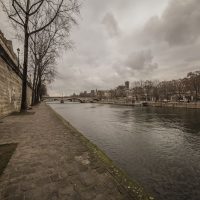
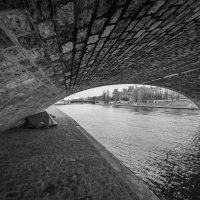
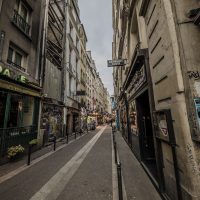
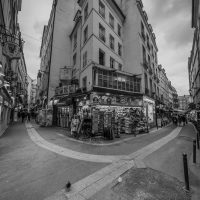
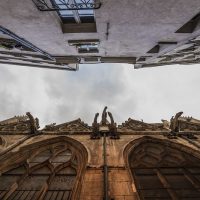
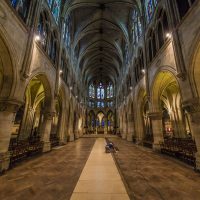
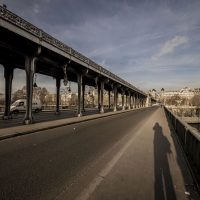
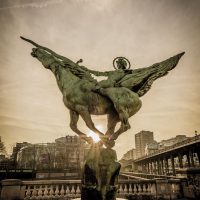
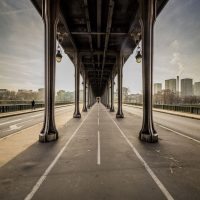
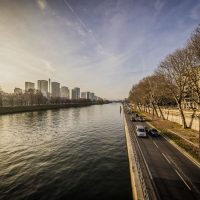
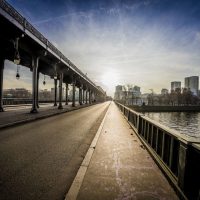
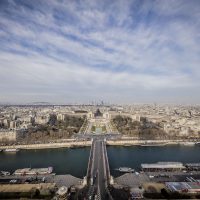
Photography trip to Paris
One thing I really love to do is going on a phototrip. Most of the time, these are one-day roadtrips, but sometimes it’s for a longer bit.
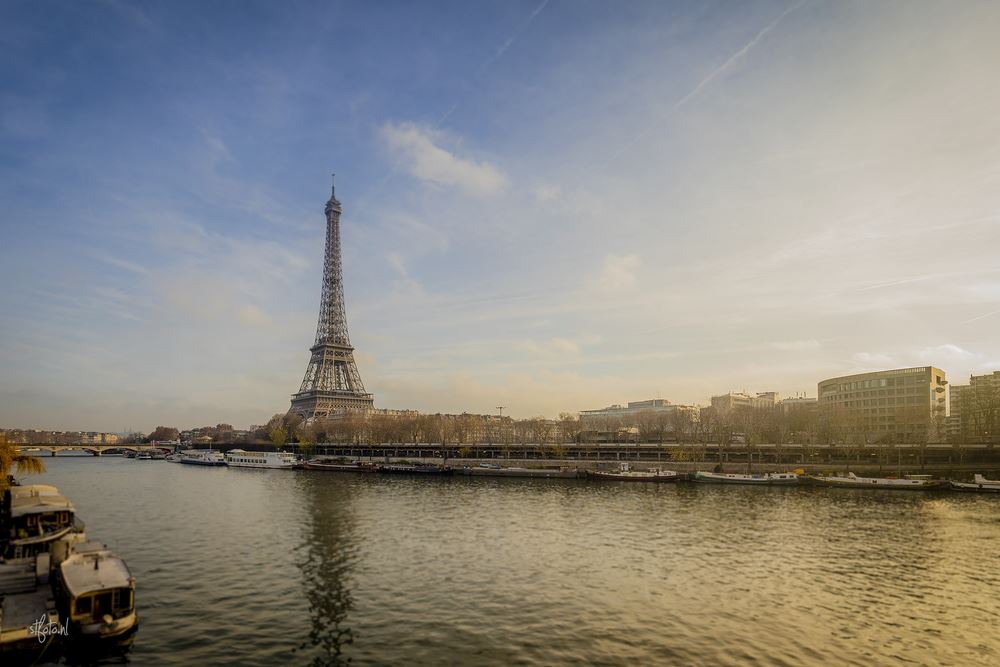
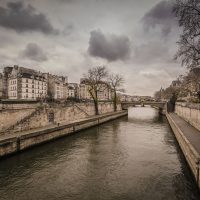
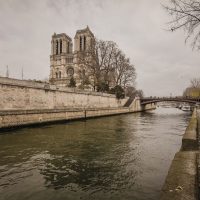
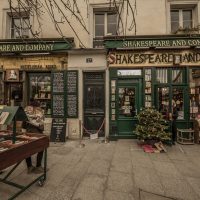
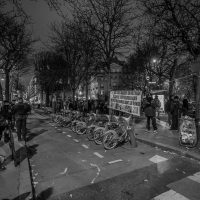
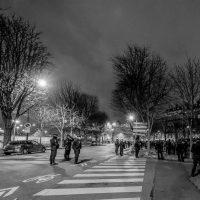
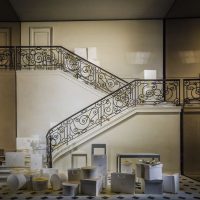
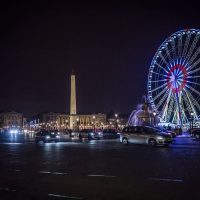
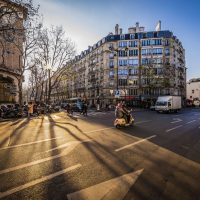
This time, I tried something different. I went to a small town 20km from Paris, and took a metro to the capital of France where I stayed for five days. My plan? Well, just walk all day, catch Pokémon since I now have mobile internet throughout Europe and take photos until all my batteries are empty and memorycards are full.
Sigma 12-24MM ART
Just a couple of days before this trip, I bought Sigma’s new 12-24mm ultra wide lens, from their incredible ART-series. This lens is specifics-wise pretty similar to it’s predecessor, except the diafragma. The F4.0 is usable over the whole focal length, which isn’t the case with it’s cheaper brother. And the photos? Incredible. I was amazed how sharp the photos are!
The lens is pretty heavy though, so it’s not for the fainth of heart. After three days of walking, I actually started to feel my wrist starting to hurt a little. But it’s no surprise. Three full days with a 2kg camerakit in one hand, mobile phone in the other. I’m also mostly holding the camera up, and take photos of course.
It’s something to keep in mind since I’m quite a strong guy.
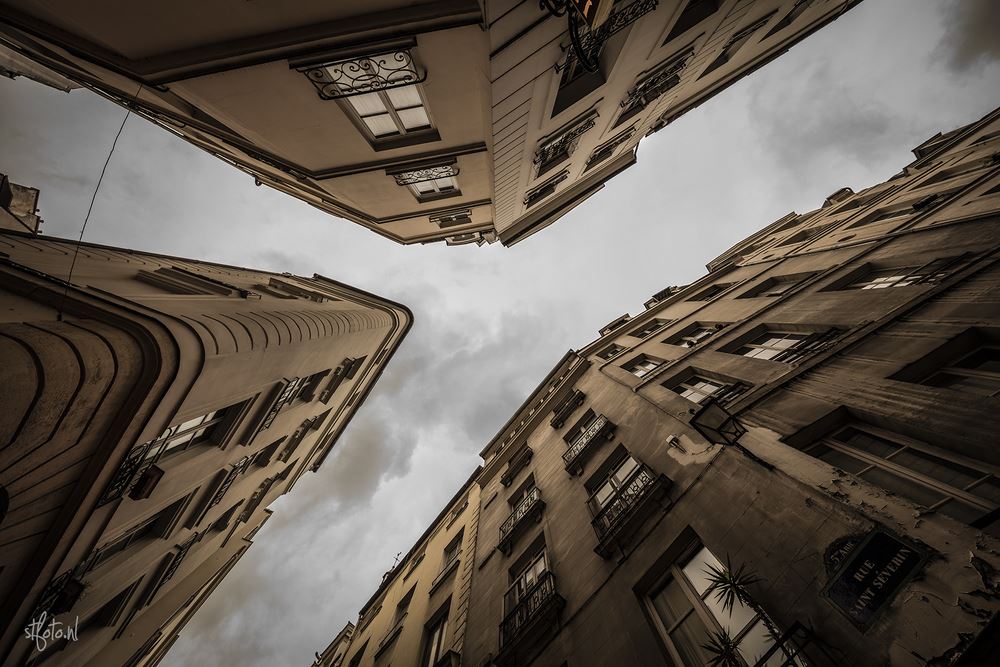
Apart from that, Paris was as amazing as I remembered it. It was weird to walk through the city alone, since I’ve always went either with my family, friends or girlfriend. But walking alone also has it’s positive sides. You have way more freedom and it’s a great way to clear your mind. Think about things you normally don’t find time/space for. So yeah, in some way you could see a trip such as this as a form of meditation I guess.
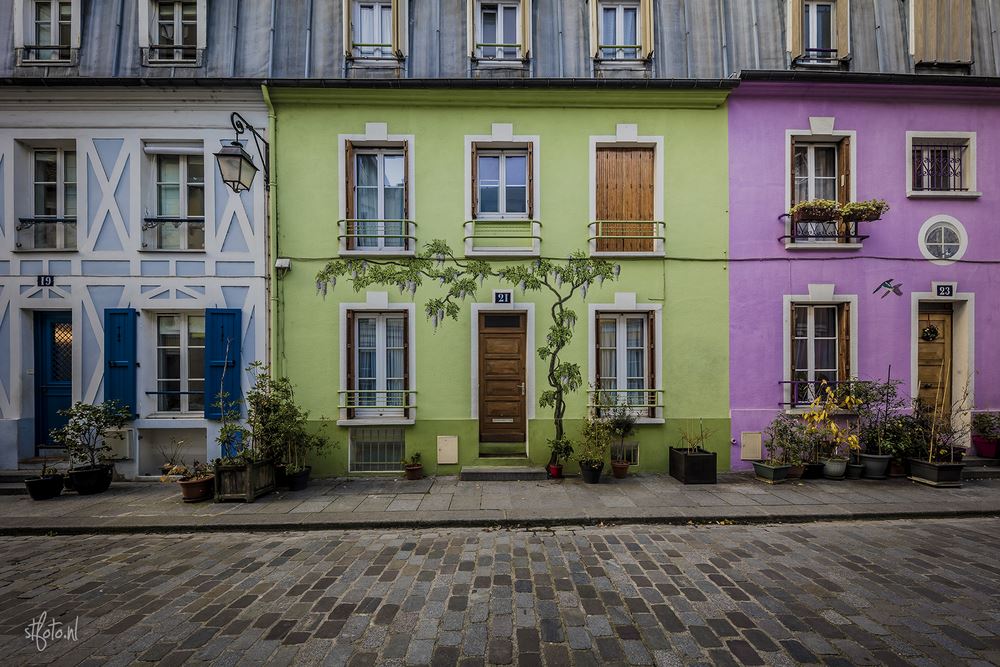
Pokémon Go!
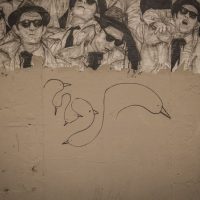
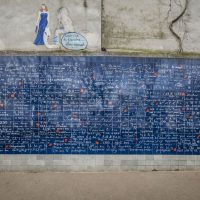
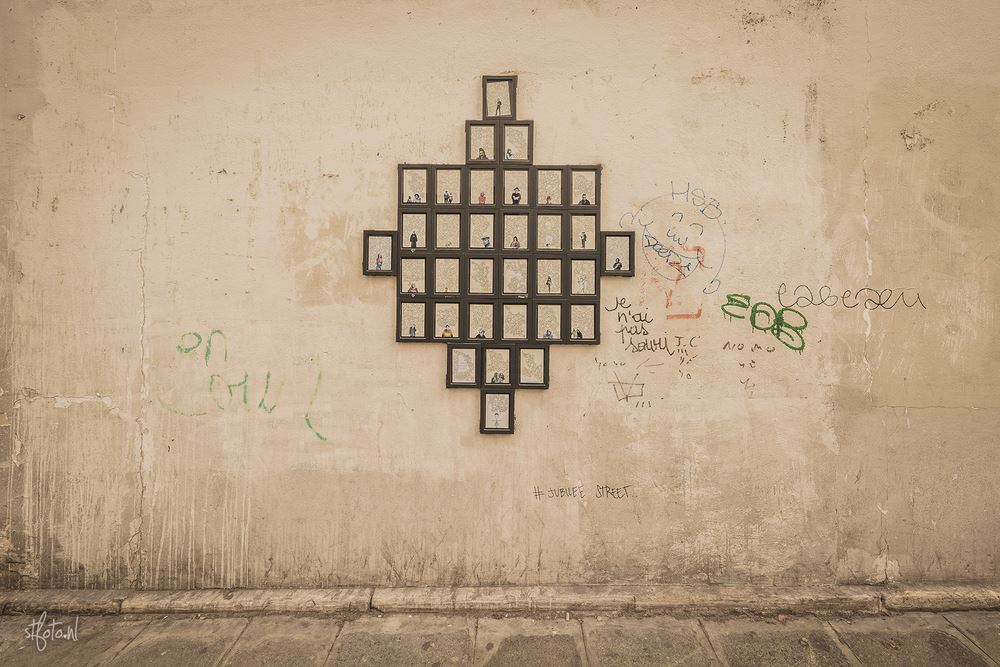
So, going on a trip like this with internet available “like at home” also made it possible to play Pokémon Go. The game which makes you walk the streets and catch virtual Pokémon (Japanese for pocket monsters). Most people who I tell I was playing Pokémon first ask me why I would be playing a game, looking at my mobile device like a “millenial zombie” instead of enjoying Paris’ views. Well, I understand but the truth is a lot better. Within Pokémon Go there are a lot of Pokéstops to be find. You need these in order to get items you need to catch Pokémon. These Pokéstops are mostly located at really cool locations you’d normally ignore. So thanks to this game, I’ve actually seen a lot of cool things I’d otherwise never find. This awesome wall-piece is a great example of such a location.
Another great advantage of having internet on your mobile device is your map. It felt really weird looking at groups of tourists figuring out where they were on a large paper map. For me, I just looked at my phone, saw the blue dot (me) and tapped on the screen where I wanted to go. I instantly see the quickest route and save heaps of time by doing so. More time to actually see stuff, or chill out in a nice Parisian café. And trust me, they are nice.
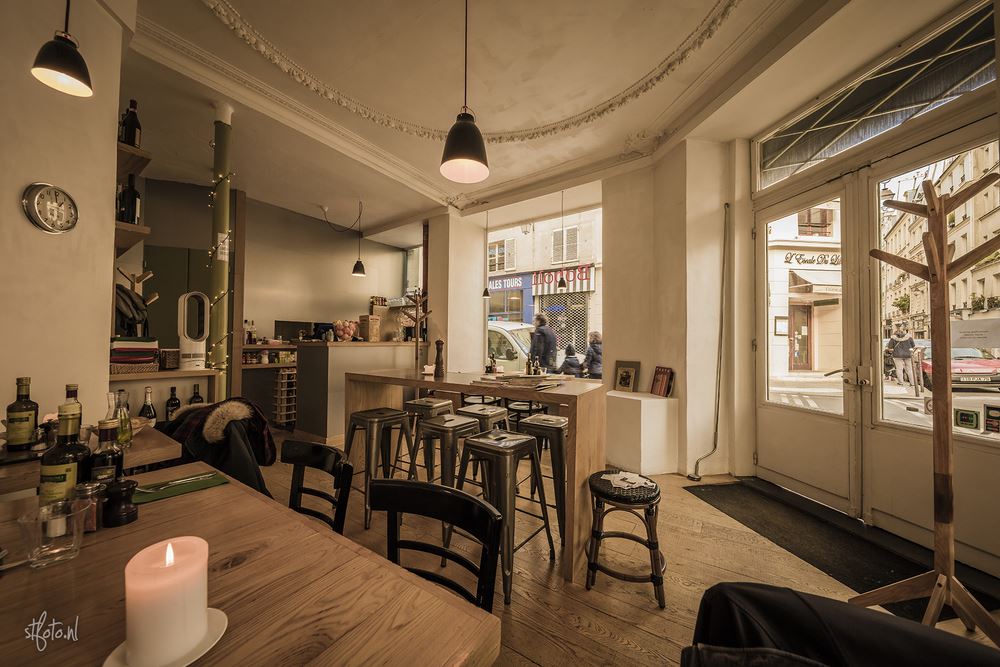
Anyway, enough talk! Here are some of the other photos I shot during this trip. Enjoy!
Random roadtrip with Camilla
What’s more awesome than doing a roadtrip? Doing a roadtrip with a great friend. Camilla just got back from her internship at Malta a day before we headed out. But that didn’t stop her.

We started by going to Altena in Germany. It’s a nice small town in between some seriously high hills. You could call ‘m mountains I guess. It has a beautiful castle and some nice forrests around it. From there, we just started randomly driving whatever felt good. And we found so many nice places.
One of the coolest places we found, was a very old ruin of a castle. The most awesome thing was, it felt like we were discovering the place! Barely any modern stuff around like signs or bins. Good stuff.

After that we drove off over one of the higher mountains in the region, just to see this amazing view.

After that, we rode down just to find more awesome things. Take this bus for example where we had dinner!

We ended up in a nice hotel, and the days after were seriously cool. We saw a lot more cool places, met nice people and we ended up Couchsurfing for the second night. These people were really friendly and it actually inspired us quite a bit.

The next morning, we woke up bloody early to see the sun come up. Anyway, it was sooo foggy, so we ended up seeing the fog become brighter. But we never actually saw the sun. Ah well, still a pretty cool moment.
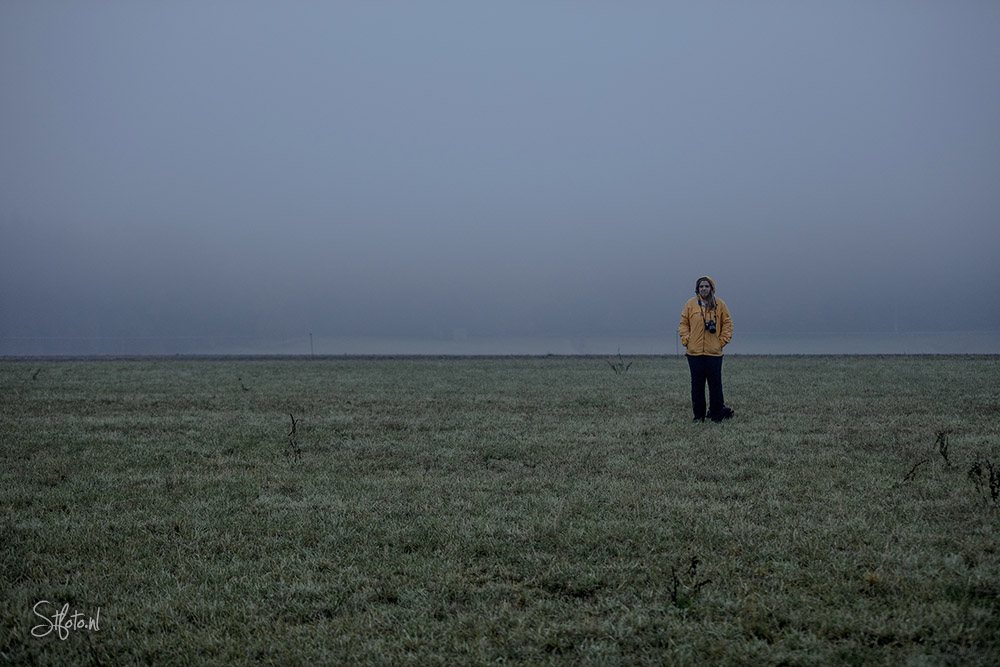
Anyway, here are the rest of the pics. They all have a story of their own, but if I’d type everything I’d want to type I would end up writing a book. As always: Enjoy!
Saal Digital fotoboek review [Dutch]
Even terug kwam ik via Instagram het account van Saal Digital tegen. En wéér werd het idee om een keer een fotoboek te maken onder mijn neus geduwd.
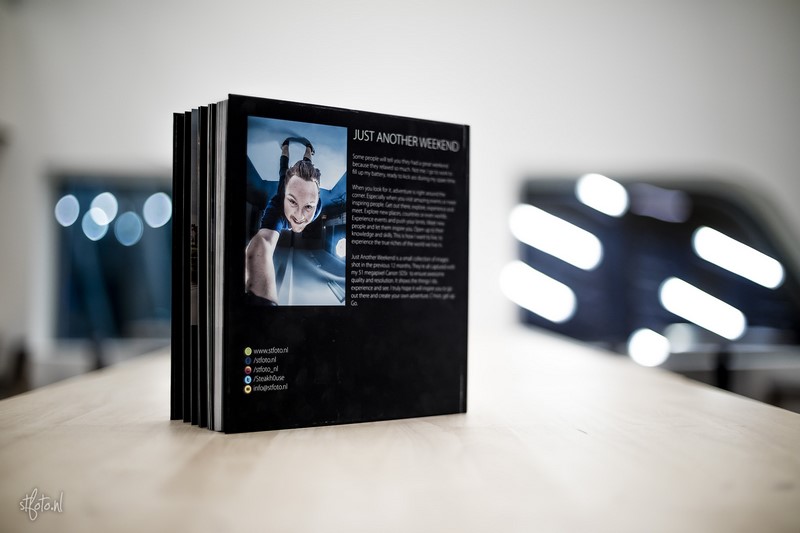
Al jaren loop ik met de gedachte een keer een fotoboek te maken. Het liefste met één thema, maar wat? De afgelopen jaren heb ik hele diverse onderwerpen gefotografeerd, met name het laatste jaar. Vandaar dat ik die diversiteit een keer wou vast leggen in een boek. Allemaal geweldige dingen die ik meegemaakt heb, alsof het voor mij dagelijkse kost is. Nou ja, eigenlijk is dat het gelukkig ook. Vandaar mijn éérste fotoboek “Just another weekend”.
Hier een review van het boek, bij Saal Digital.
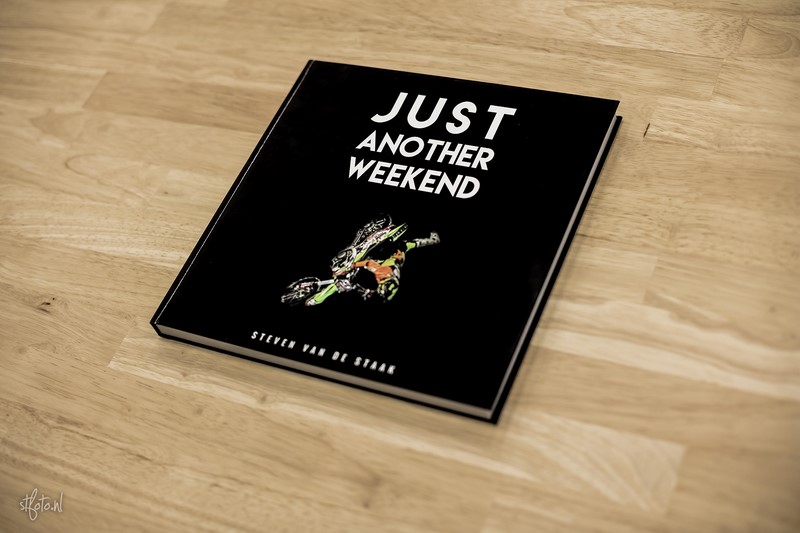
Aanleveren
First things first. Even contact met ze gehad, wat vragen gesteld en binnen een dag antwoord gehad. Wanneer je een boek gaat maken kun je dit op twee manieren doen. Óf je eigen designs maken in software als InDesign, Photoshop, QuarkXPress of met hun eigen simpele editor. In plaats van zelf aan de slag te gaan ging ik eens als reguliere klant te werk. Ik downloadde de software van Saal Digital om toch eens te kijken hoe simpel dat nou was. Maar al vaak heb je met dit soort programma’s dat de simpelheid ook limitaties met zich mee brengt. Dat viel echter ontzettend mee.
De Saal Digital fotoboeksoftware
De software is vrij simpel maar behoorlijk doeltreffend. Er zitten wat standaard sjablonen in maar je kunt zelf ook aan de slag. Al snel had ik een strak design bedacht, de juiste lettertypes gekozen en vier combinaties gemaakt. Liggende foto’s, staande foto’s en een combinatie van de twee. Deze vier varianten heb ik opgeslagen als een template waardoor ik per pagina kon bekijken wat voor foto’s ik ging plaatsen. Twee liggende? Mooi, dan selecteerde ik dát template en voegde ik de foto’s toe.
Vervolgens had ik drie tekstvelden. Eentje voor een titel, een beschrijvende tekst en onderaan de pagina tot welke reeks de foto behoorde. Bijvoorbeeld “Nürburgring VLN event 2016” of “Classified Roadtrip”.
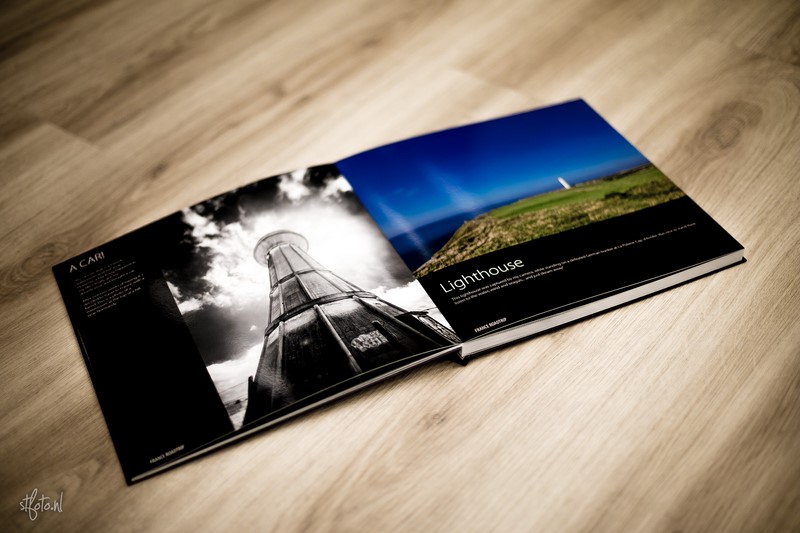
Het maken van het boek
Dit is serieus leuk werk. De foto’s worden automatisch bijgesneden zodat ze netjes passen, maar je kunt ze uiteraard ook zo passend mogelijk maken. Zelf heb ik voor een 30X30 formaat gekozen zodat ze naast de foto altijd een strook over houden voor de tekst. Daarnaast is dat het makkelijkste als je zowel horizontale evenals verticale foto’s hebt.
Wat wel goed is om te weten, is dat ik met enorme foto’s werkte van wel 51 megapixel. Deze waren rond de 20mb per stuk als JPG. Dit moest ook wel JPG zijn, want TIFF pakt de editor niet. Dat is verder niet erg, want als je ze op hoge kwaliteit opslaat zal je hier nooit wat van zien.
Het importeren van de foto’s gaat onwijs snel. En ook het werken met de foto’s en het browsen door het project ging zonder ook maar enige slag of stoot. Het enige waar ik lang over heb gedaan is de teksten controleren. Want stel je voor dat er in je mooie boek een spelfout zit… maar na een aantal avondjes álles her her herlezen te hebben kon hij eindelijk de deur uit… Hoe zou hij met foto’s van 51 megapixel om gaan?
Bestellen
Helemaal klaar, en bestellen maar. 72 pagina’s aan foto’s op extreme kwaliteit. Ik heb een vrij snelle verbinding maar duurde toch even. Is dat slecht? Nee zeker niet! Het had me zorgen gebaard wanneer dit snel ging. Dit betekend dat de foto’s namelijk op hoge kwaliteit verstuurd worden naar onze vrienden van Saal Digital. En dan wordt het wachten. Lang wachten? Nee dat valt reuze mee. Je krijgt netjes updates wanneer ze er mee begonnen zijn, aan het boek gewerkt hebben, hem klaar hebben en hij bij de verzender ligt. En vanaf dat moment kan het niet snel genoeg gaan.
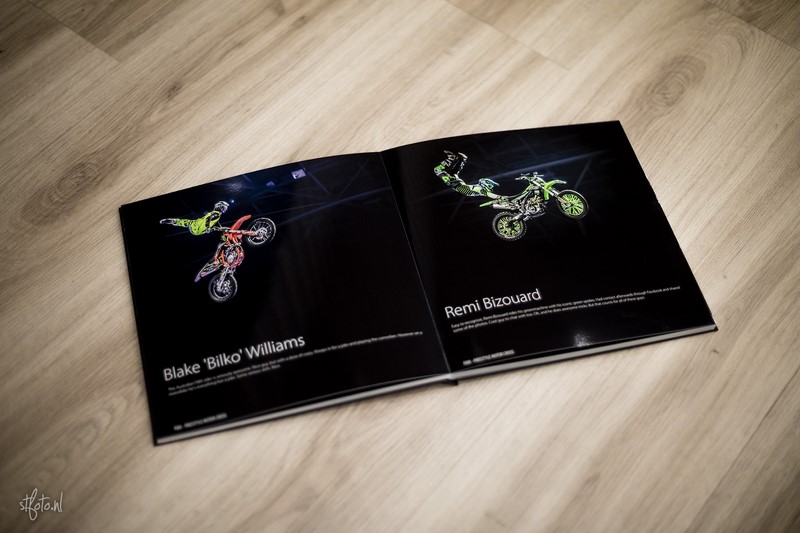
Eindelijk, daar is het boek
Daar is hij dan, de kartonnen doos met daar in het boek. Deze komt netjes in verschillende lagen. Hij zit in eerste instantie in een luchtdichte plastic hoes om vocht tegen te gaan. Daarin zit een foam-hoes om stoten op te vangen. Deze hoes gebruik ik nu nog steeds wanneer ik het boek in mijn tas naar potentiële klanten mee neem. Ontzettend handig! En dan eindelijk, het boek.
Eerste indruk
Wauw. Echt amazed. Ik had een hoge verwachting maar dit is echt onwijs gaaf. Ik ben voor een matte cover gegaan want gewoon zo ontzettend professioneel over komt. Iedereen aan wie ik mijn boek heb laten zien begint daar al over. “Wat een mooie kaft, heel strak die matte afwerking!” krijg ik vaak te horen. En dan sla je het boek open. In mijn geval 72 pagina’s aan extreem haarscherpe foto’s op prachtig dik glanspapier.
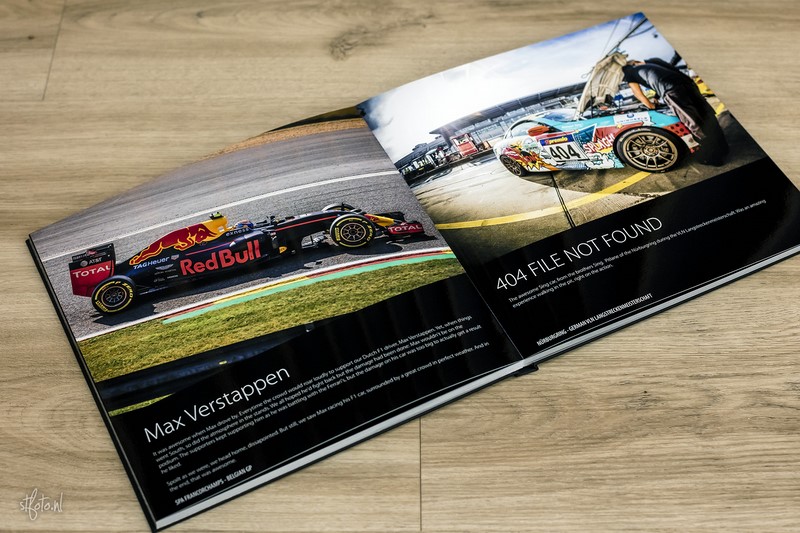
Kwaliteit van de foto’s
Om de kwaliteit van de foto’s goed te kunnen beoordelen heb ik een breed scala aan stijlen gekozen. Ik heb een groot aantal foto’s gekozen met een sterk contrast, sterk gebruik van diep zwart, gesatureerde kleuren, semi-gesatureerde kleuren (pastelkleuren) en een aantal zwart-wit foto’s met een mooi balans tussen zwart, wit en zacht overlopende grijswaarden hier tussen.
Scherpte en details
De foto’s zijn echt extreem scherp. Met het blote oog is het mij niet gelukt om pixels of jpeg compressie te vinden. De scherpte zit er perfect in.
Kleuren en witbalans
Maar niet alleen de scherpte zit dik in orde. Ook de kleuren spatten er uit. Ik heb het boek een aantal keer naast mijn nieuwe, en gekalibreerde 4K scherm gehouden maar kon eigenlijk geen verschil zien. De kleuren komen prachtig overeen met hoe ik ze in Photoshop echt tot in de detail ingesteld heb. De witbalans is identiek, en dat is echt uniek te noemen.
Zwart wit
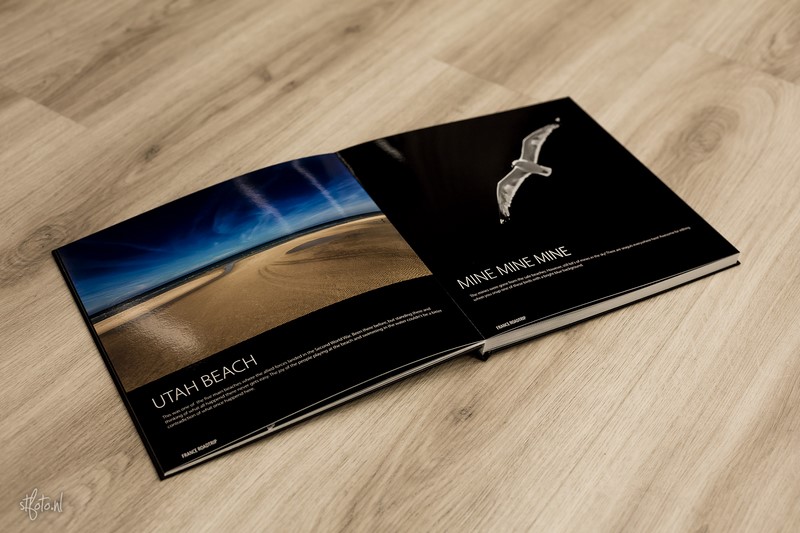
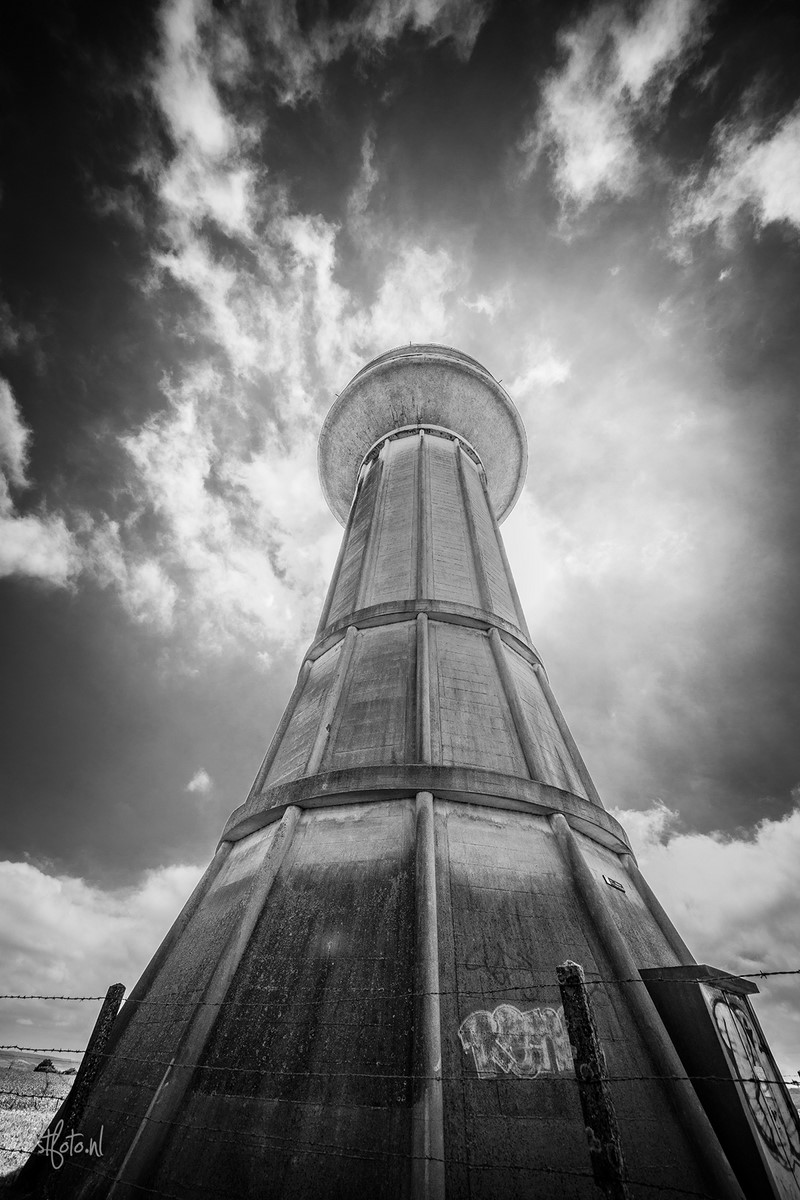
Naast de sterk gesatureerde foto’s heb ik ook een aantal zwart wit foto’s gekozen. De foto van de watertoren heeft een paar grote contrasten, maar ook zeker een aantal grijze verlopen. Hier was niets raars te zien en dit is prachtig geprint. Ook de foto van de meeuw met een diep-zwarte achtergrond is indrukwekkend. Zeker gezien er op de andere pagina een foto van Utah beach staat welke juist weer hele heldere kleuren heeft. De foto’s komen er écht uit zoals ik ze bedoeld had.
Kwaliteit van het materiaal
Het boek is zeer stevig gemaakt. De kaft is mooi hard en degelijk. Met een zwarte kleur zie je wel aan de buitenkant een héle kleine vouw komen. Maar als er tientallen keren in gekeken wordt is dat niet meer dan normaal met een zwarte kaft. Ook de pagina’s zelf zijn stevig en dik. Het papier is van prachtig glansfotopapier. De glans zit er lekker in wat een fijne foto-feel geeft.
Kortom
Eerlijk is eerlijk, ik ben onder de indruk van het werk van Saal Digital. De service, het proces maar vooral ook het eindproduct zijn echt geweldig te noemen. Ik heb het boek al een aantal keer naar werk meegenomen, familie en potentiële klanten. De reacties waren unaniem zéér lovend met allemaal de vraag waar ik het boek heb laten maken. De mooiste reactie was waarschijnlijk van een collega. “Waar heb je dit boek gekocht?”. Iets daarna kwam ze er achter dat het míjn boek was. Dat bracht me toch wel een enorme smile op m’n gezicht de rest van de dag.
Op naar de volgende.
Met dank aan Saal Digital! Maar dat was wel al duidelijk.
Web: Saal-digital.nl
Facebook: saal.digital.nl
Instagram: saal_digital
Photo of the day challenge
Why not take 365 photos, one photo at a time, spread over a whole year? Well, sounds easy right?
Reality is slightly different, and a daily photochallenge isn’t called a challenge for no reason. Heck, give me the icebucketchallenge, planking challenge or even the Kylie Jenner Lip Challenge… but no this one is actually even for a photographer pretty difficult.
Why it’s a challenge
Time
Everyday you need to find some time to capture something, edit it and post it. Trust me, in the beginning it’s nice, but there are some days where it’s just really difficult. Especially when you get home around 23:30, want to sleep and you feel you múst post a photo.
Daily routine
Everything you do on a daily basis is boring and normal to you. If you go to work five days a week using the same route, you won’t see anything interesting. To you, that is. Doing a daily challenge forces you to look around like a tourist again, but it’s hard.
Internet
What if you go abroad and you don’t have an internet connection? You actually need your (heavy) camera, laptop/computer to edit your stuff and an internetconnection to actually post your pixels.
Either way, you can check out my Photo of the Day album on my personal Facebook account. I guess you have to add me to see ‘m all. That’s fine tho.
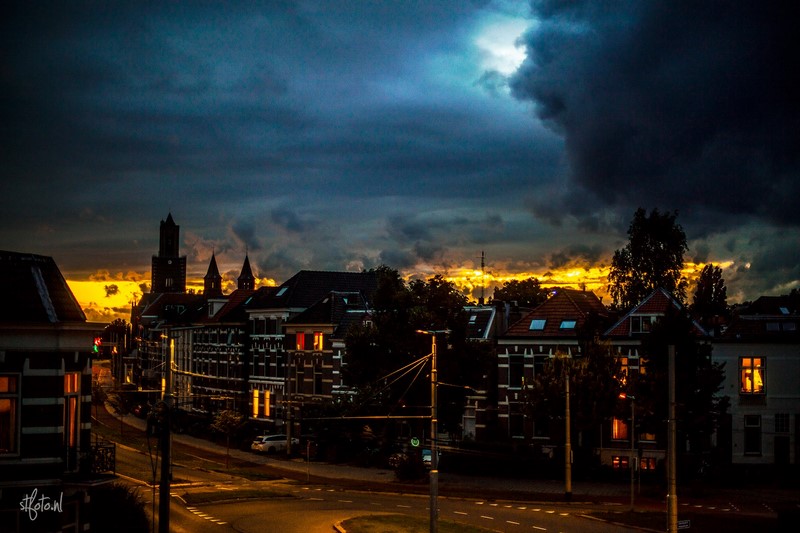
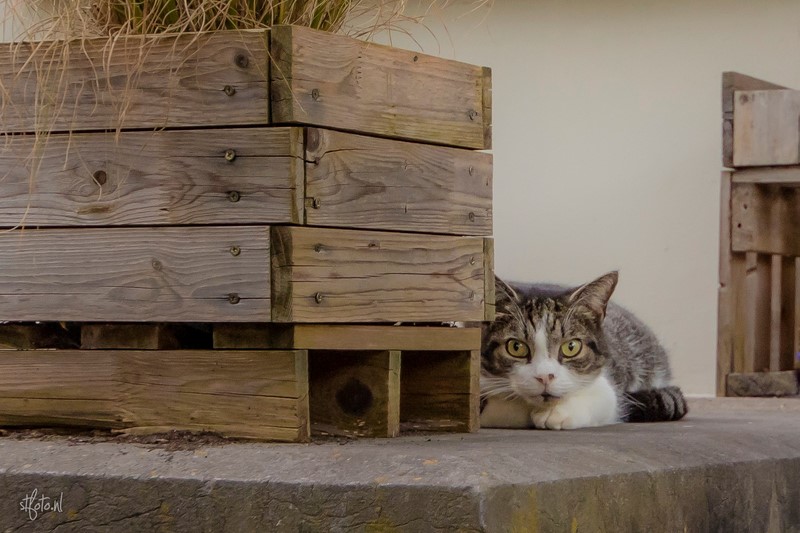
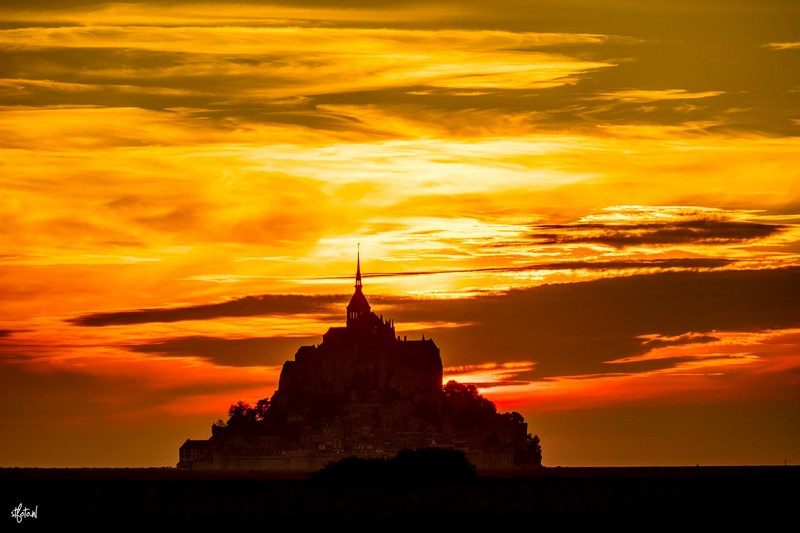
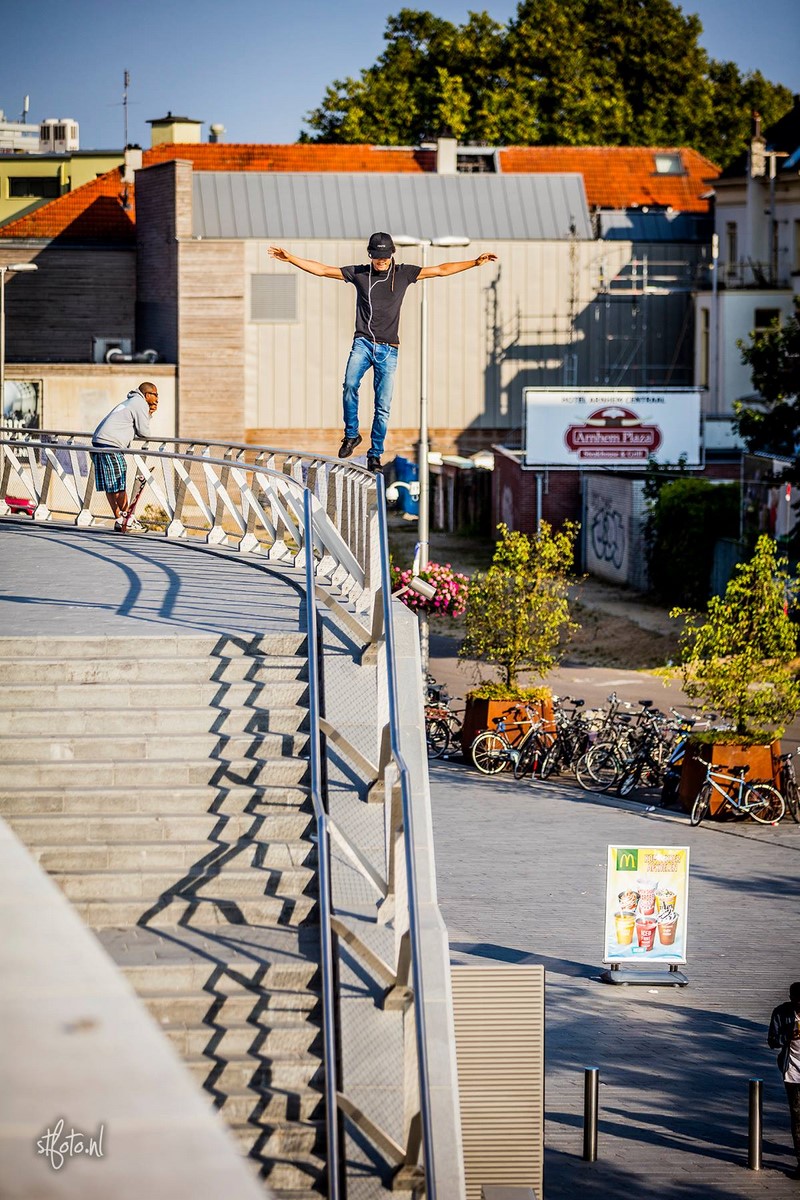
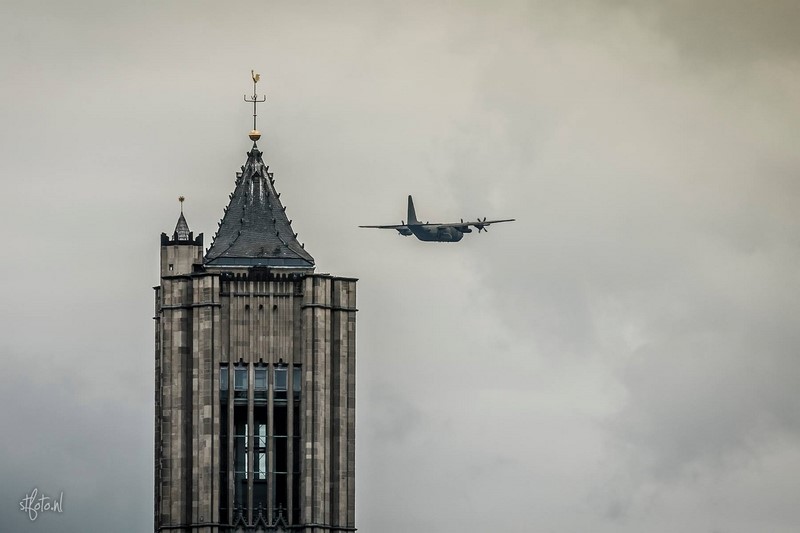
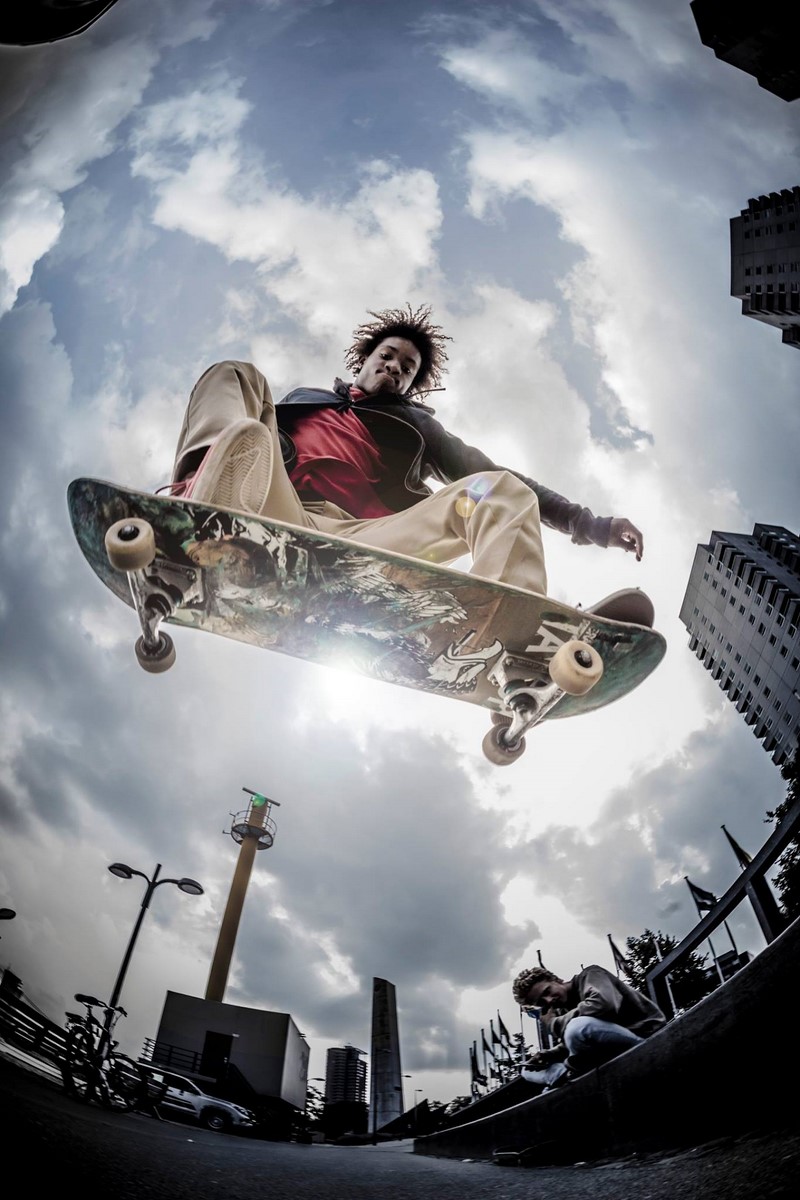
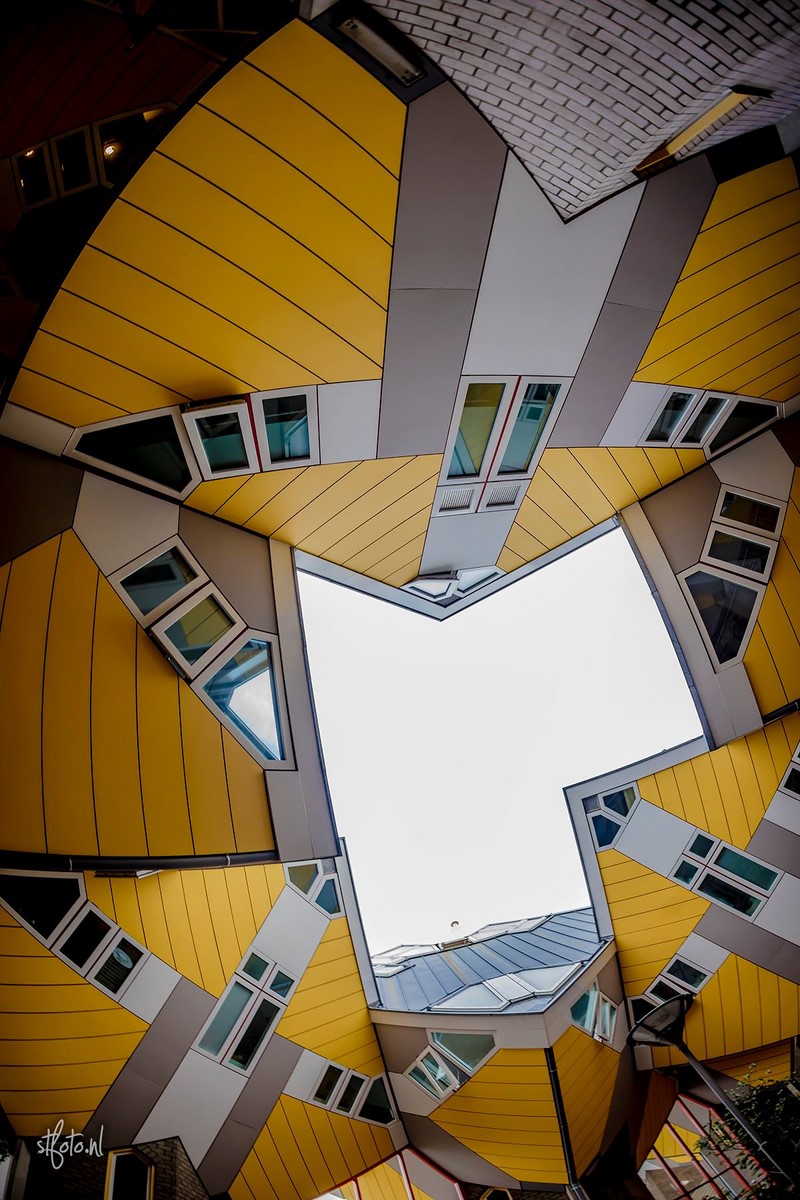
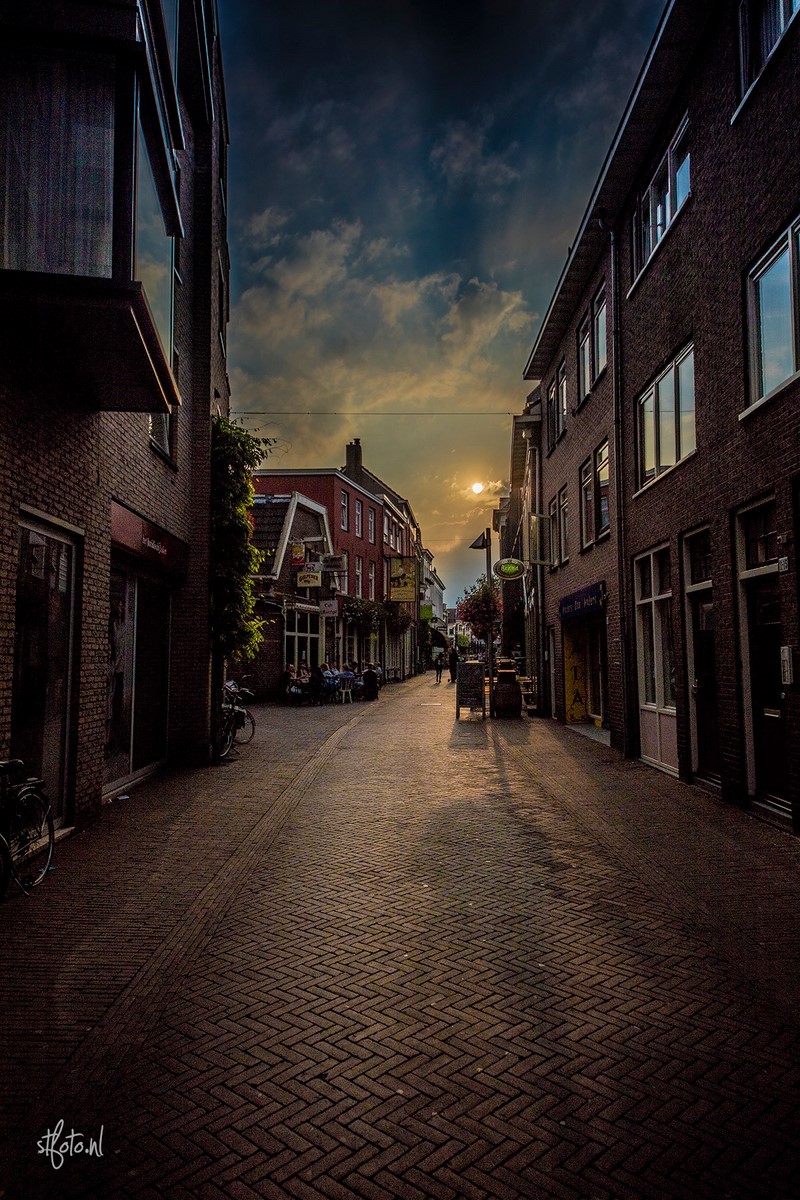
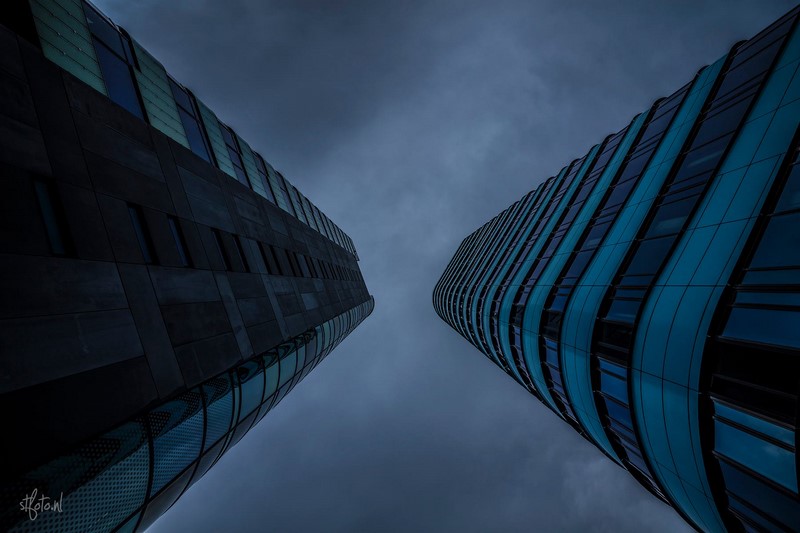
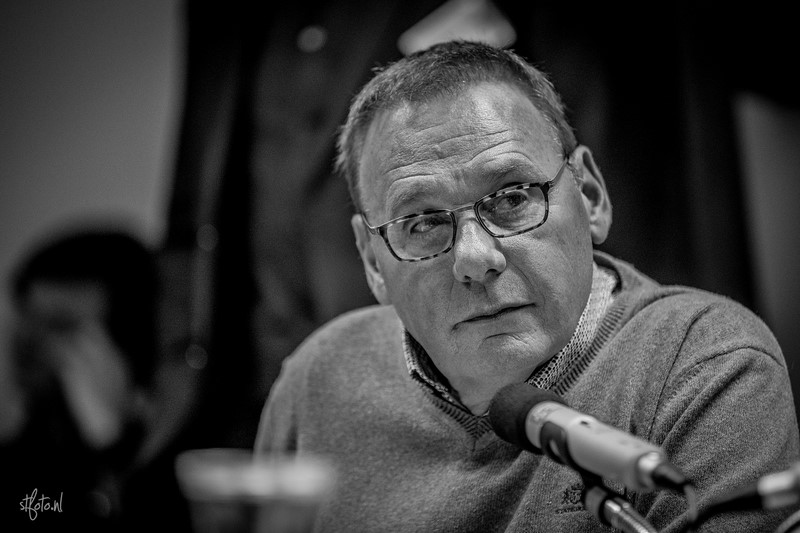
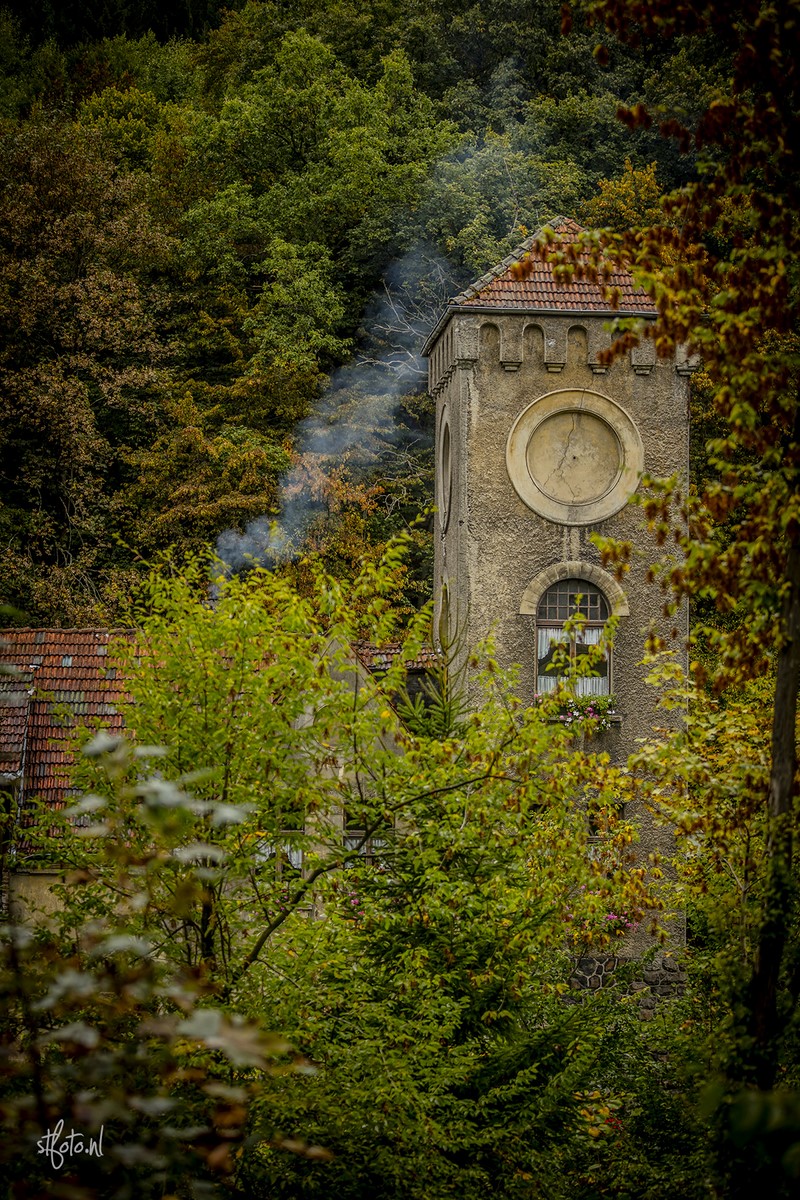
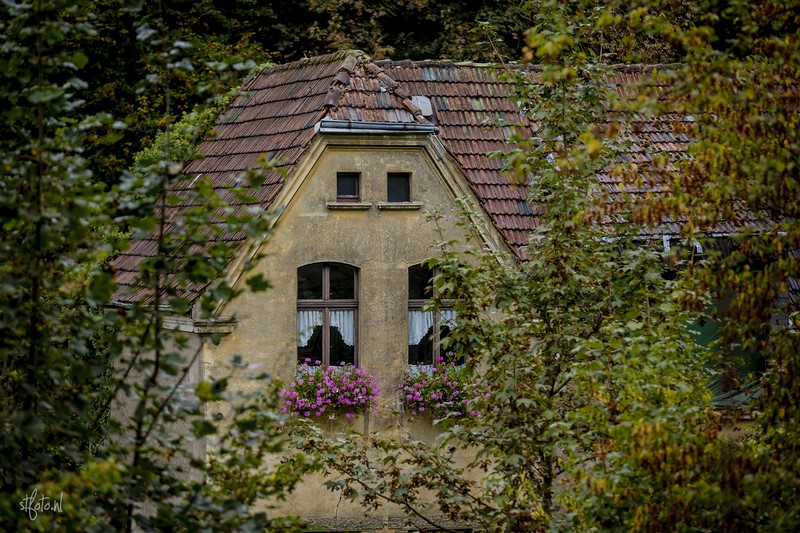
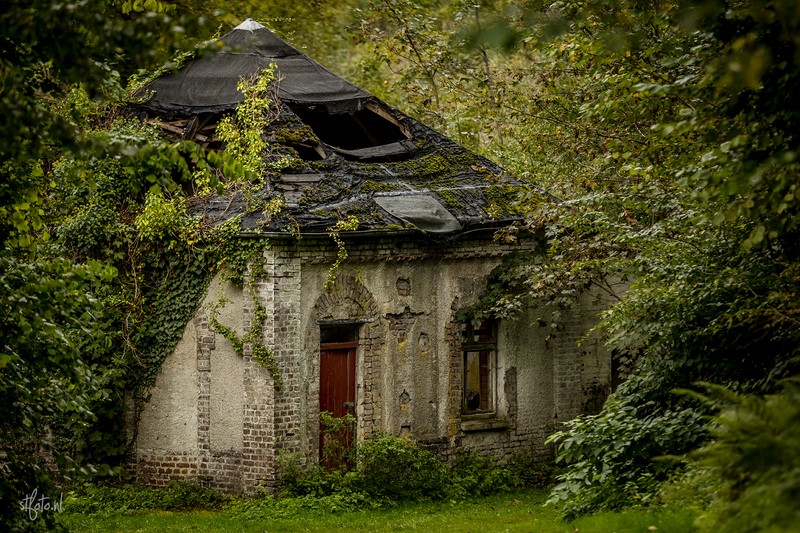
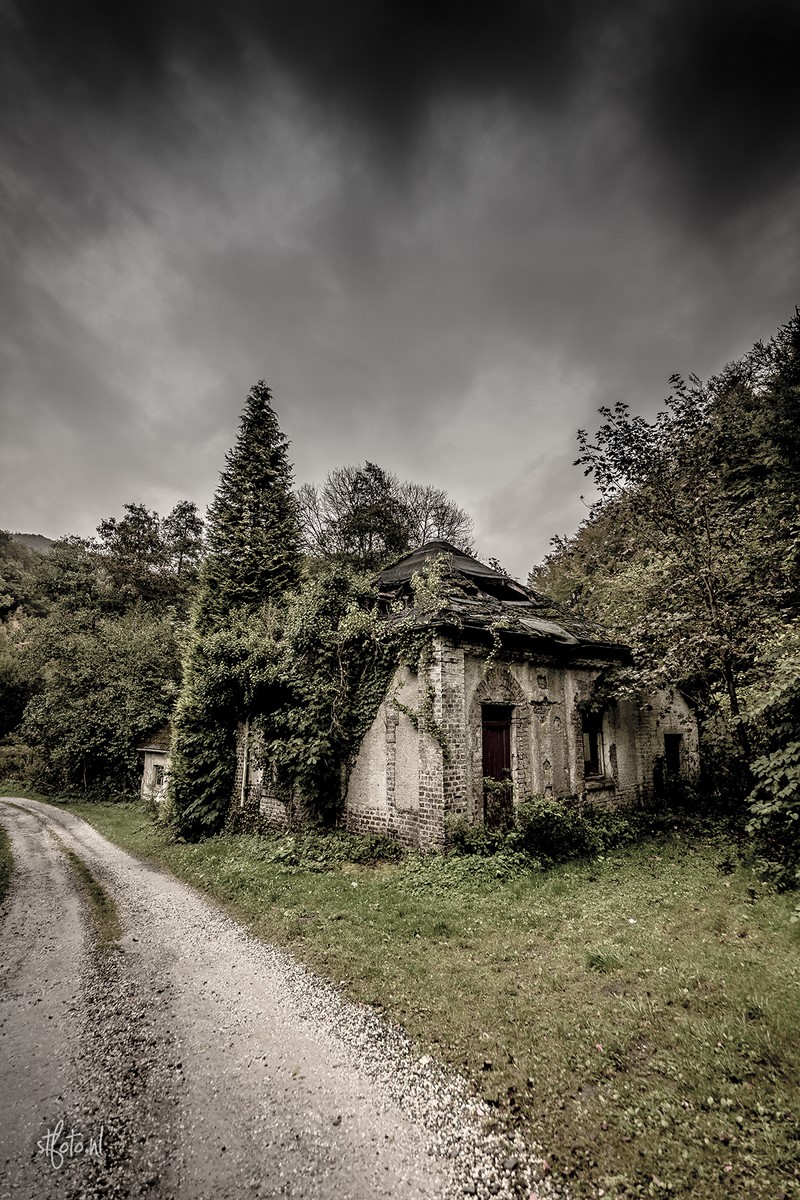
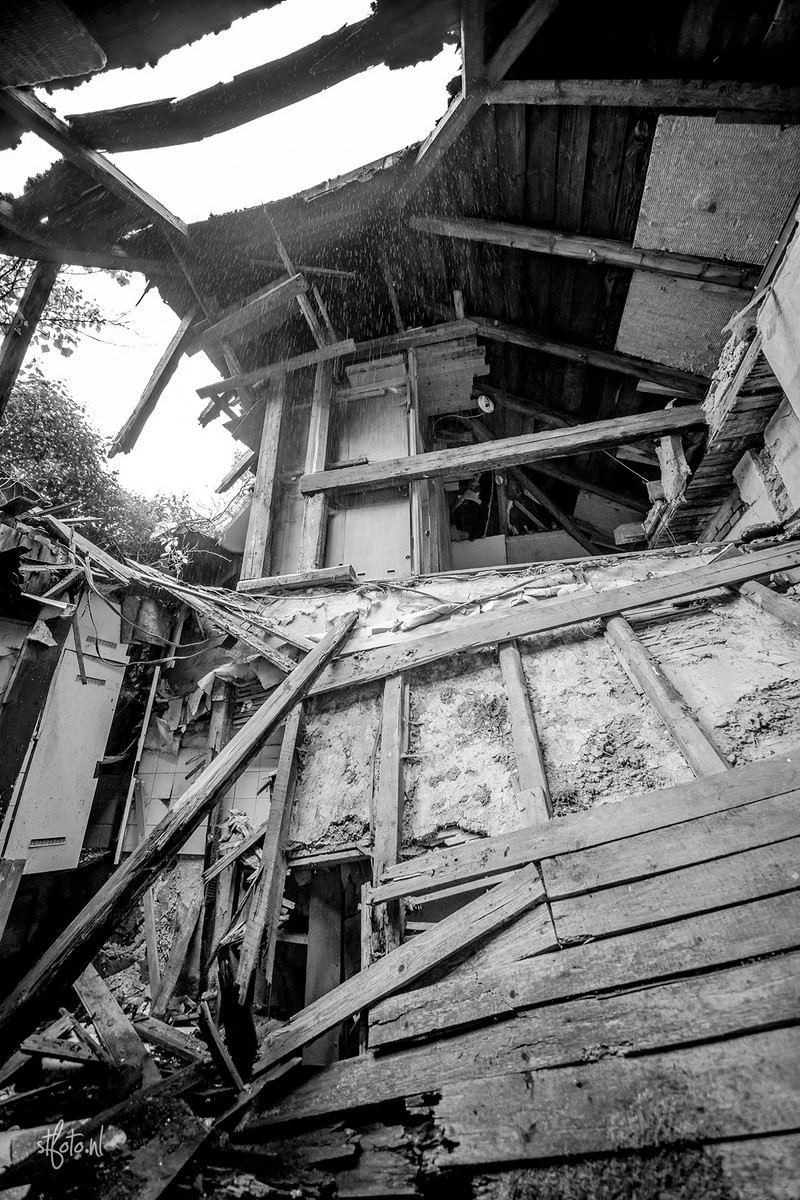
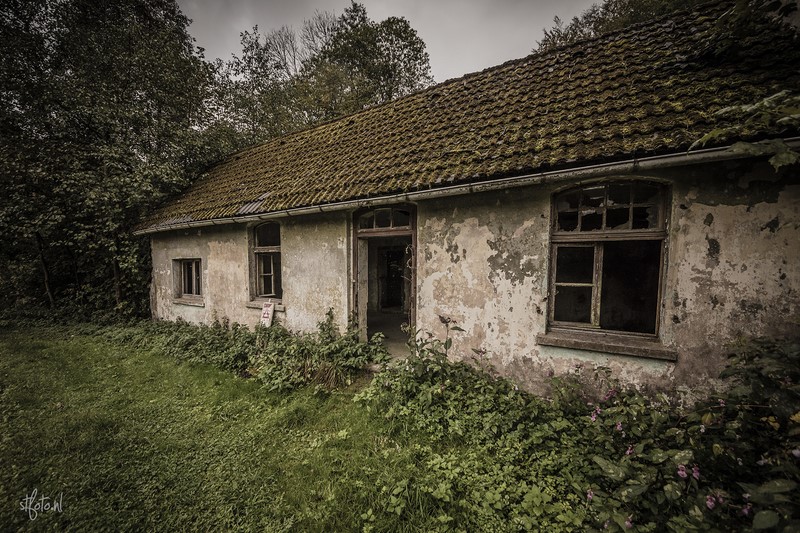
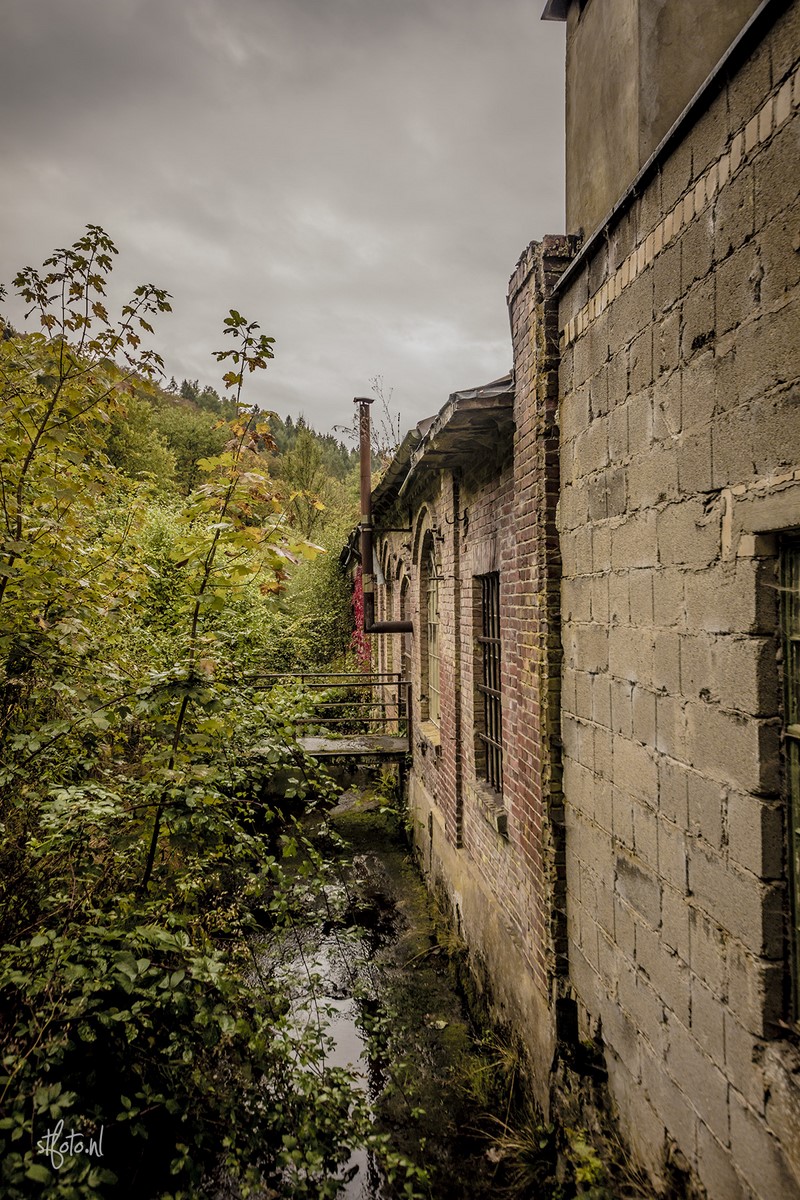
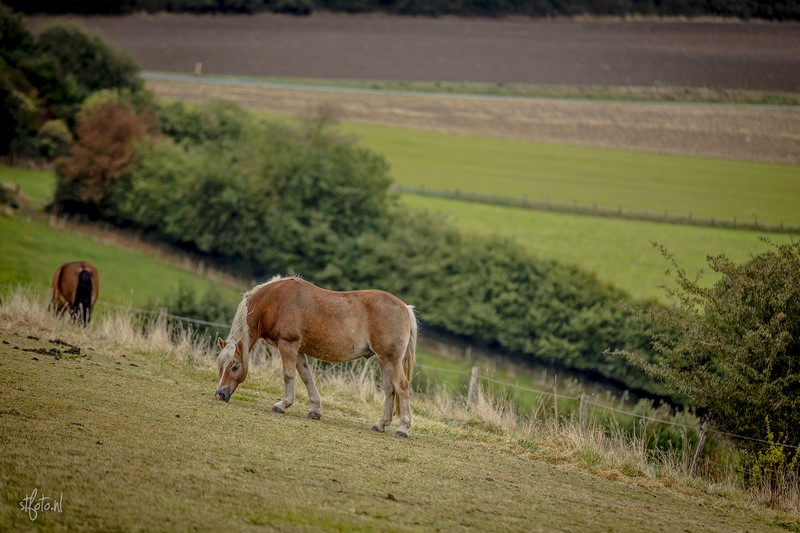
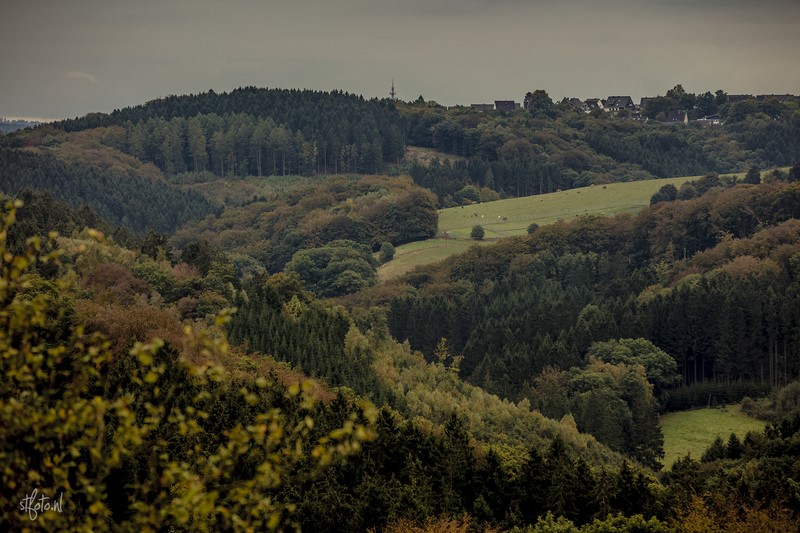
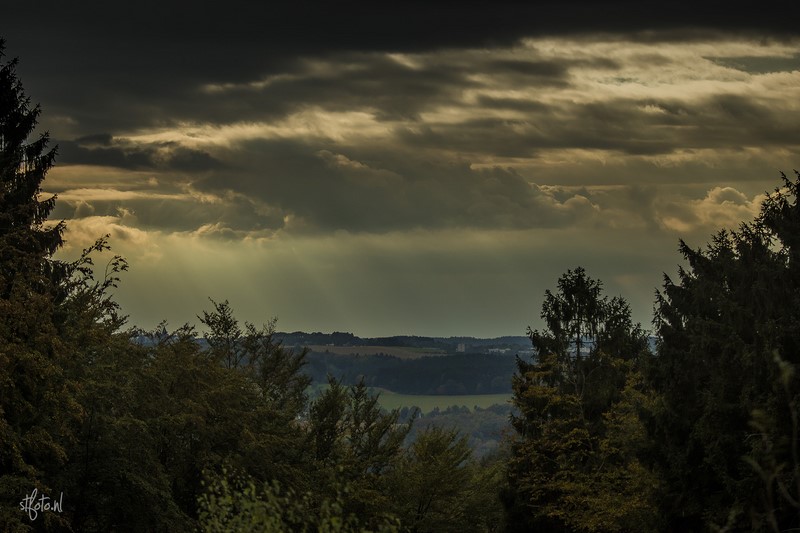
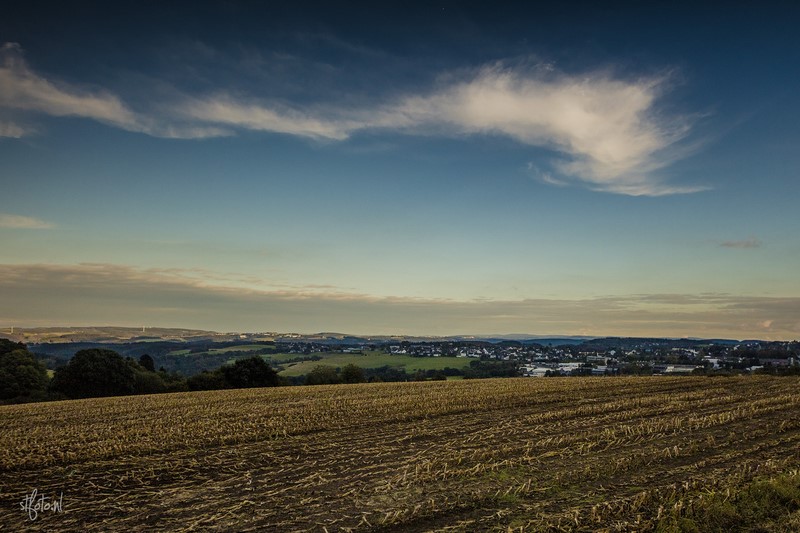
Old dynamite factory im tal
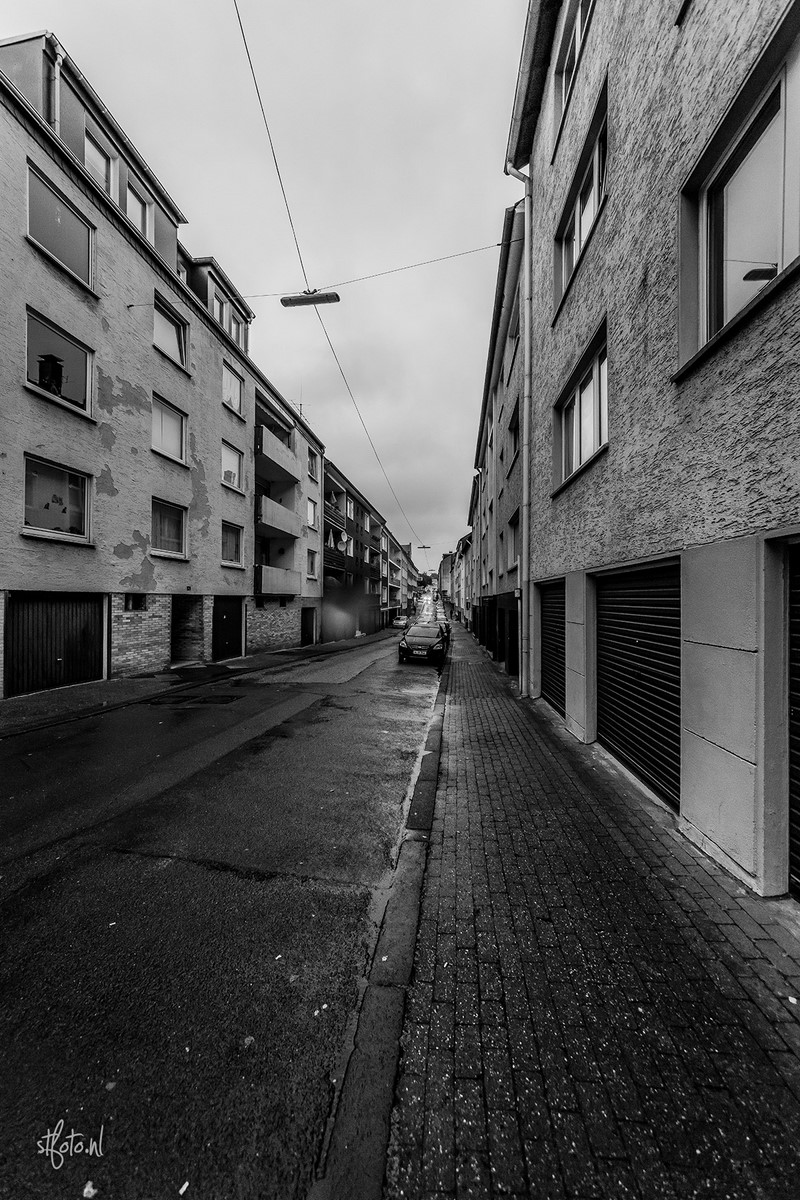
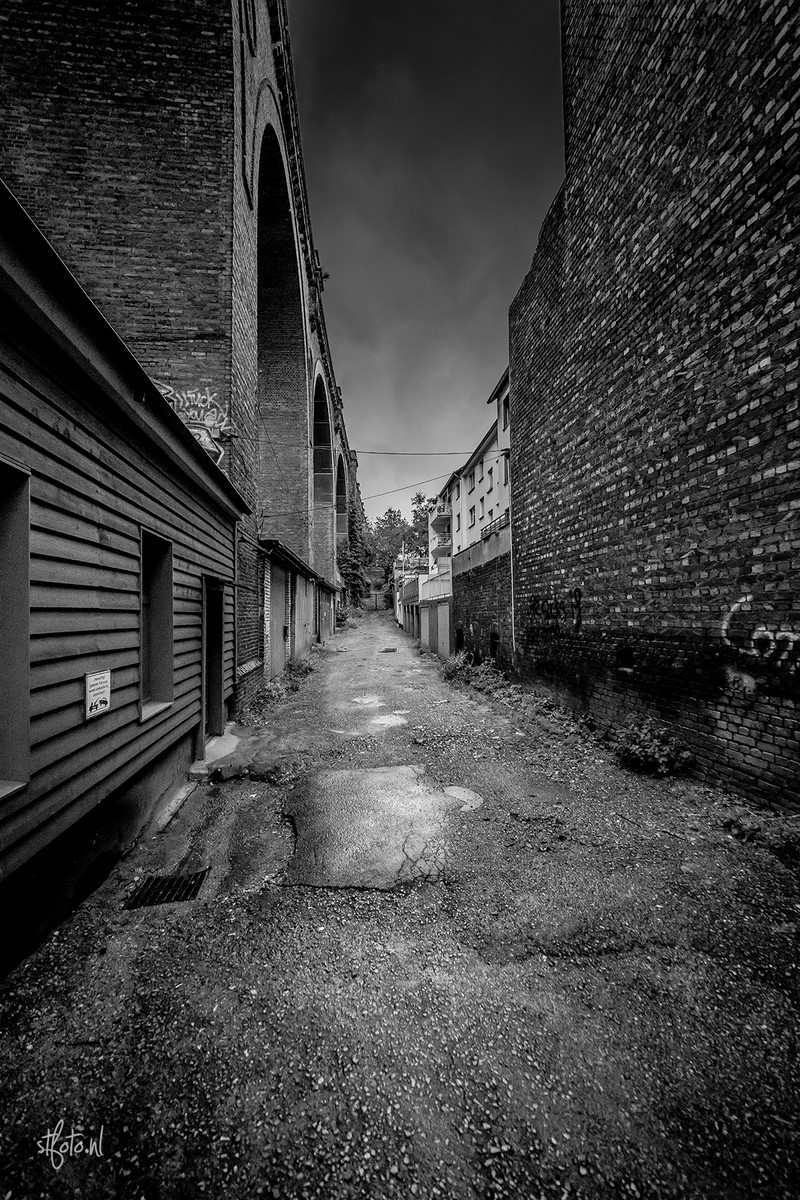
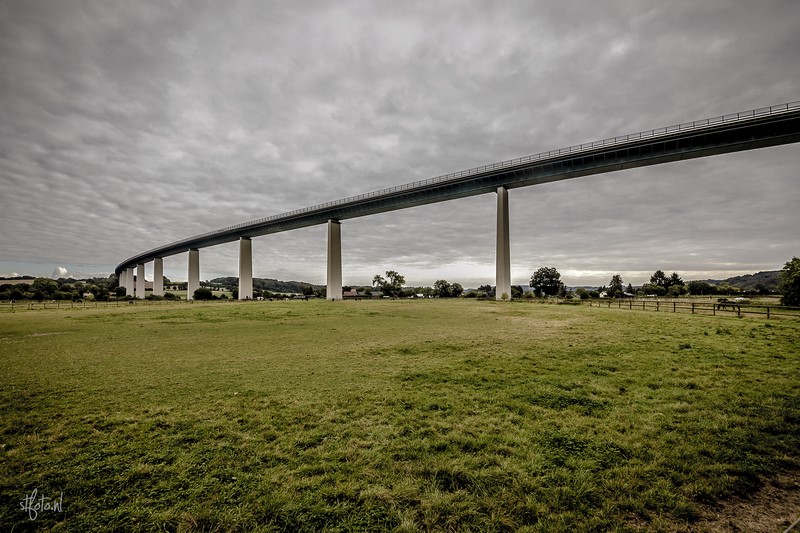
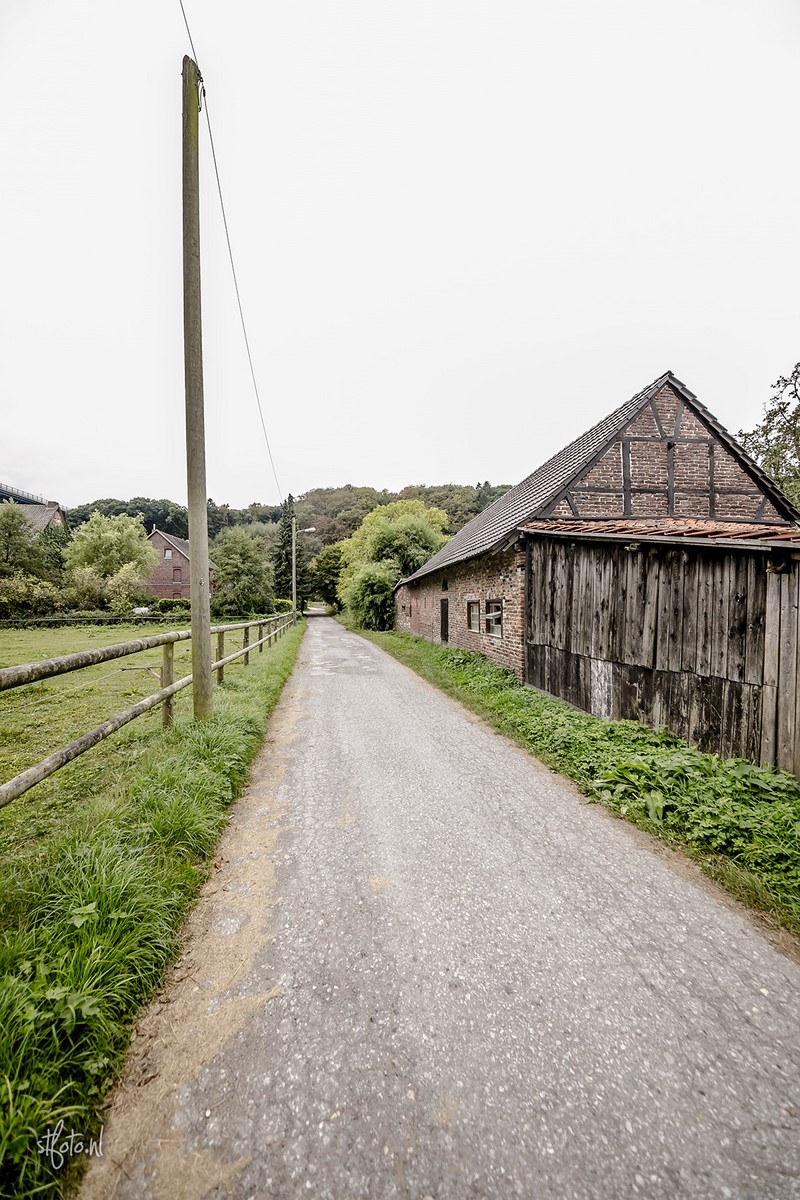
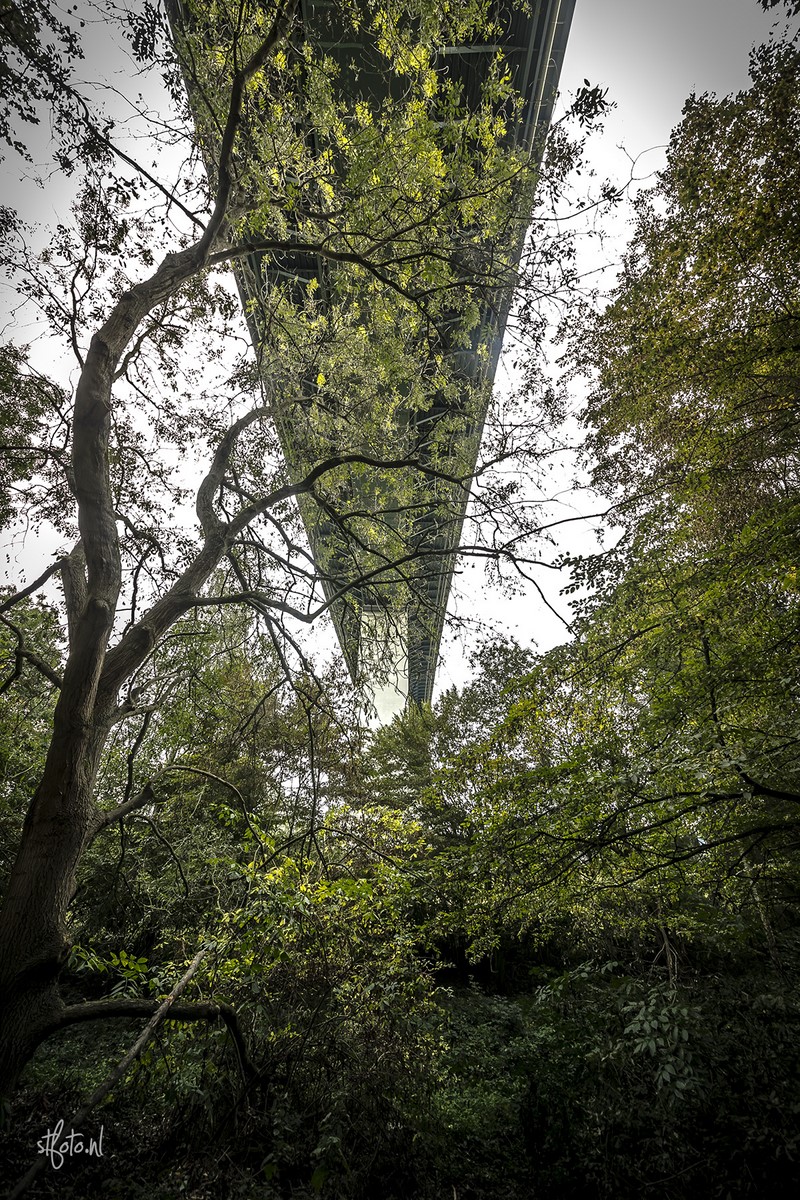
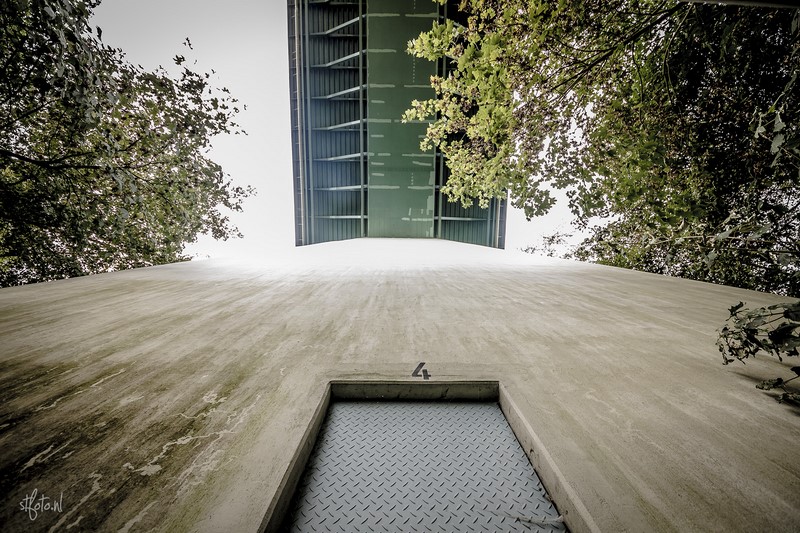
Took the car for a spin. Picked up a friend Veghel and drove off to Germany. We went to this awesome abandoned valley where we saw the ruïns of an old dynamite factory.
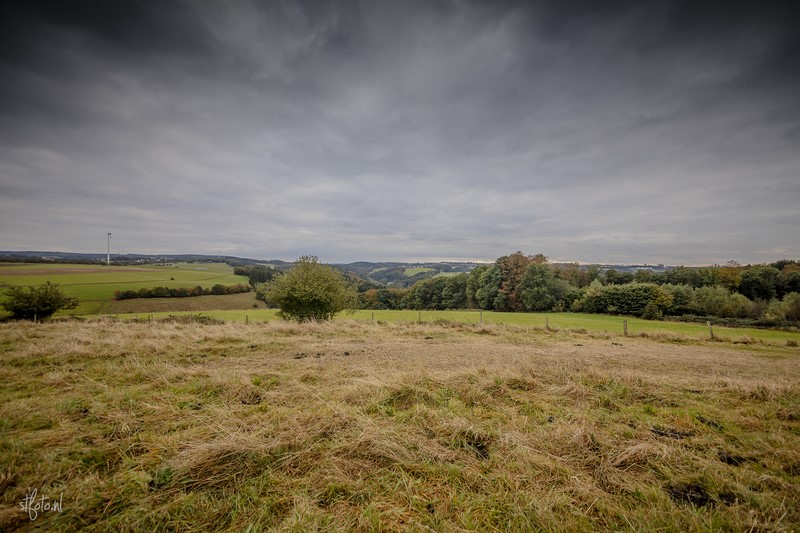
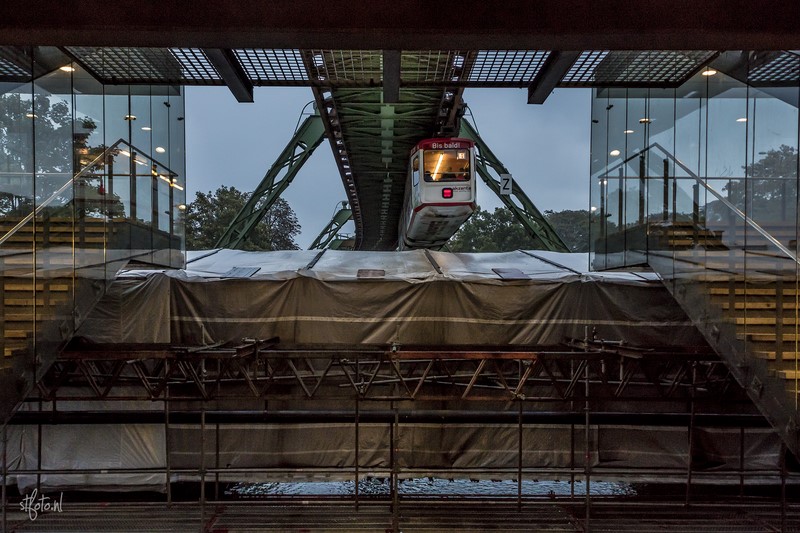
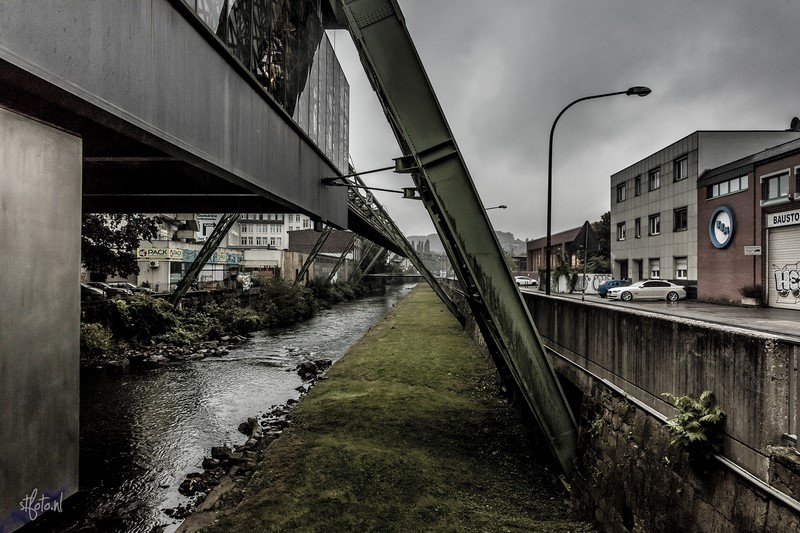
After that, we went up a hill to enjoy the view. We ended the day eating pizza in Wuppertal where we also saw the “Wuppertaler Schwebebahn”. It’s like a tram, but hanging under the rails. Cool stuff!
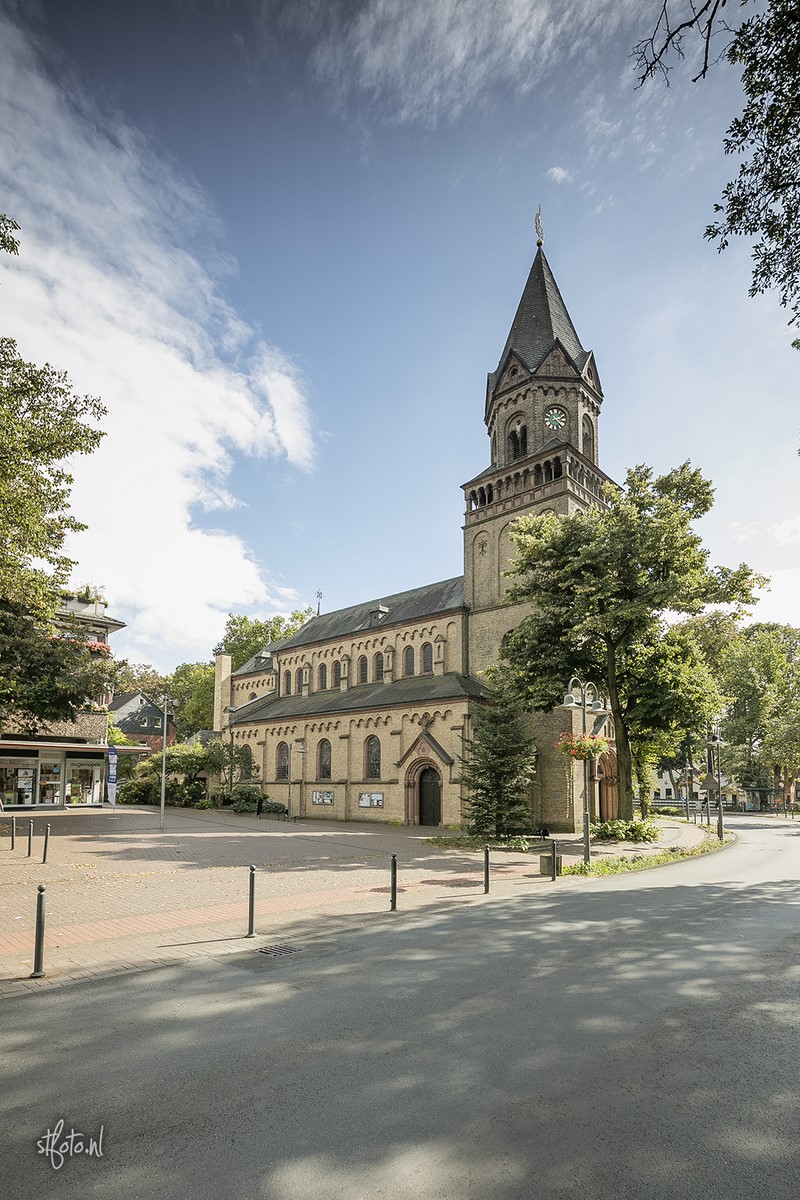
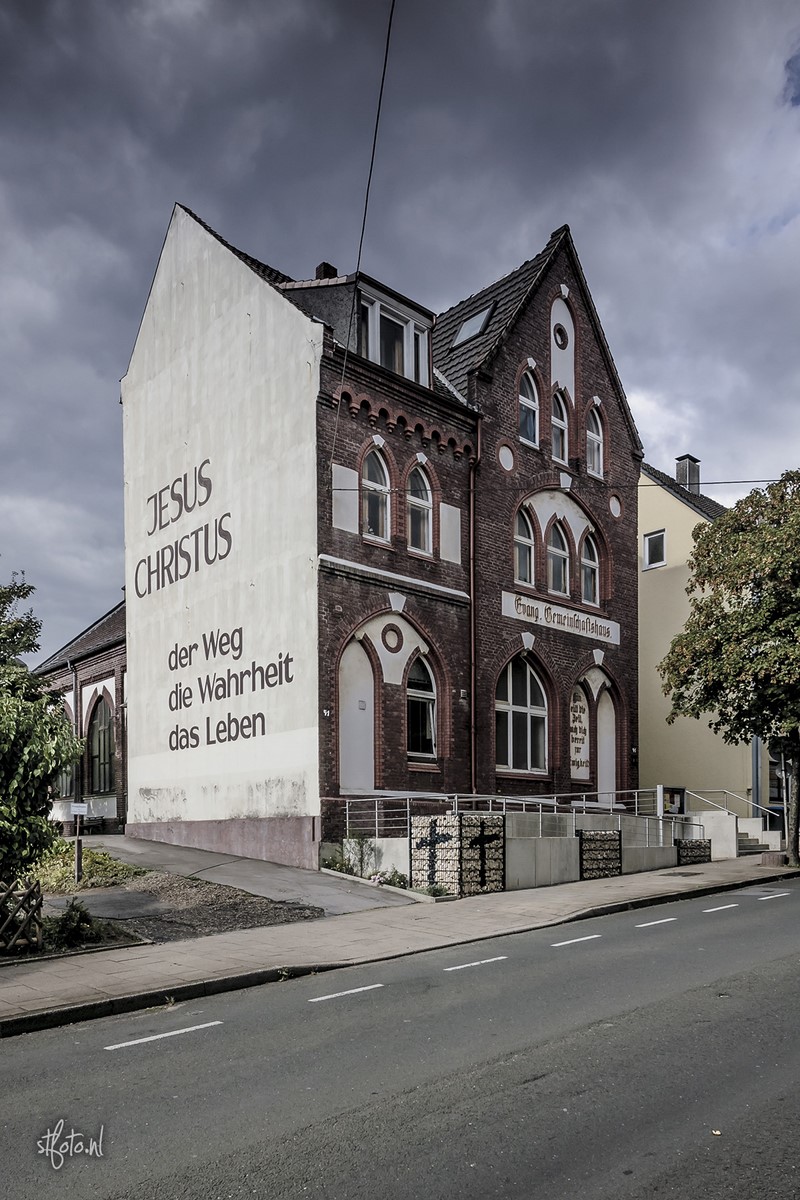
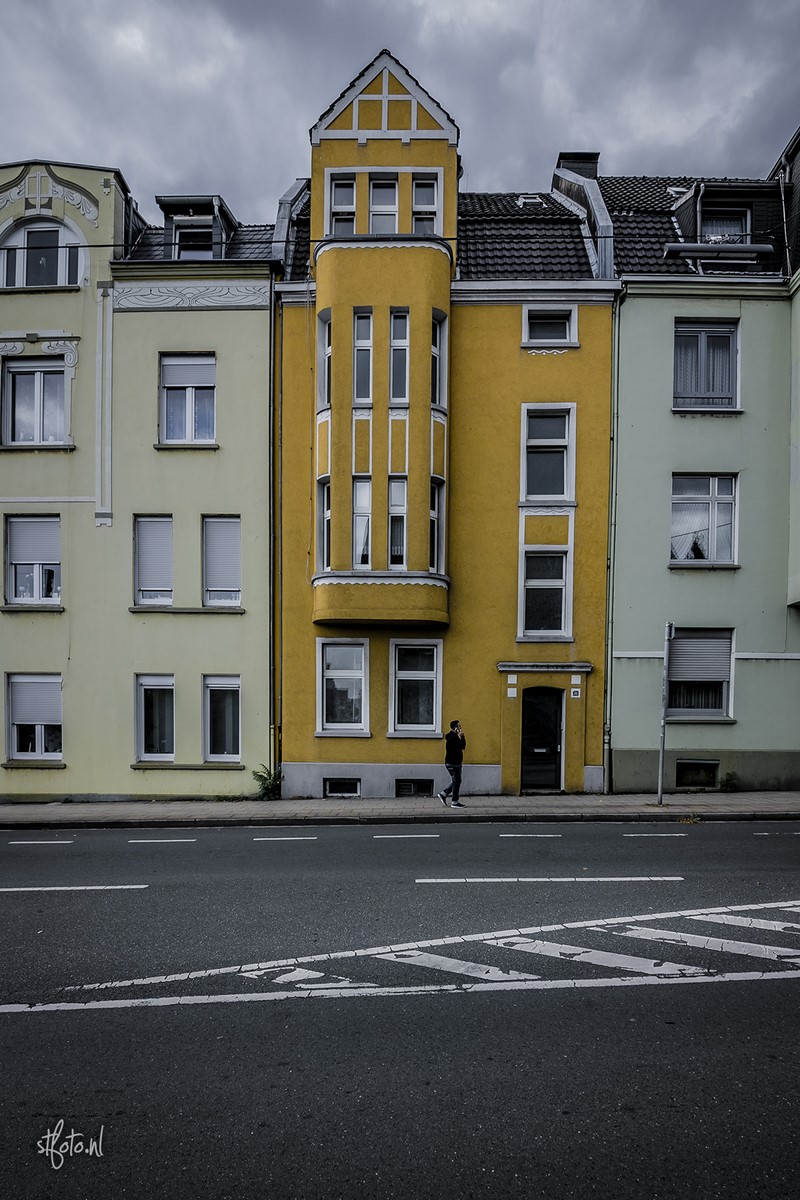
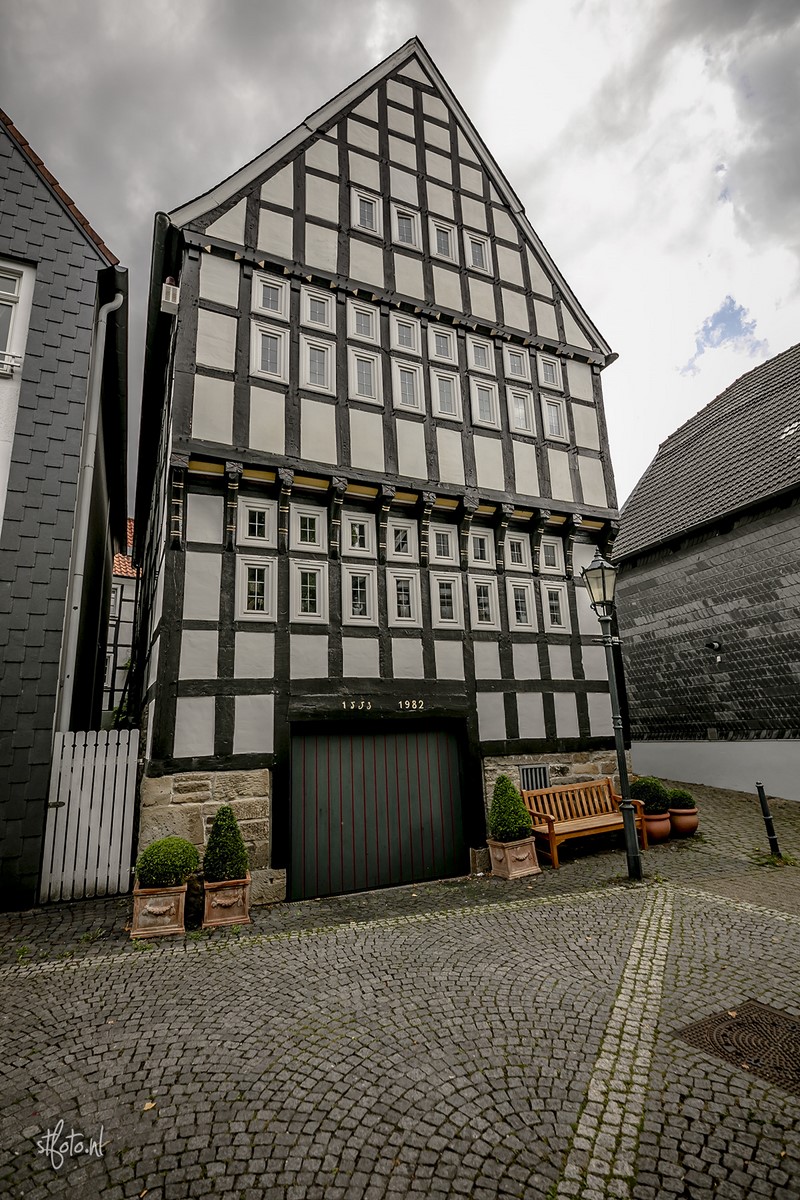
300km photography roadtrip
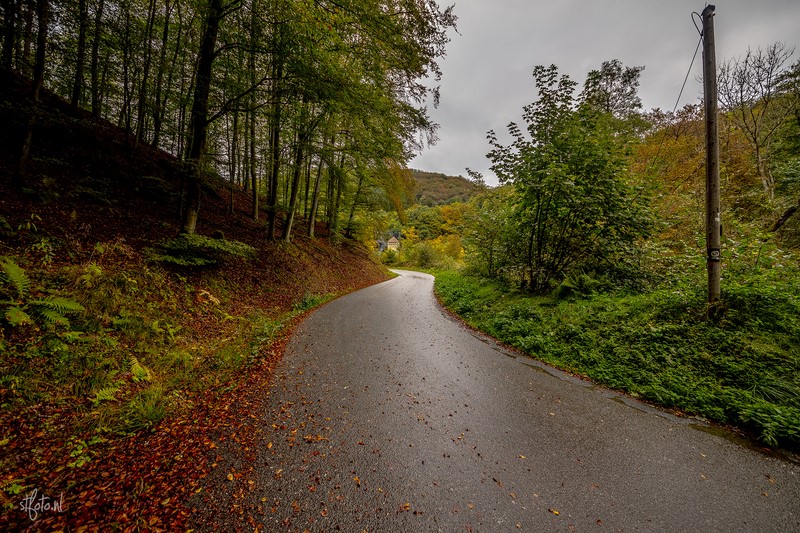
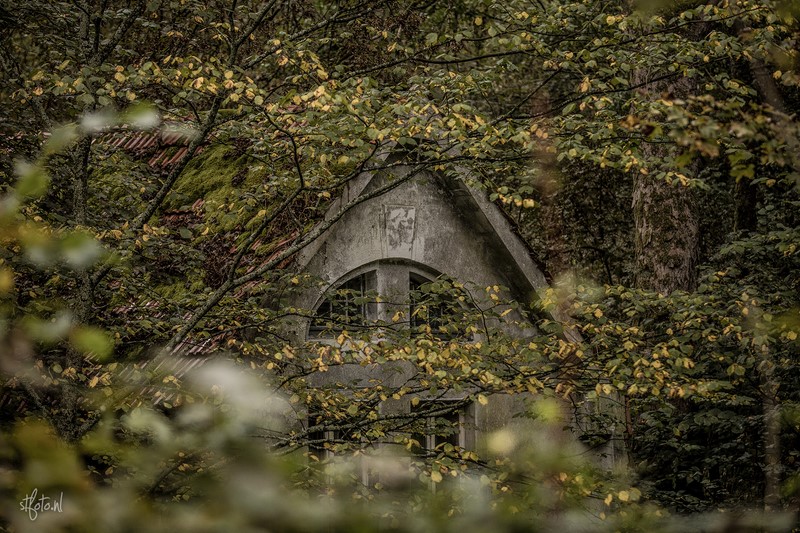
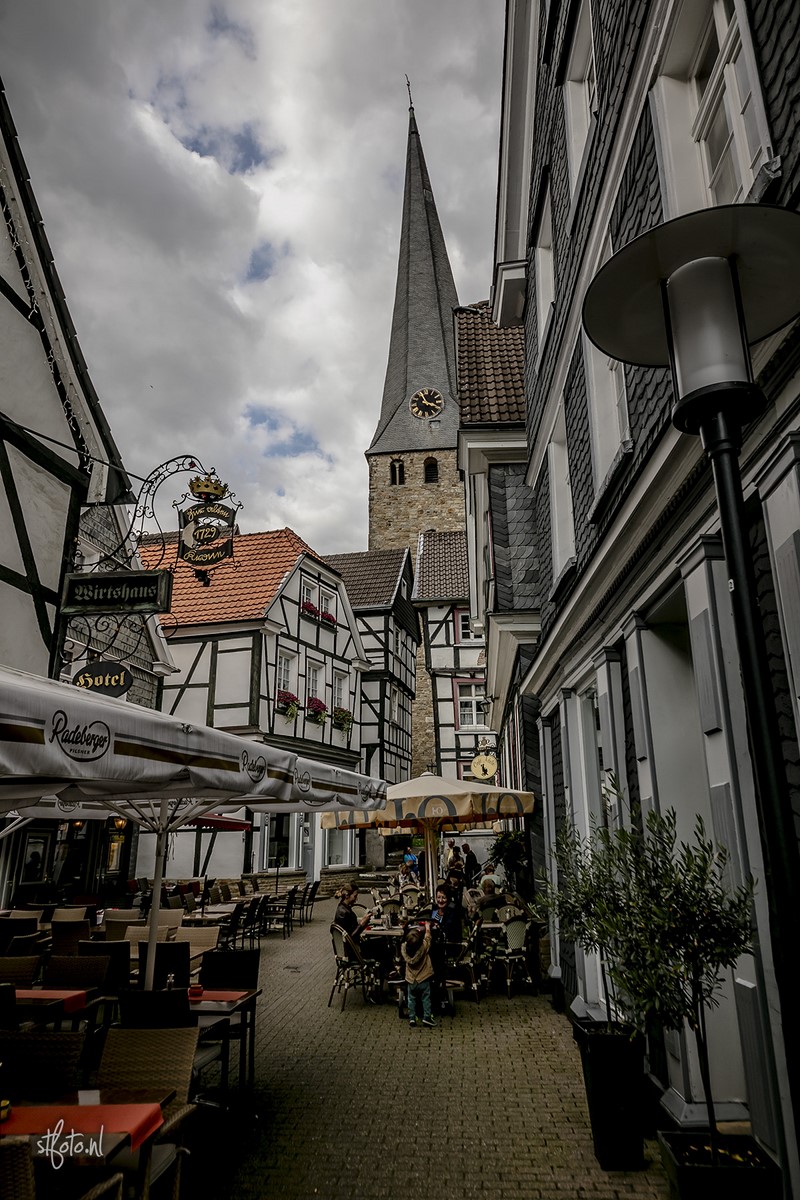
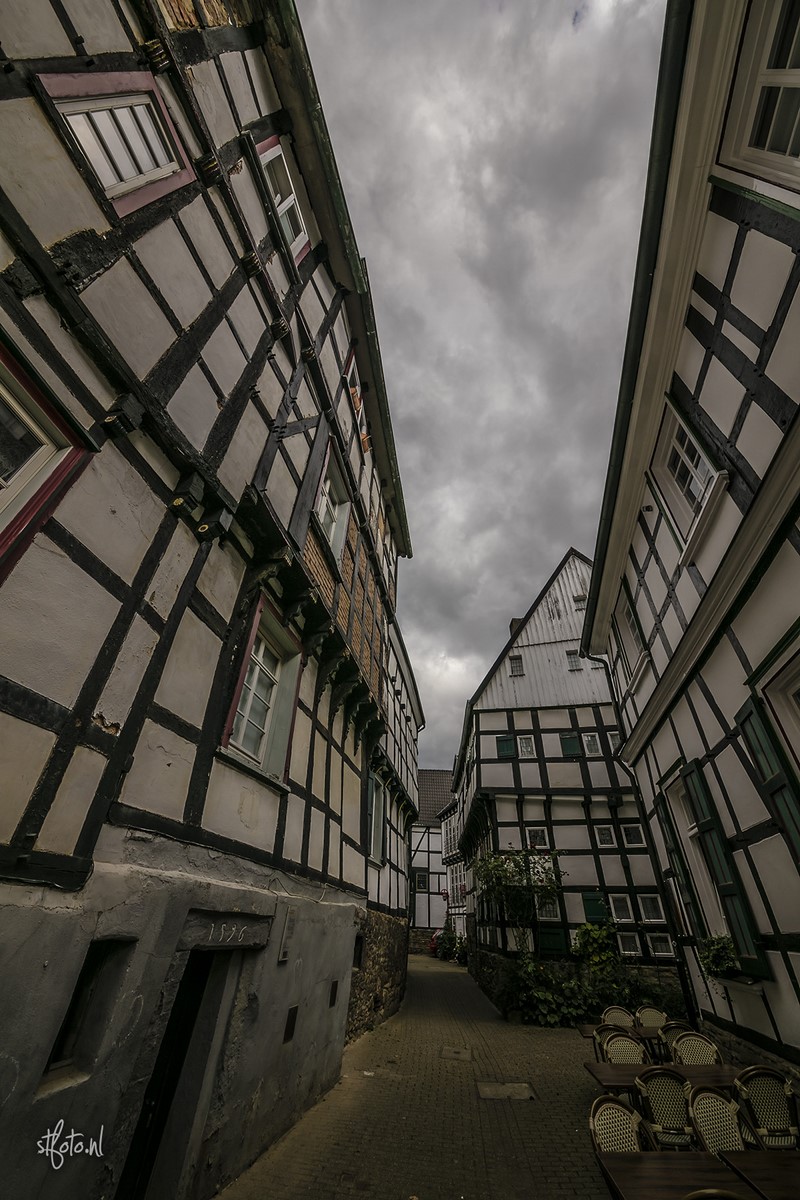
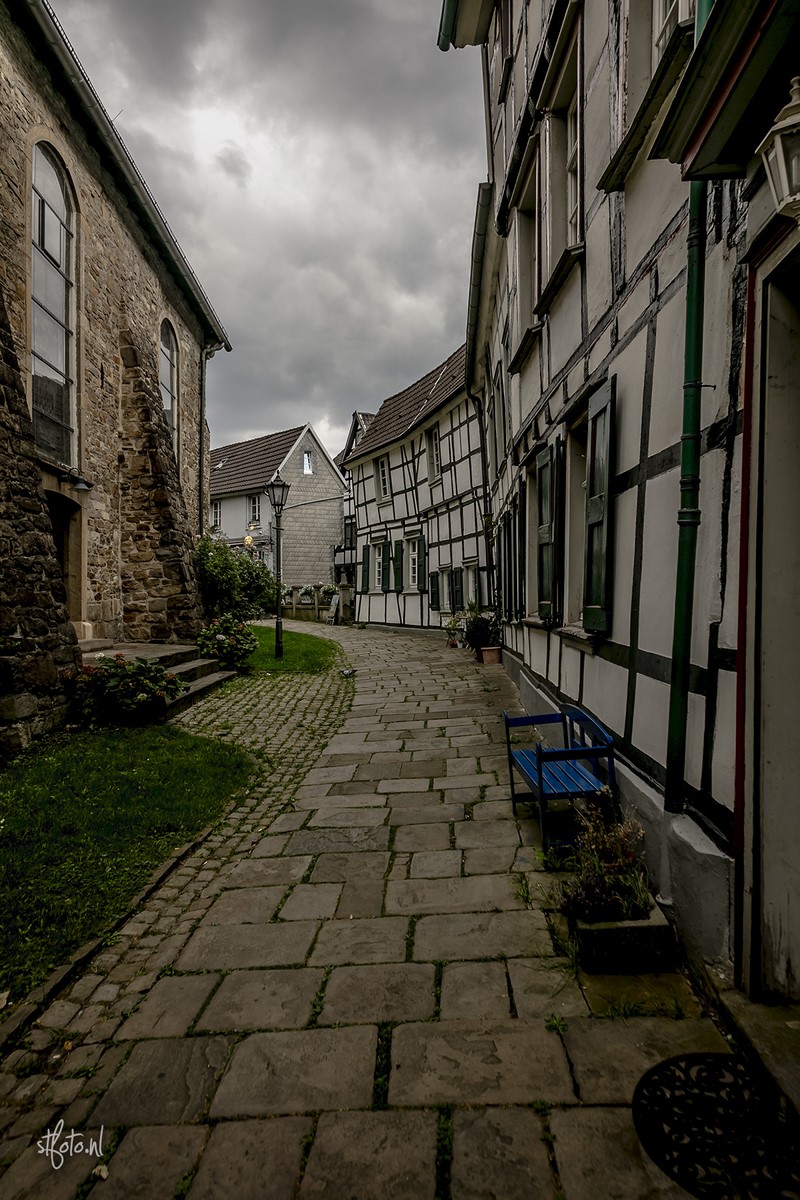
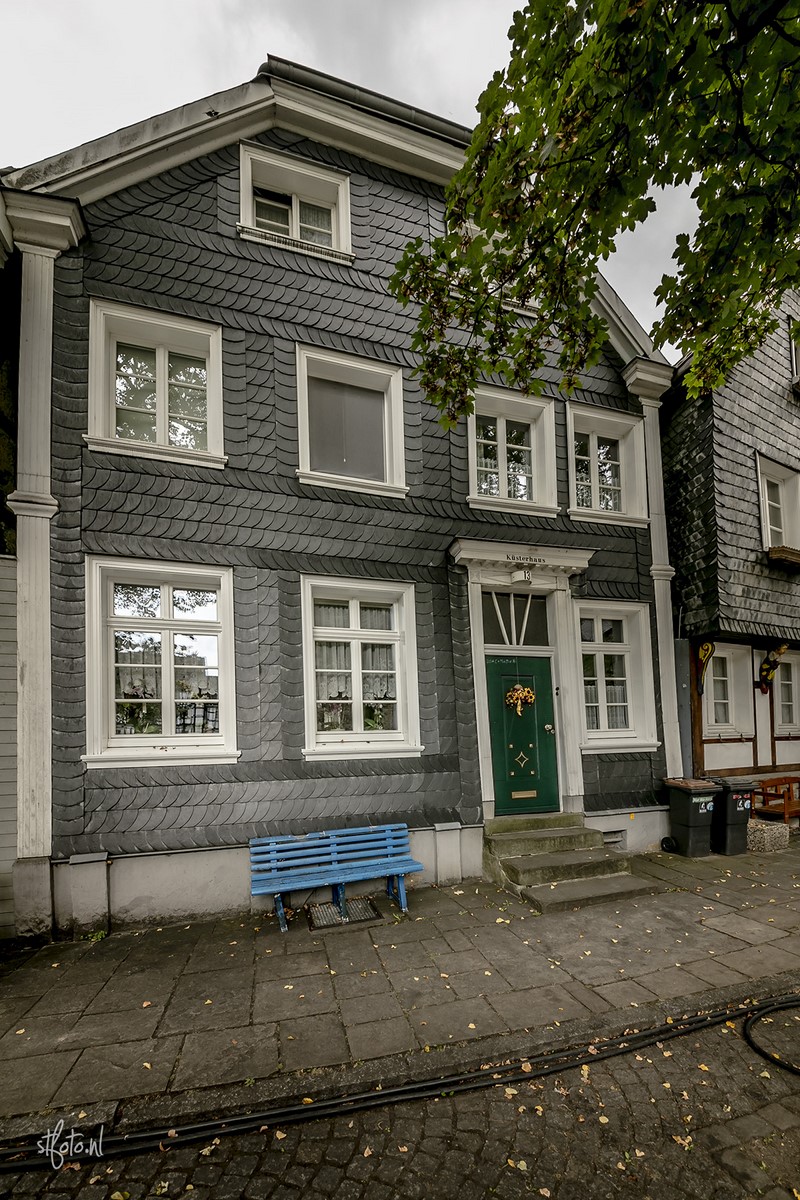
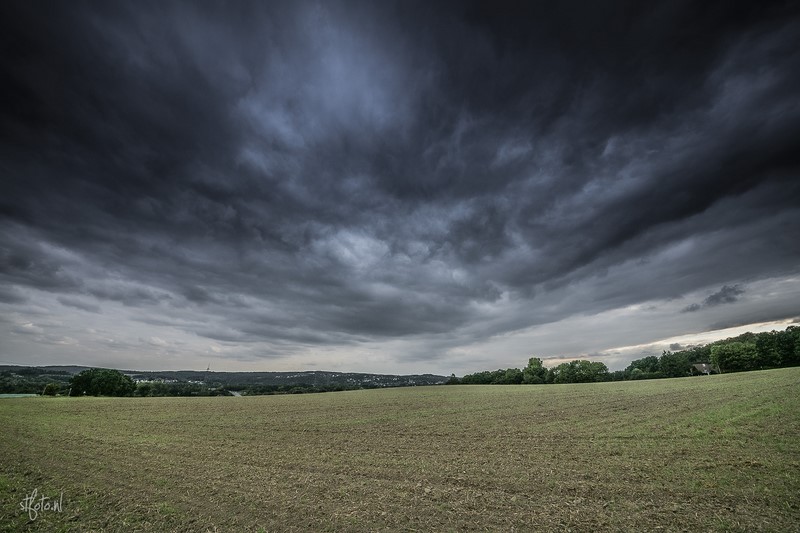
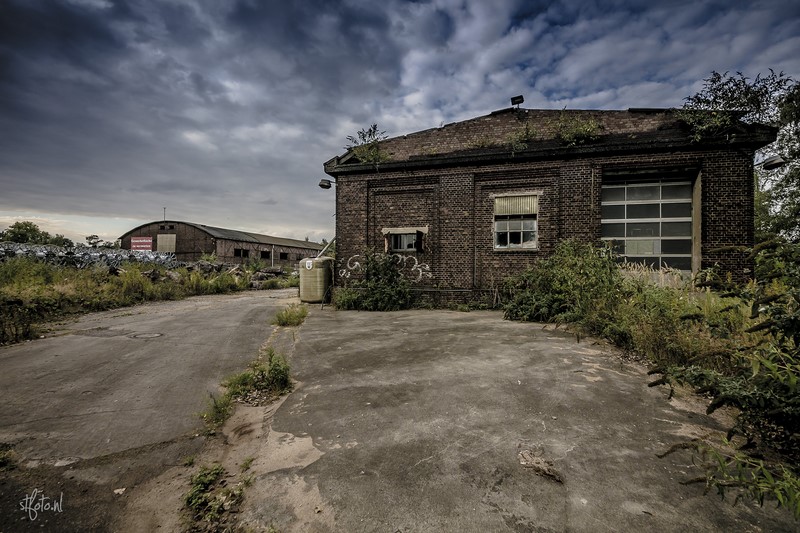
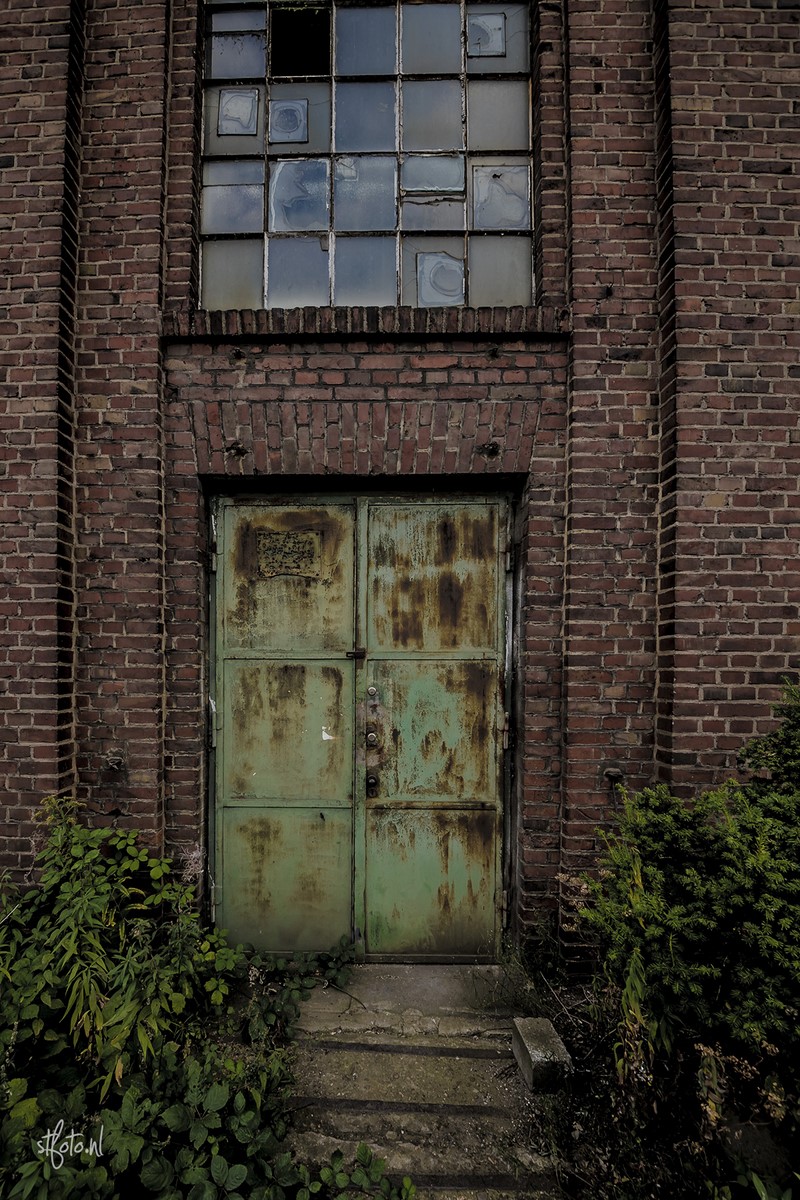
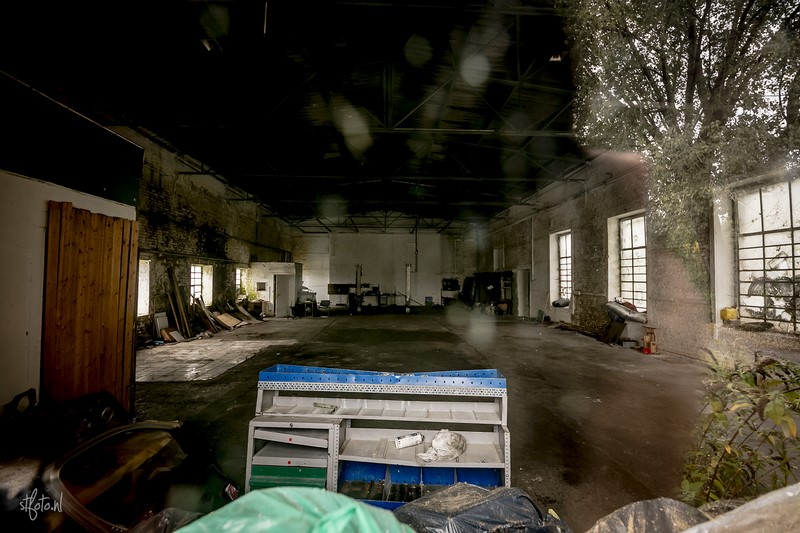
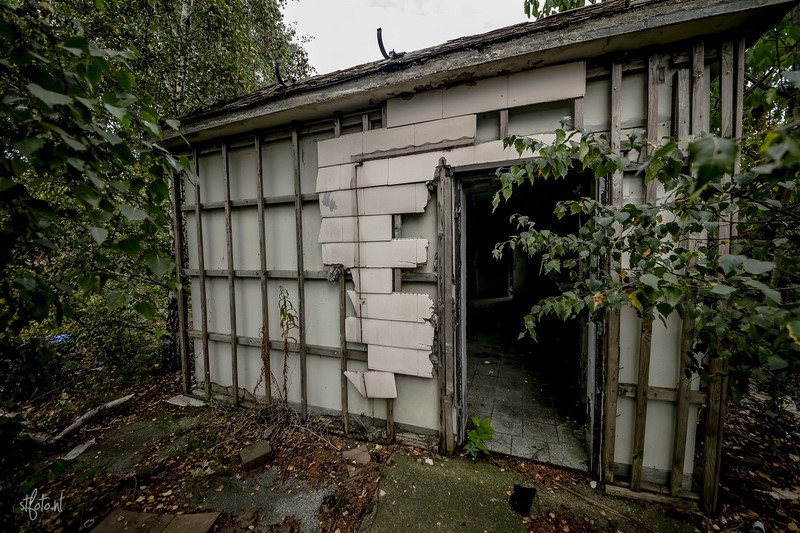
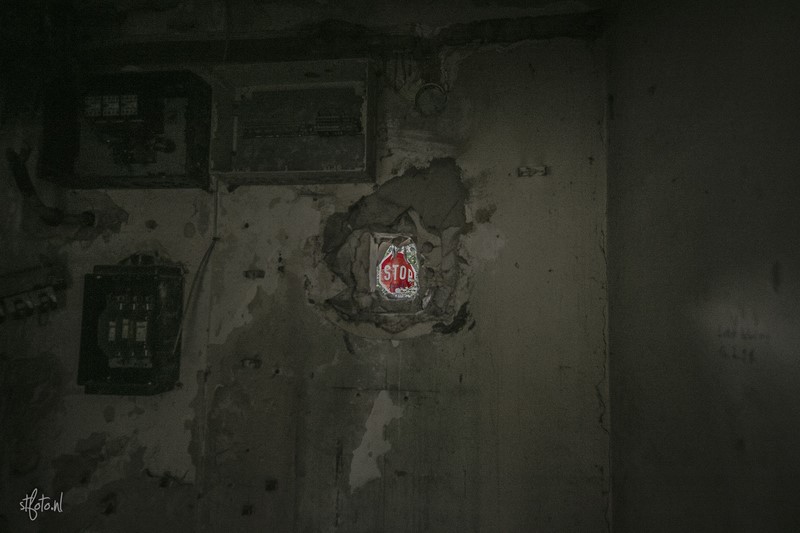
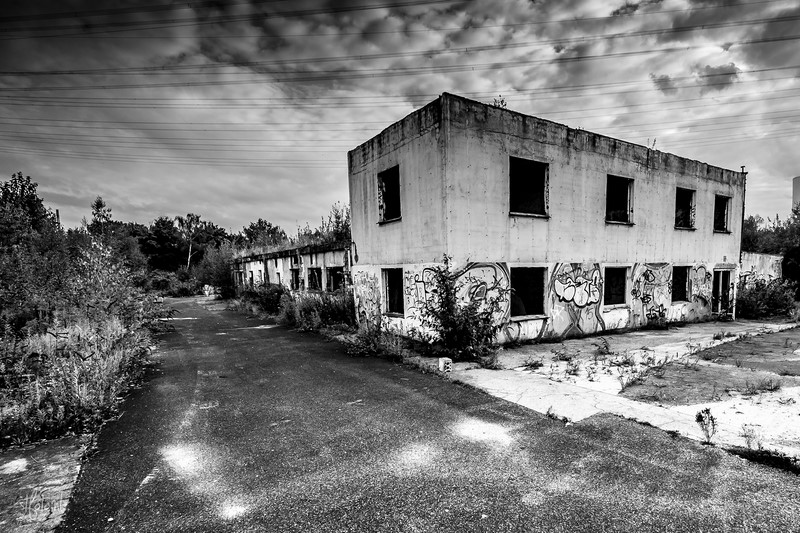
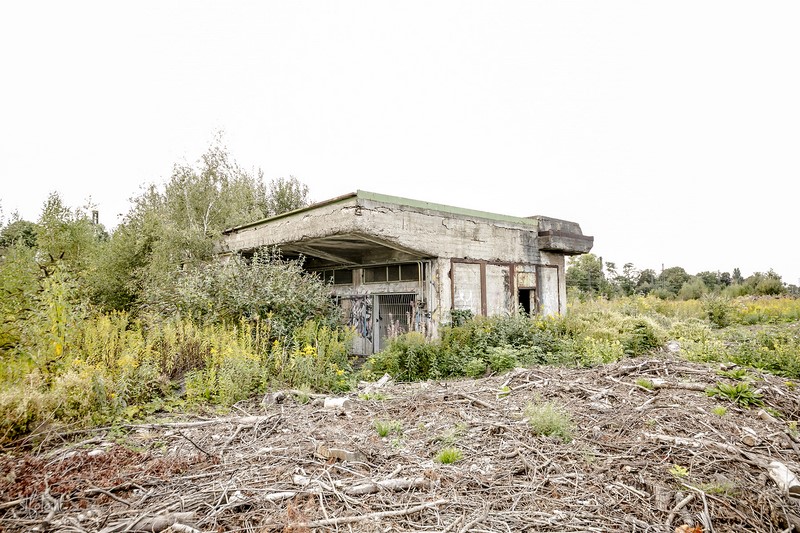
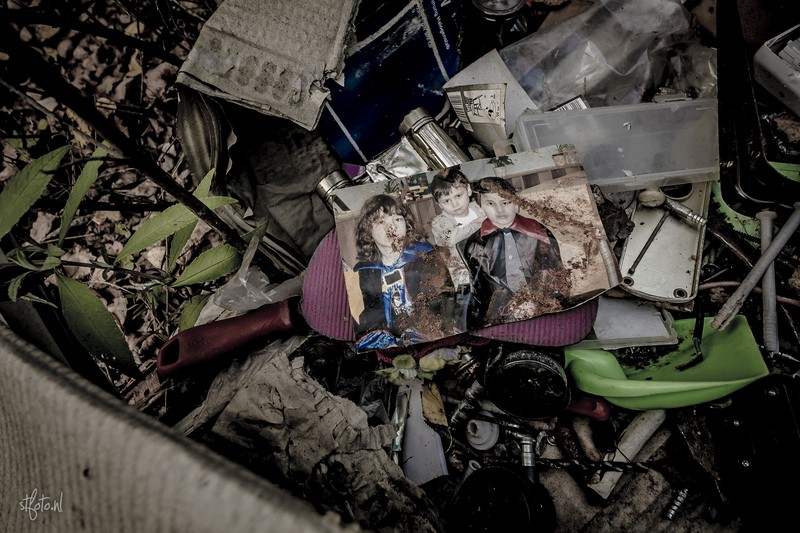
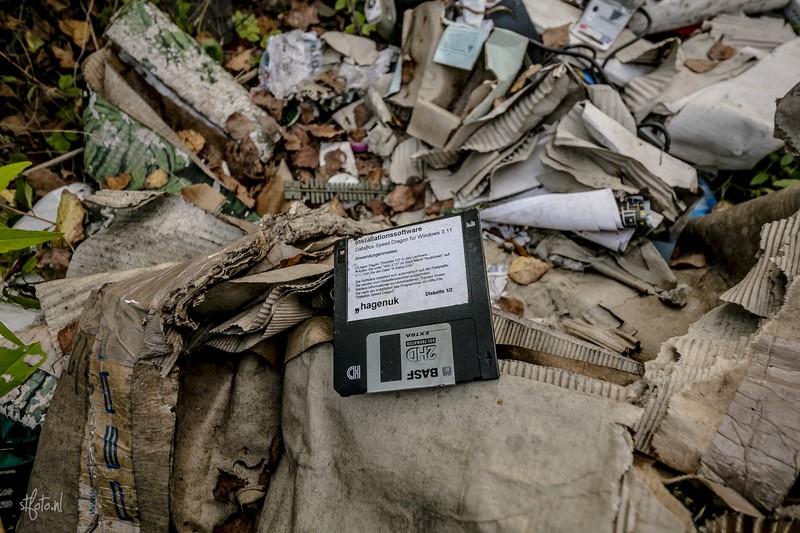
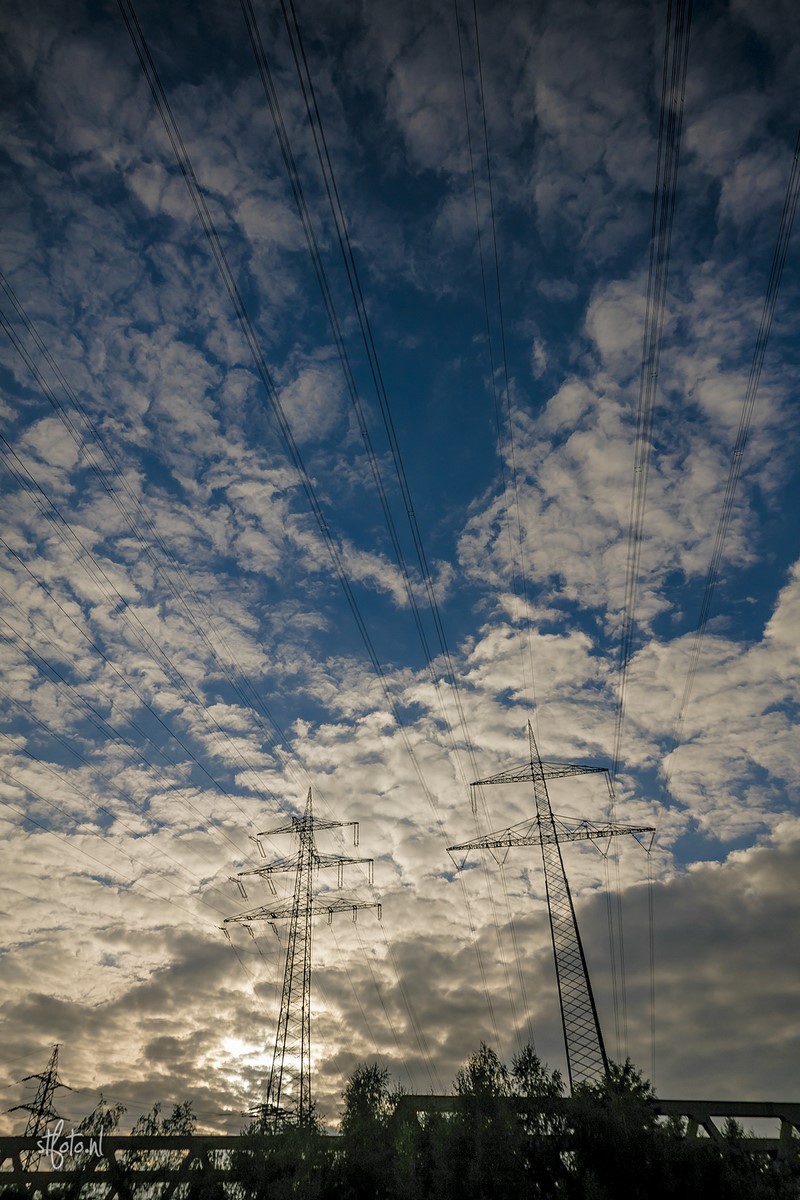
Went for a 2km ride, got back, ignored the street I lived in, carried on and ended up completely unplanned 150km away from home. This is the result.
This is actually something I want to do on a more regular basis. Probably invite friends along and just check out Europe. Anyway, in this case I drove around 300km and found some really cool places. Nothing was planned and I didn’t know the area beforehand.
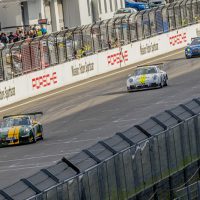
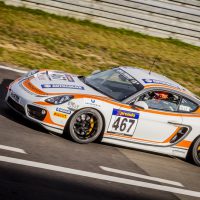
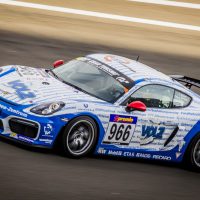
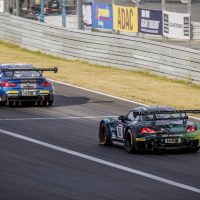
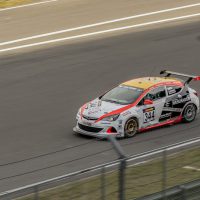
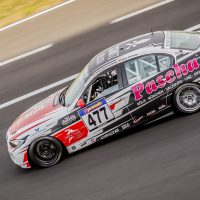
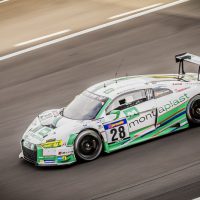
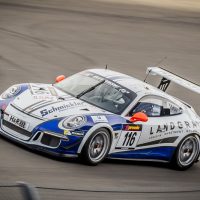
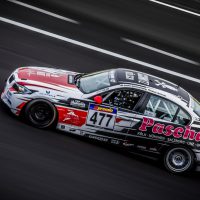
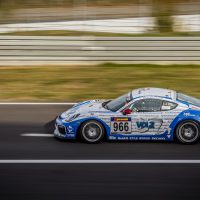
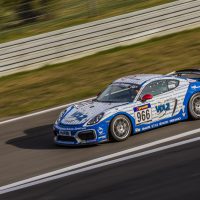
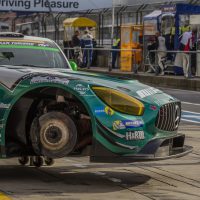
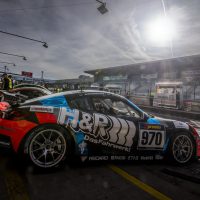
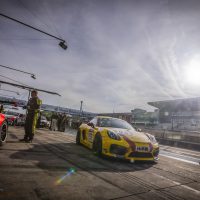
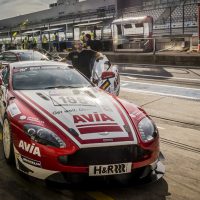
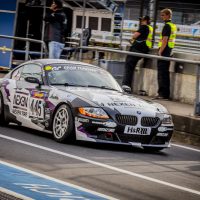
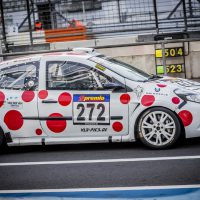
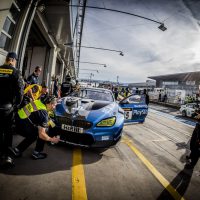
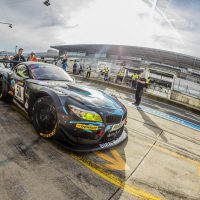
VLN 6 hours race at the Nürburgring
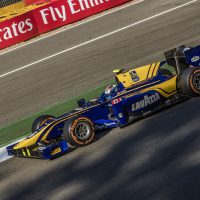
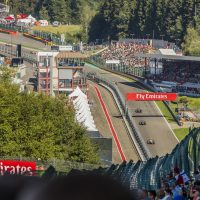
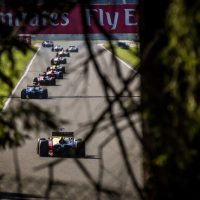
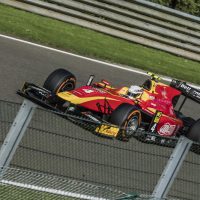
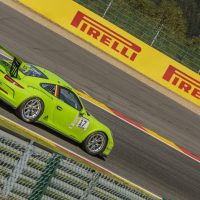
So, after going to Belgium for the Formula 1 Belgian GP at Spa Francorchamps, my photos were noticed on Instagram.
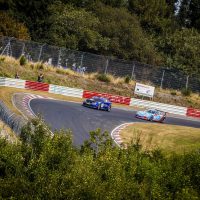
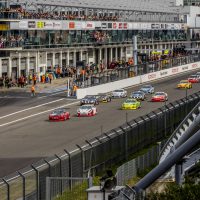
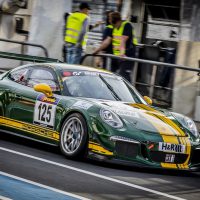
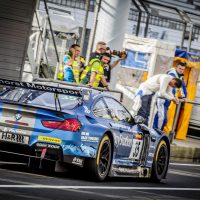
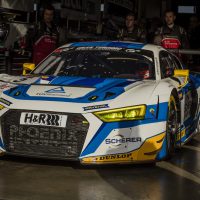
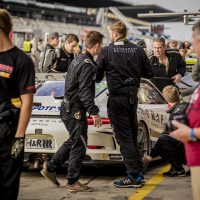
I got in touch with Domenico Solombrino who is a Porsche driver at Mathol Racing and he told be the VLN 6 hours race at the German Nürburgring was next Saturday. I got in my car at 3AM and raced my way to the Green Hell to be just in time for quali.
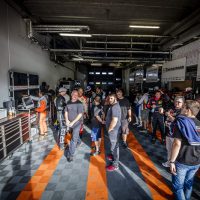
The day was just awesome. I was able to walk everywhere on and around the track, also during the sessions. The smell, the sounds and the atmosphere, everything was just perfect. Here is just a small selection of the 120GB of shots I’ve taken. Enjoy!
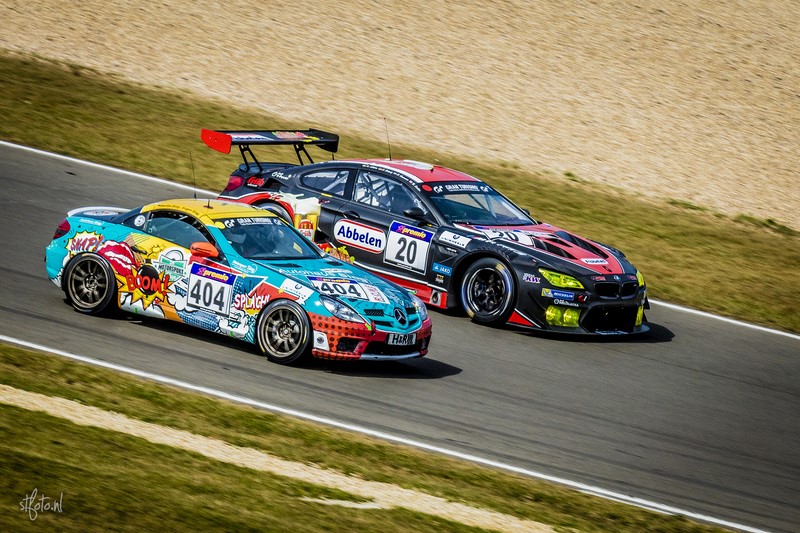
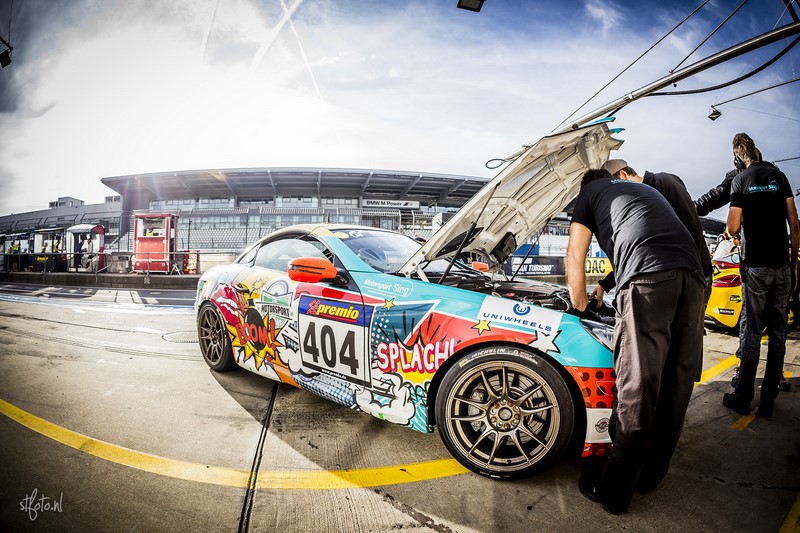
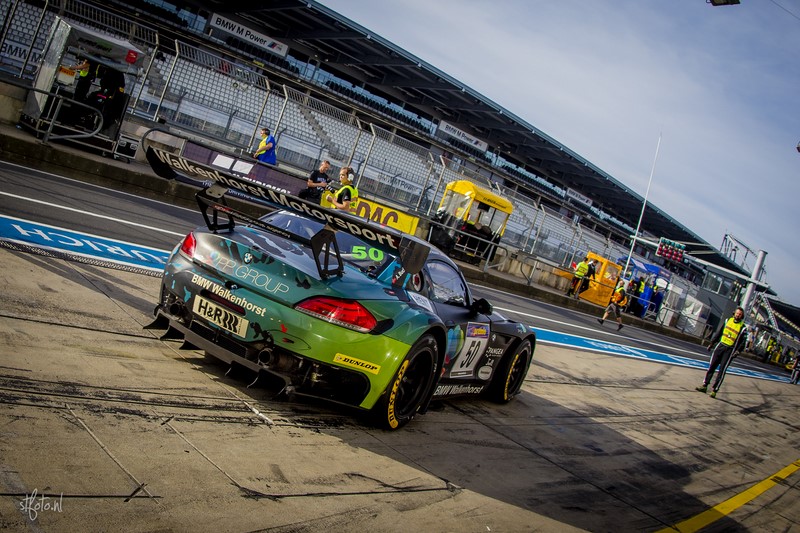
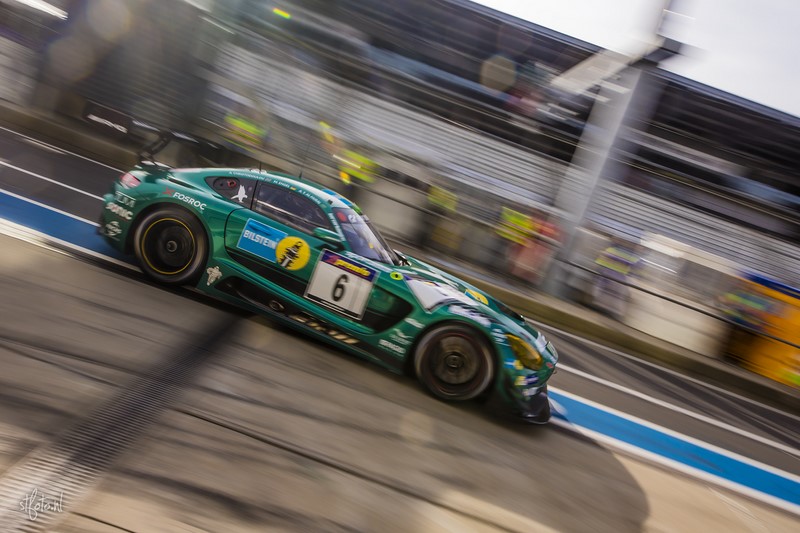
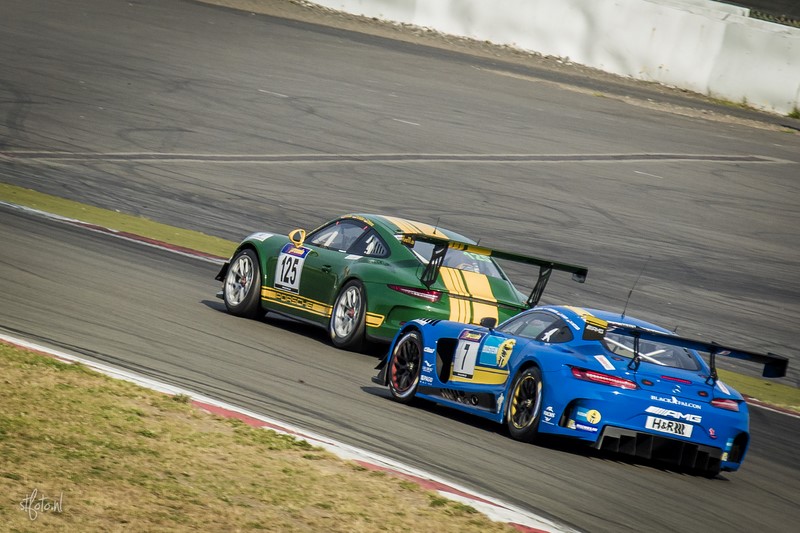
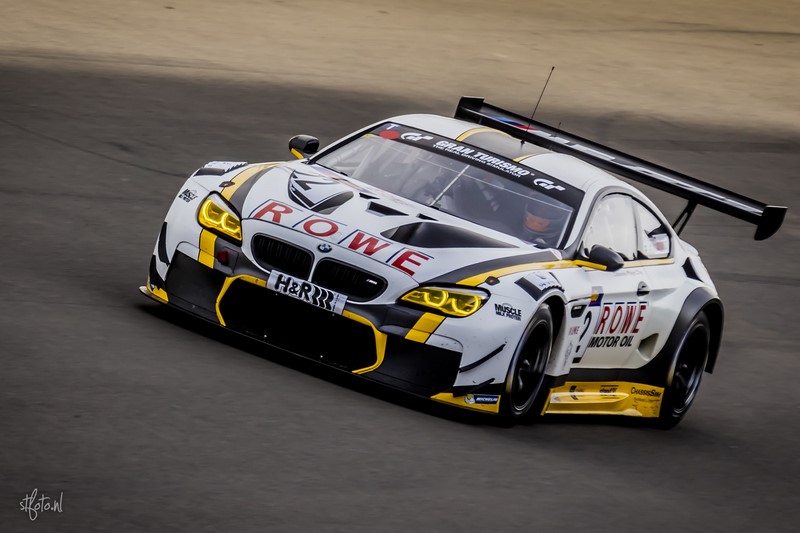
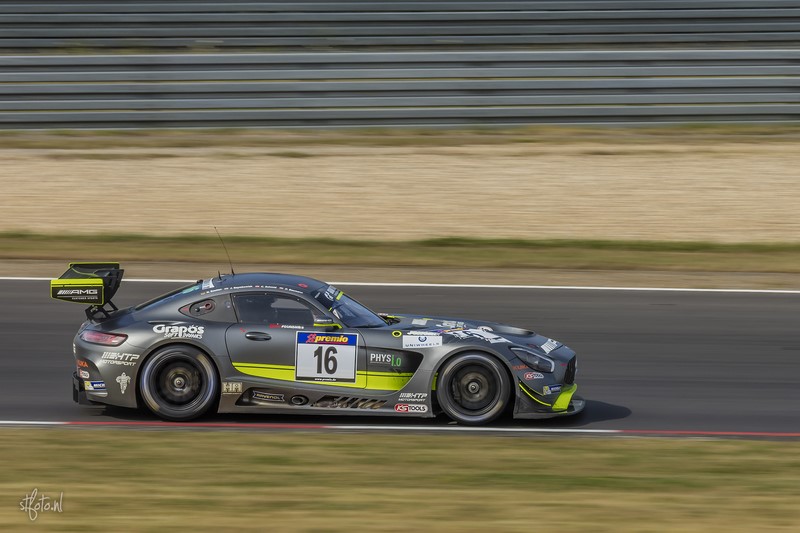
And here’s the rest in a gallery.
Formula one – Spa Francorchamps Grand Prix 2016
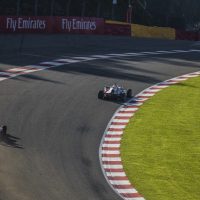
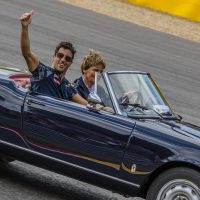
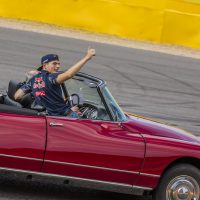
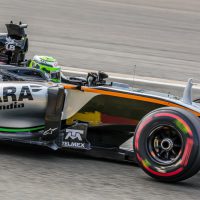
On Sunday the 28th, the 2016 Belgian Grand Prix was held. I was lucky enough to get tickets through work, so I went with some awesome colleagues, my brother and his daughter. What a day!
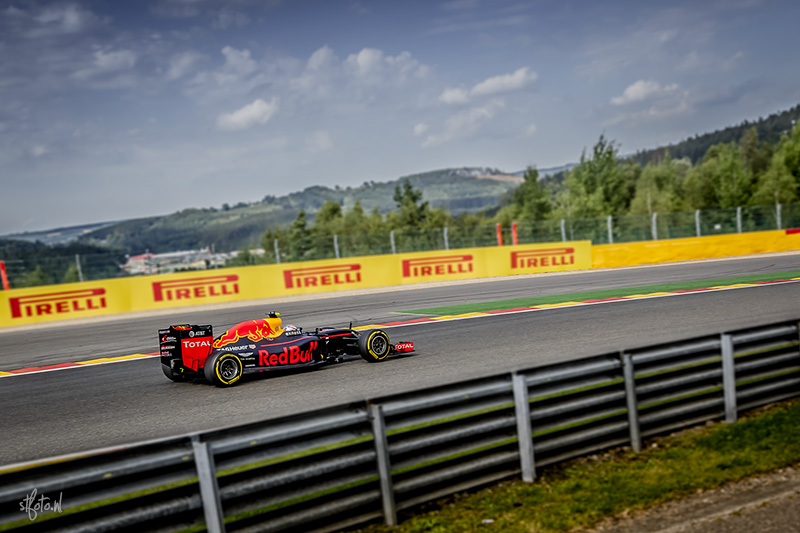
CLASSIFIED – A Germany Poland Czech roadtrip short series
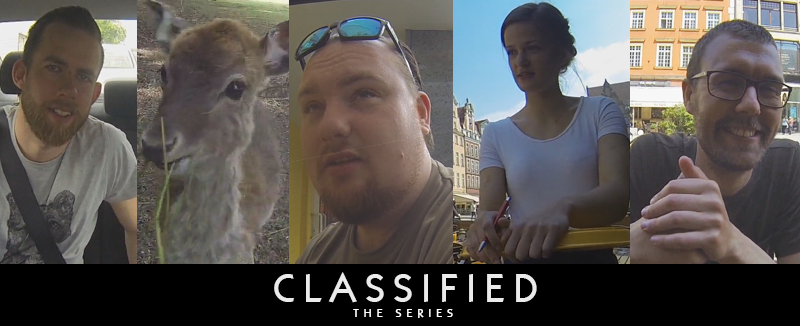
So, Herman Bluemink, Victor Eekhof and me (Steven van de Staak) went on a roadtrip. How did it all go? Well…
To sum it all up, we rented a car and went East. Blasted through Germany, hit Poland, touched Czech and raced back. Some things were planned as in, we had some “waypoints” but the actual route and time schedule was quite a tombola. Besides taking a ton of photo’s I ended up capturing hours on my GoPro. Here are 7 episodes or roughly 10 minutes each for you to enjoy. Enjoy.
Classified – TheSeries [S01E01] – The First day
Classified – TheSeries [S01E02] – SAUERKRAUT
Classified – TheSeries [S01E03] – A steamy museum
Classified – TheSeries [S01E04] – Hotel Lidl
Classified – TheSeries [S01E05] – Looking for abandoned stuff.
Classified – TheSeries [S01E06] – Old stuff and mountains
Classified – TheSeries [S01E07] – Goin’ home
Quick roadtrip to Germany, again
Just a quick ride in my car to Germany. Was bored so.. whadda ya do, right?
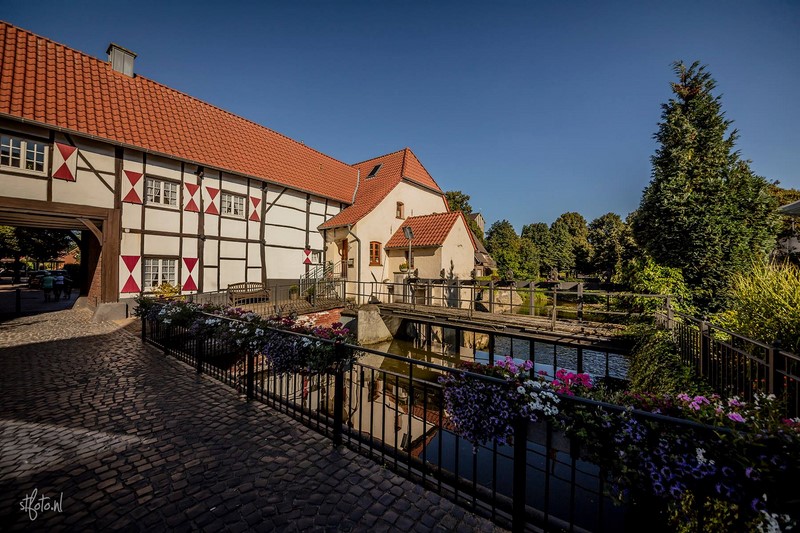
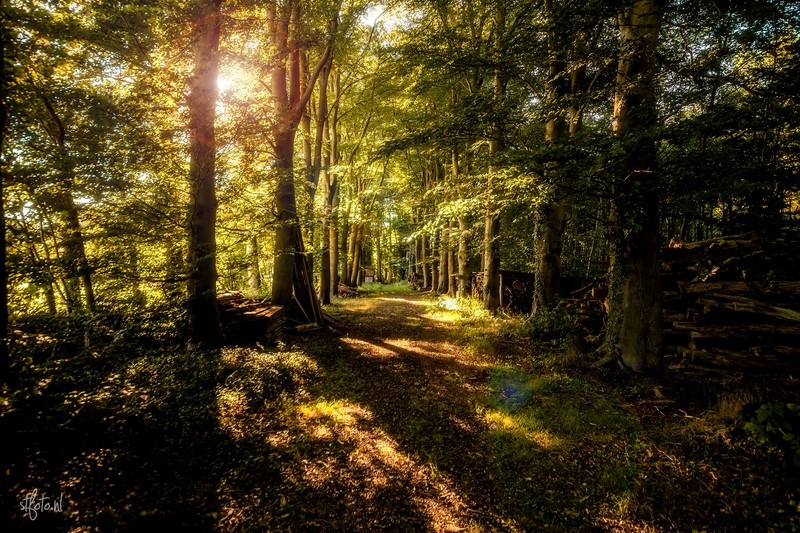
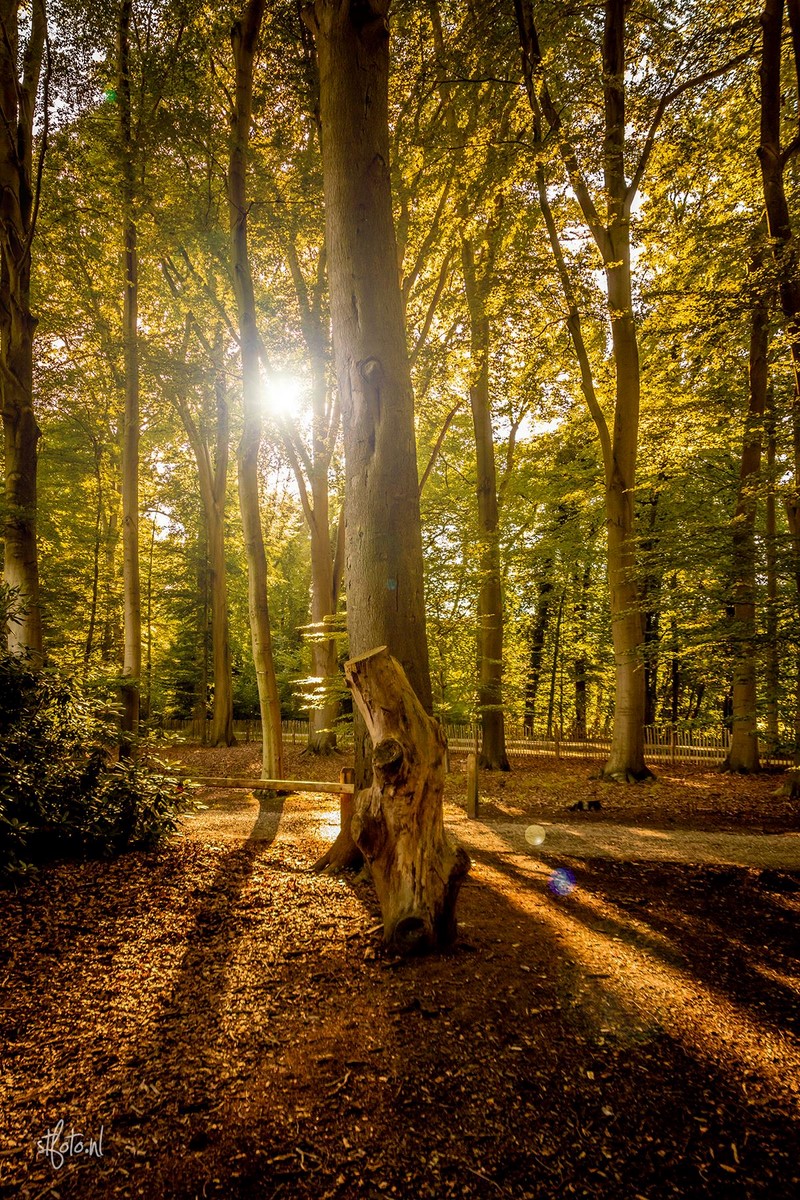
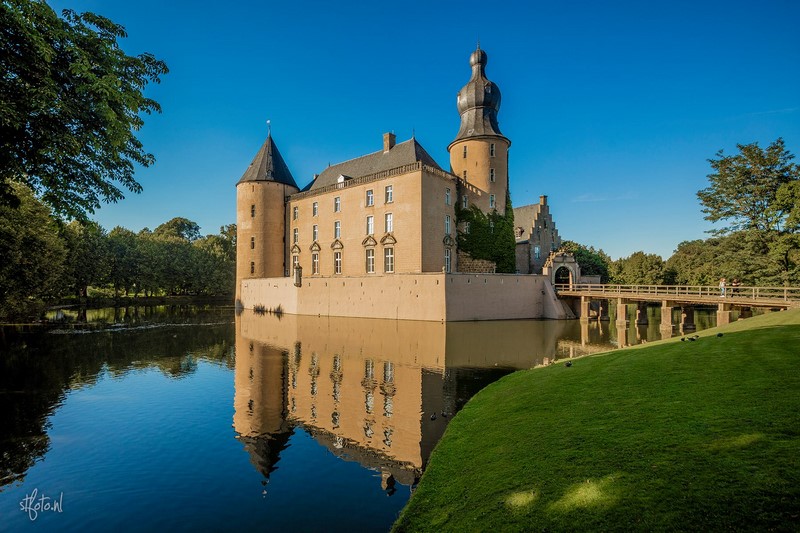
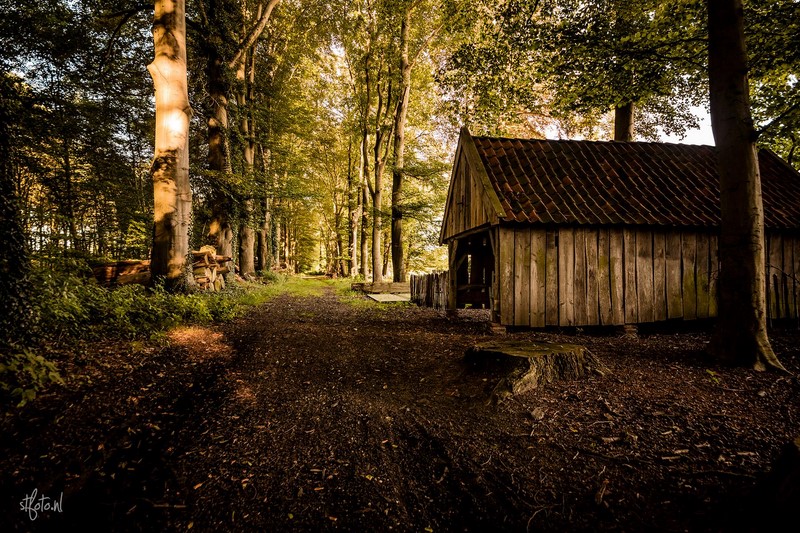
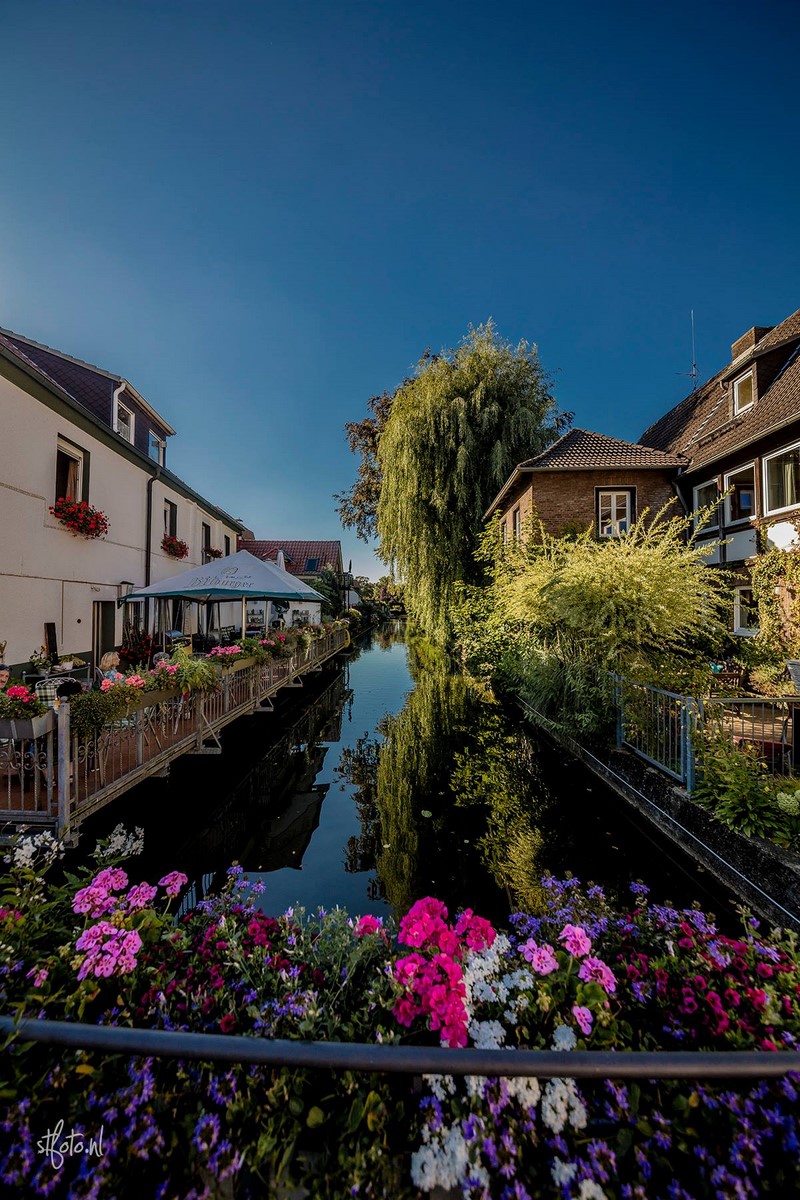
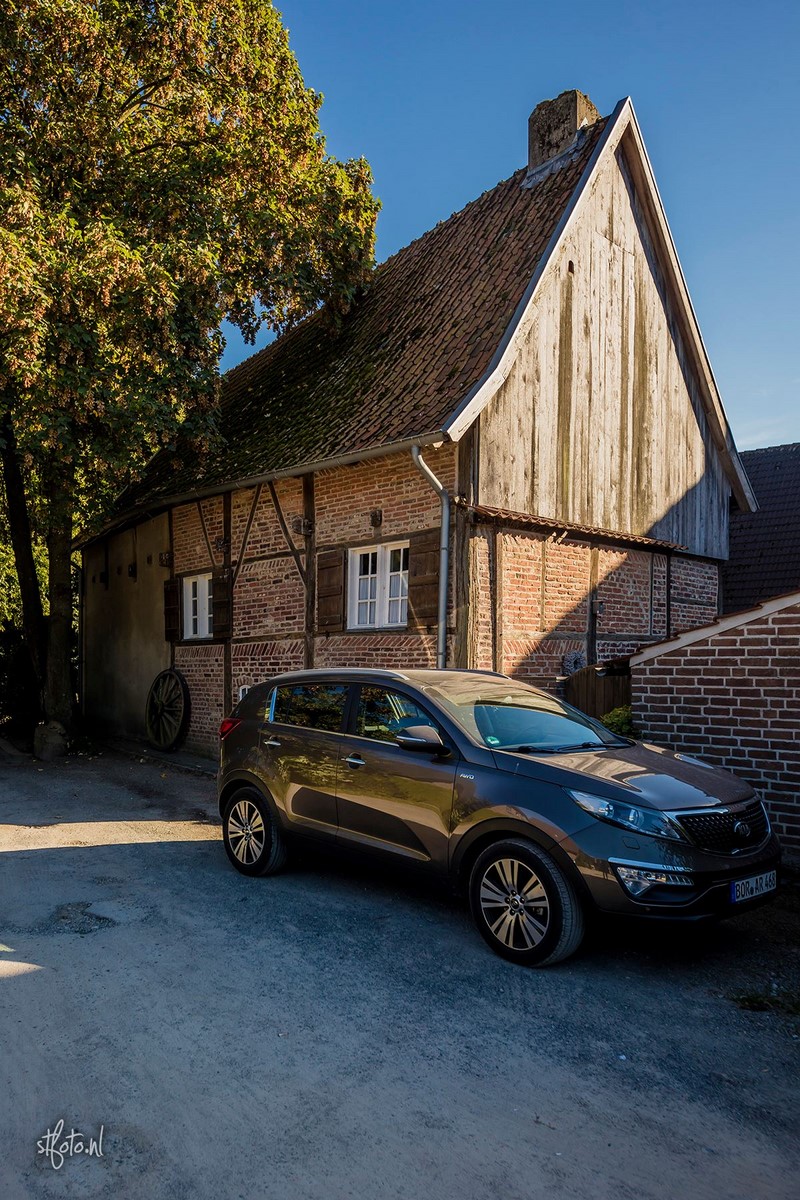
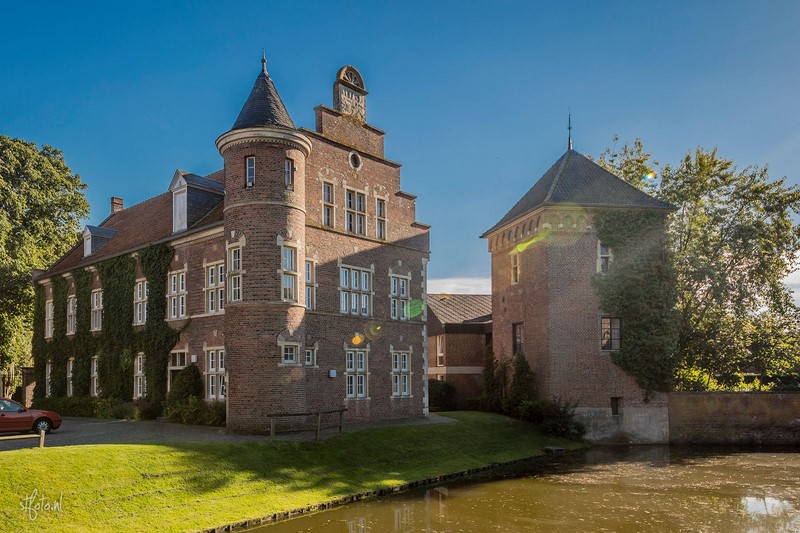
I actually found this old city-center by accident, took a wrong turn and all of a sudden I saw this old building with a gate (first photo). Parked the car and went in. There, I found this awesome castle. What random traveling can give you, right?
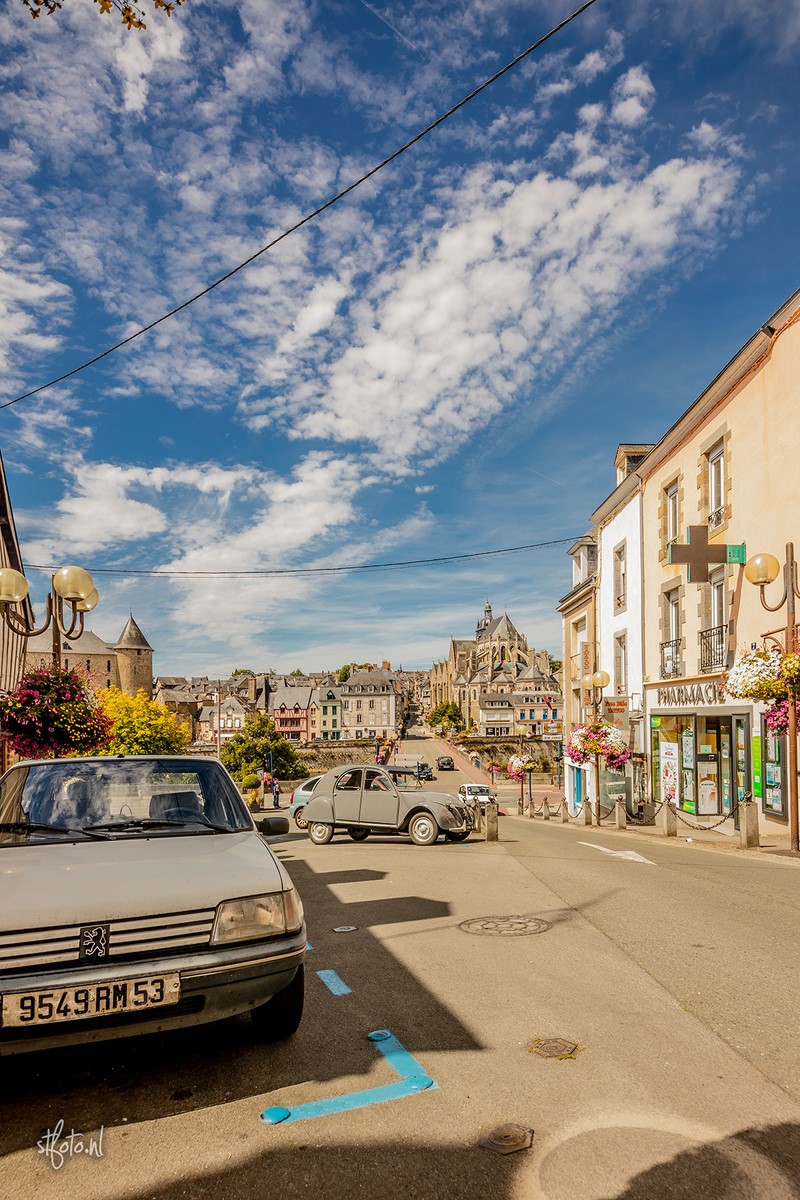
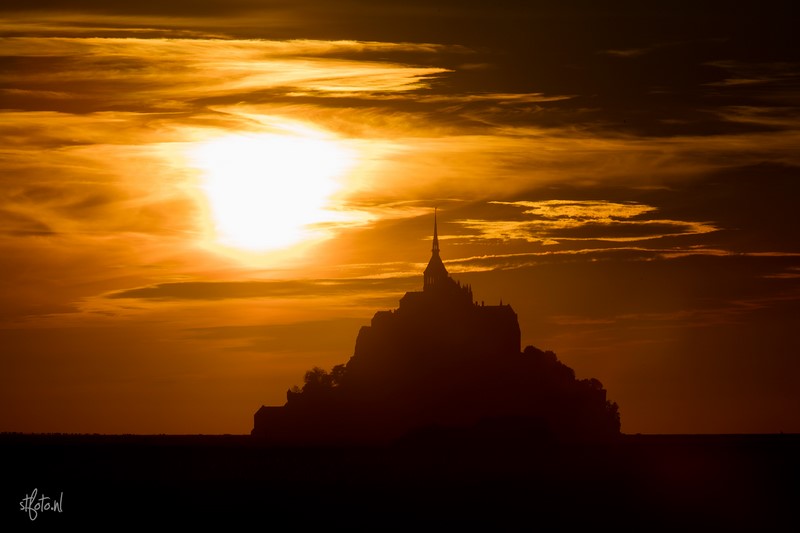
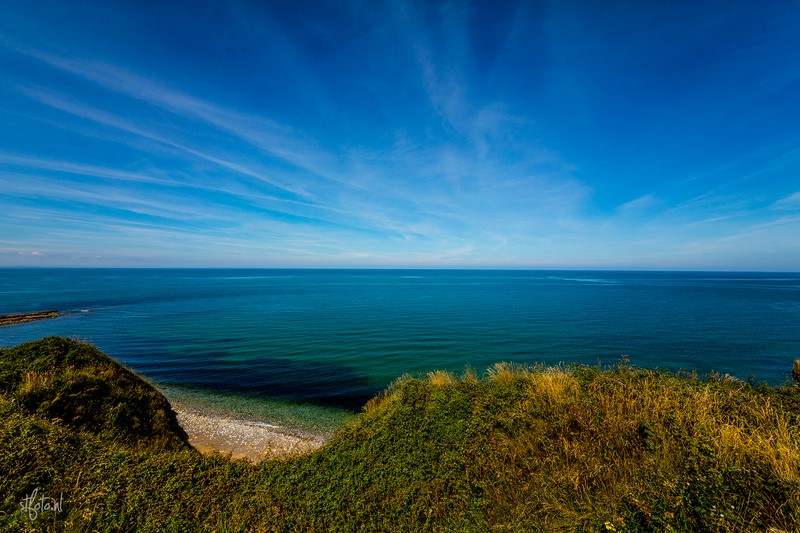
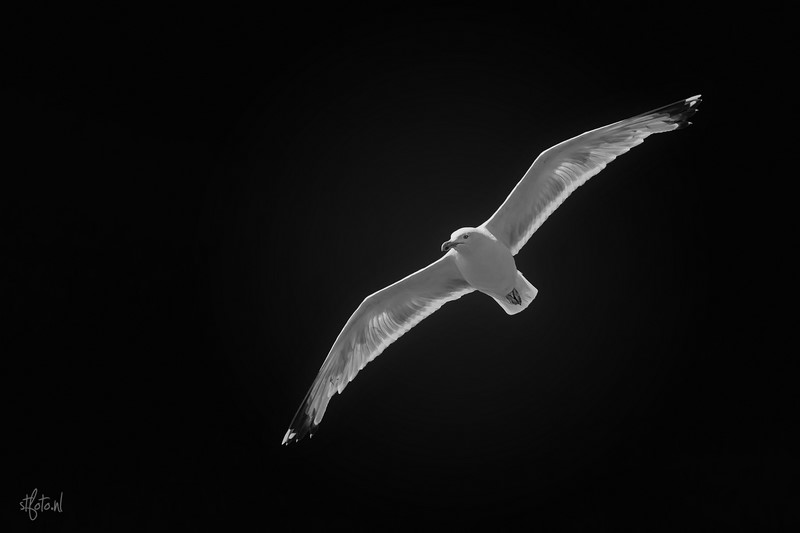
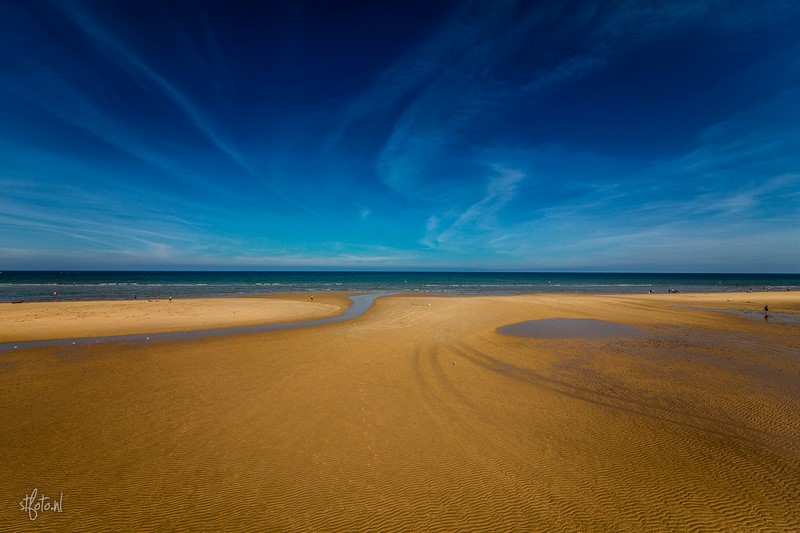
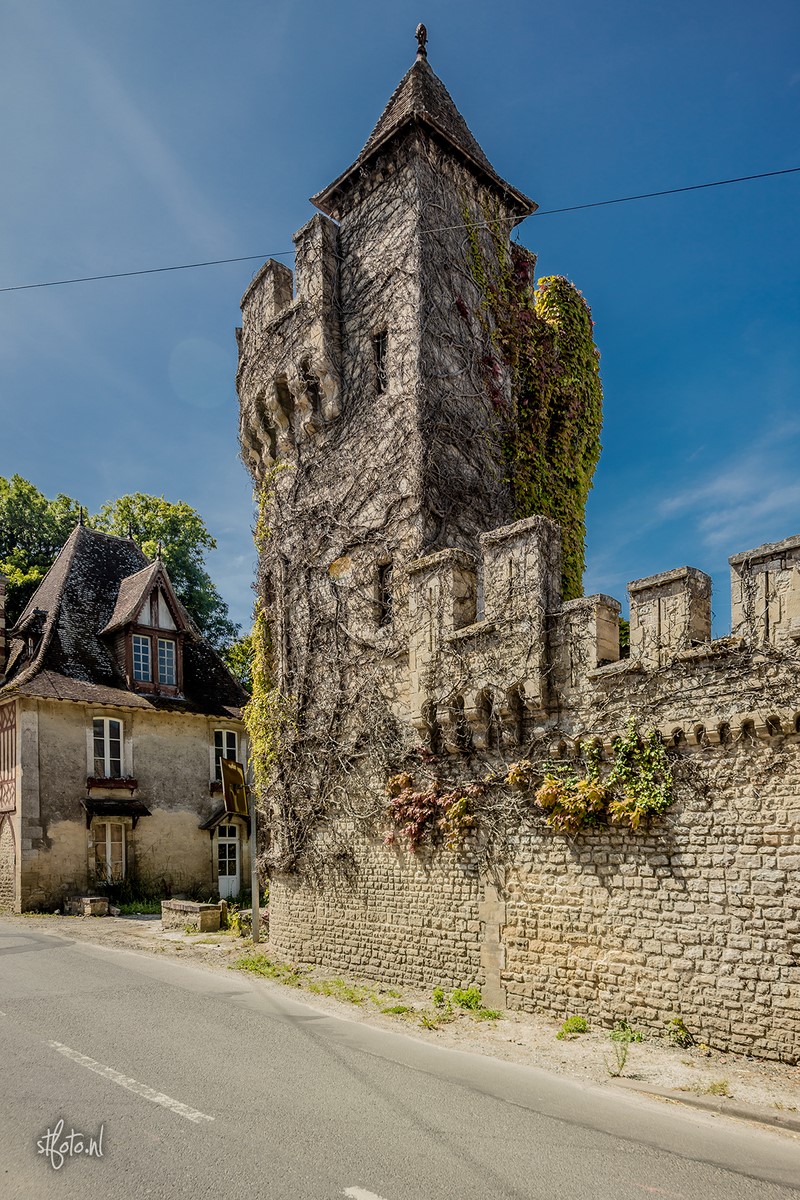
Summer 2016 trip: Normandy, France
Just a 1600km roadtrip through Normandy, France. What a beautiful place… and such a rich and important history.
All the photos can be seen at the full Normandy page.
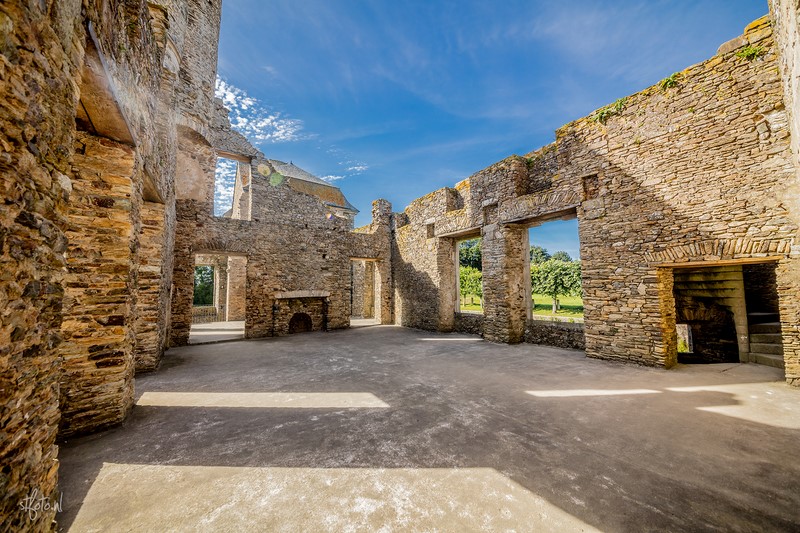
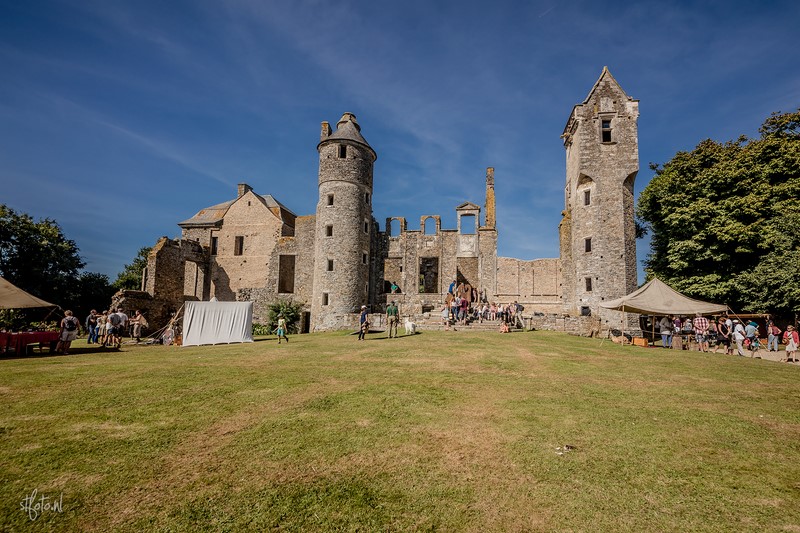
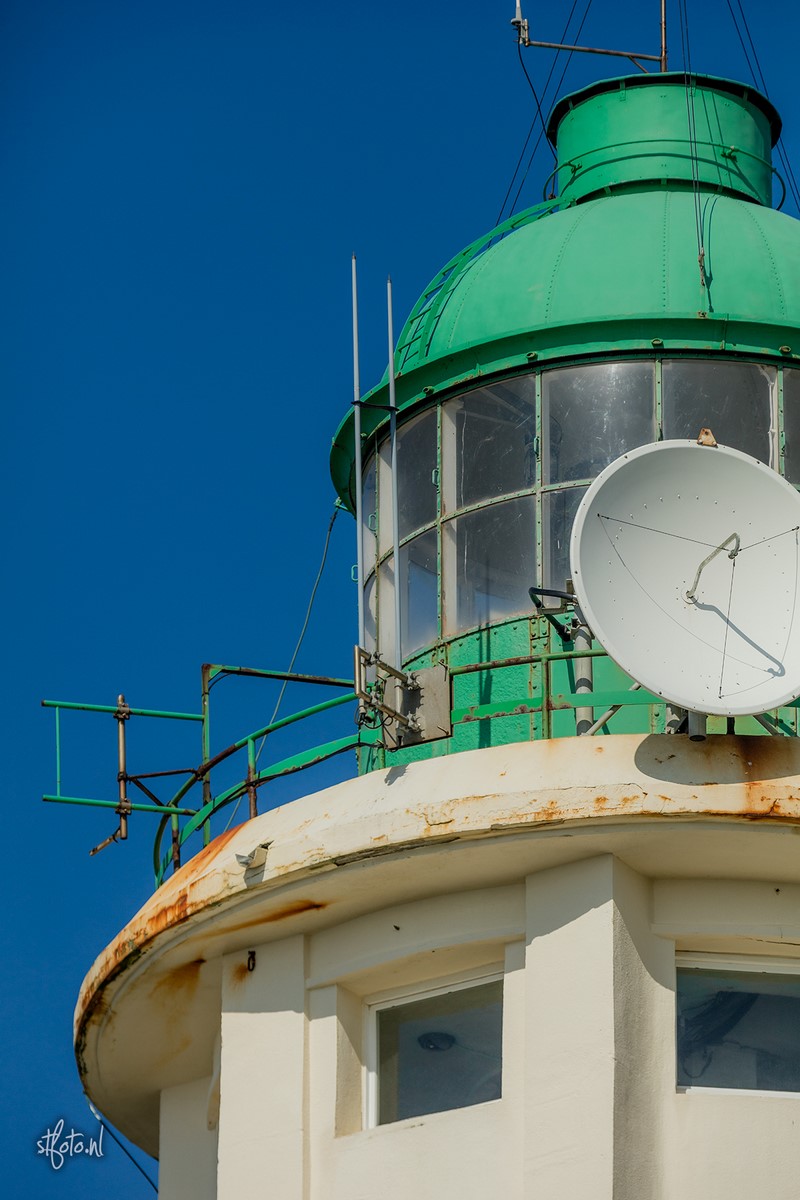
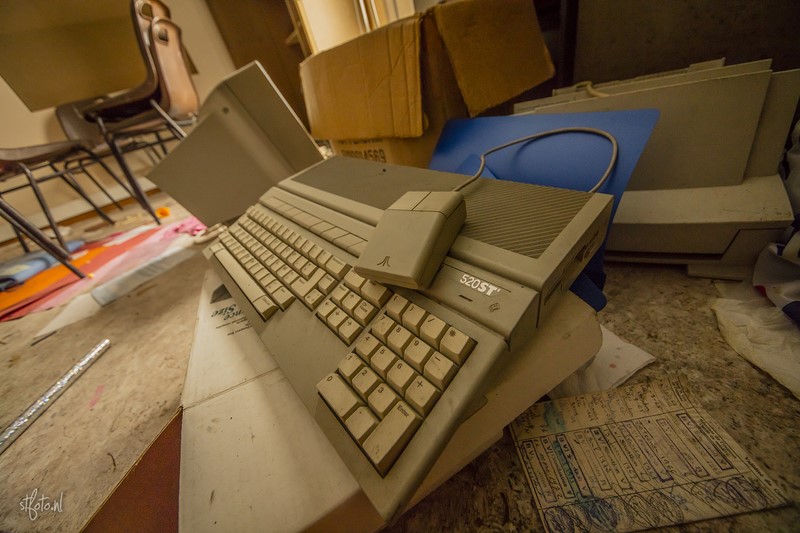
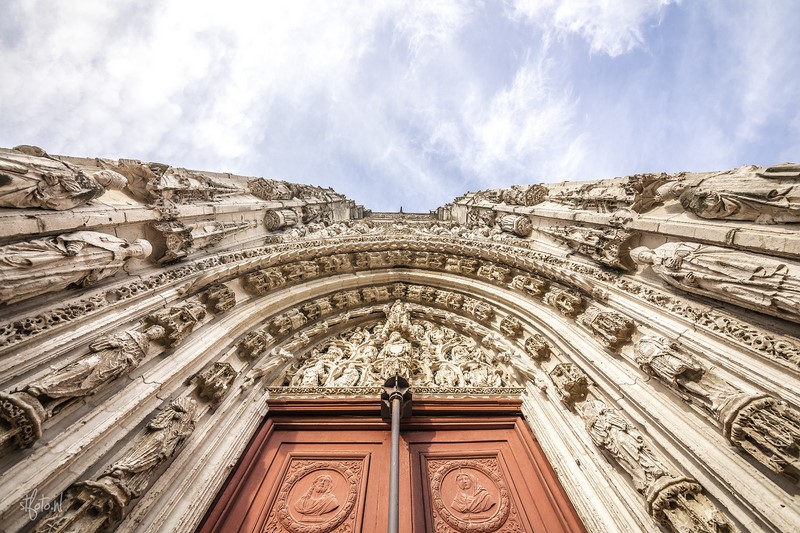
Abandoned military facility in Germany
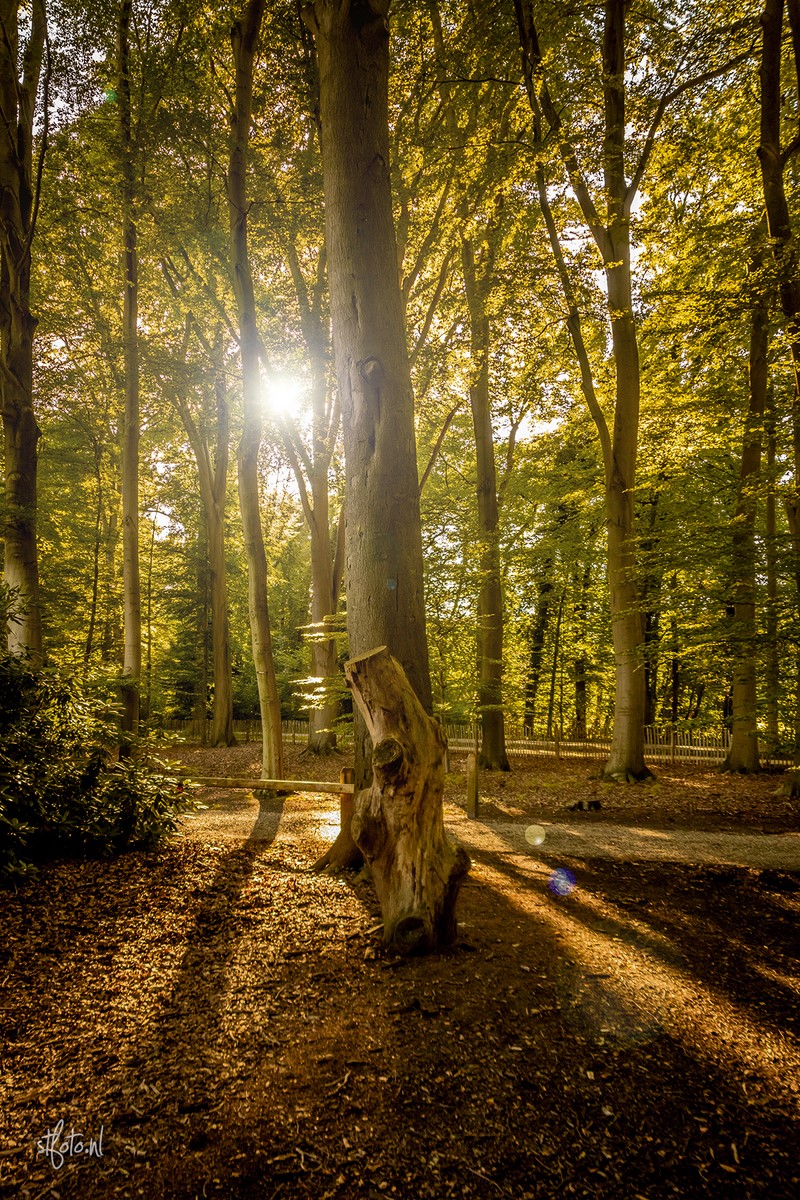
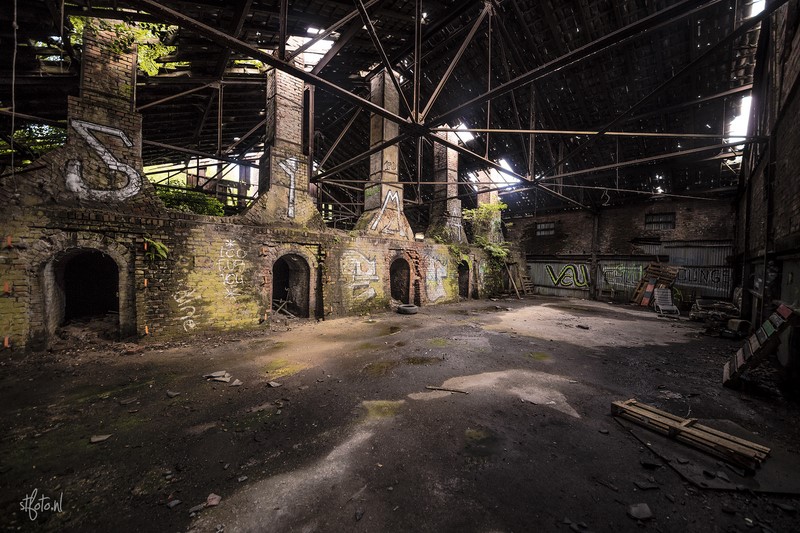
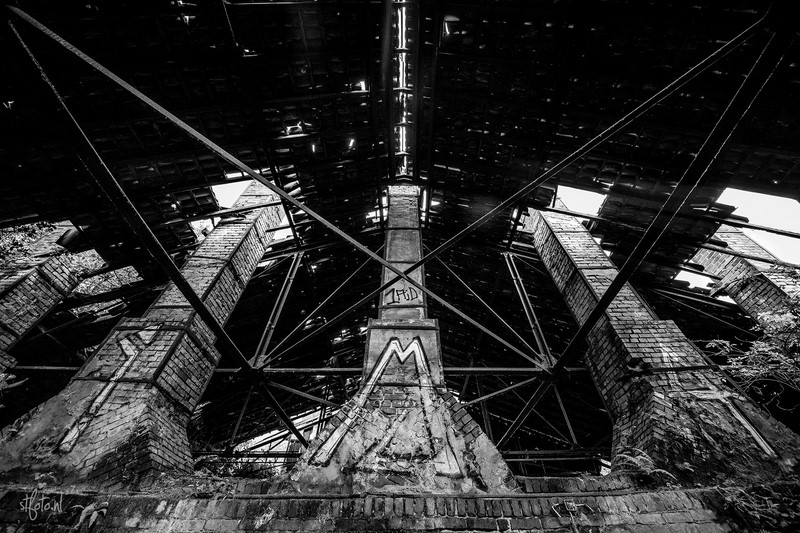
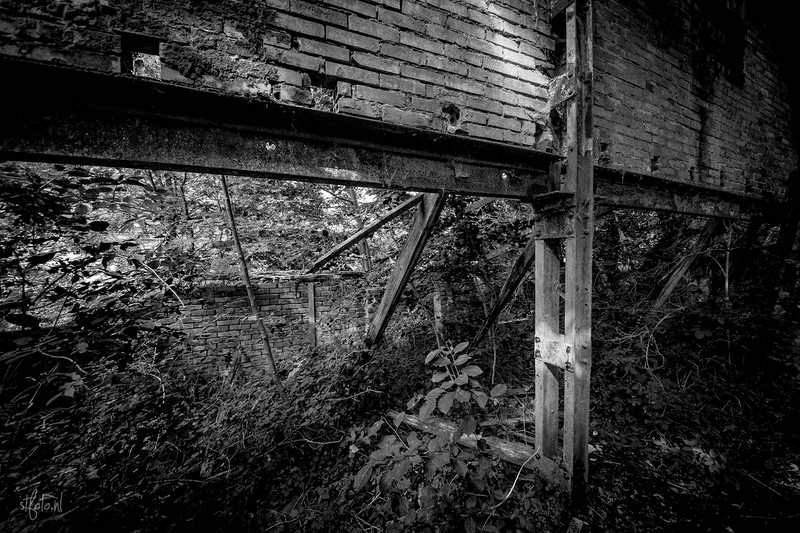
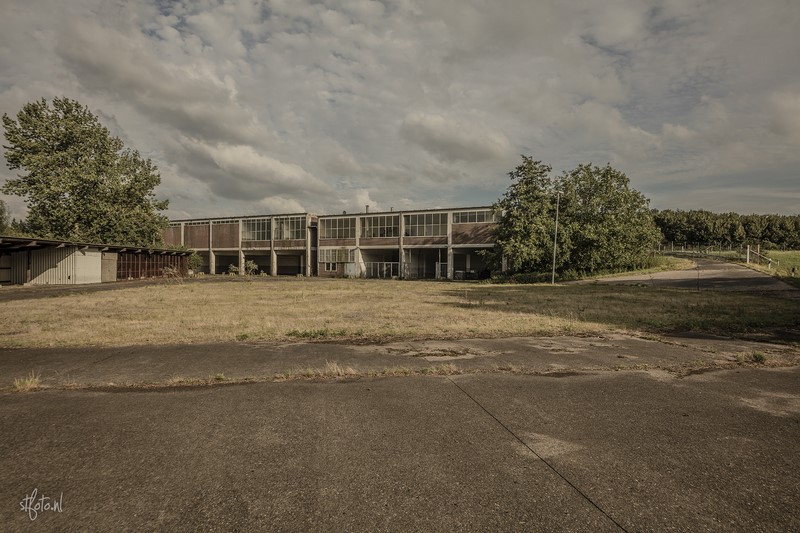
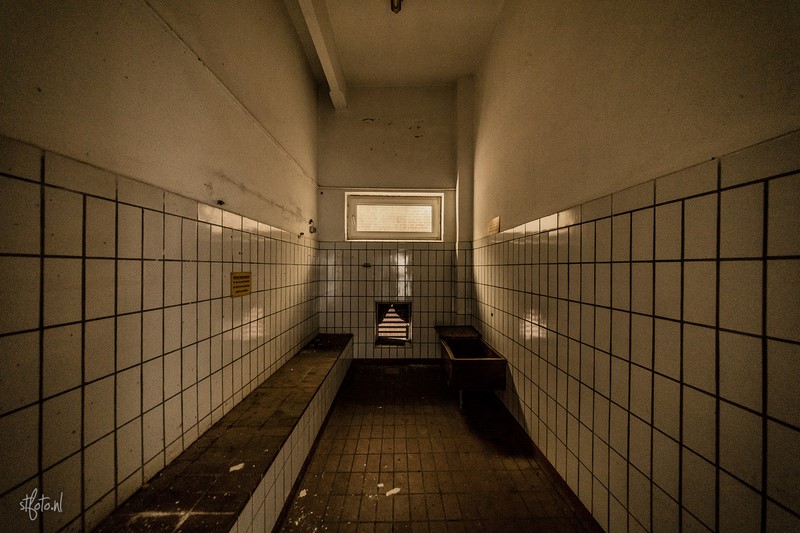
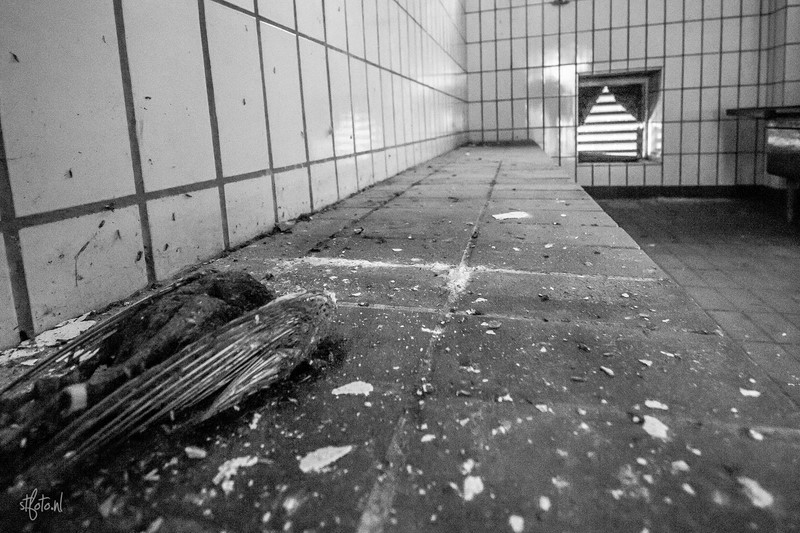
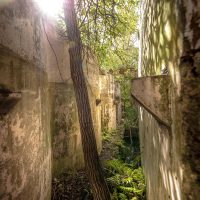
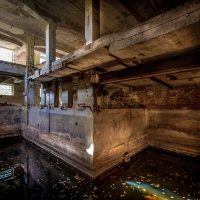
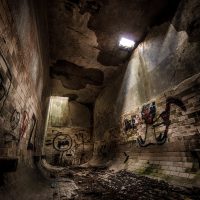
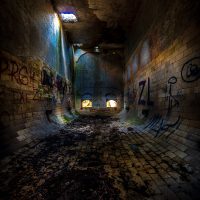
Went on a roadtrip in my new car. Visited an abandoned factory and military base in Germany.
Tutorial: Facebook 360 degree panorama photos
New camera’s and even smartphones often have an option or app to make beautiful panorama photo’s. Remove the frame around a photo and let others relive the view you had!
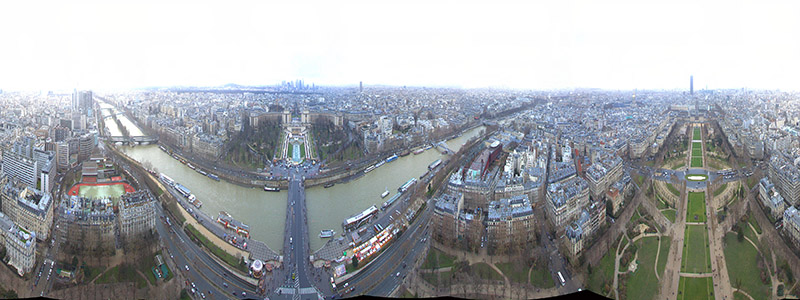
So Facebook added a feature to show panorama’s with their new panoramaviewer. It works on PC’s by draging your mouse over the photo, while mobile users can actually look around with their smartphone.
Facebook panorama example
Click the image to see it at Facebook.
Easy steps: how to do it yourself
- Create a panorama photo. This depends on the equipment you have. Suggestions: DSLR with fisheye lens, Smartphone with panorama app or use a 360 camera (not many out there yet, but it’s coming!)
- Drag your photo to Photoshop or any other edit tool. Your photo needs to have an aspect ratio of 1:2. So for example 5 high, 10 wide. The maximum for Facebook is 6000 pixels wide and 3000 pixels high. That’s what I use.
- The horizon should be in the middle of the photo. Also, the absolute center of the photo is where your Facebook viewer wil start.
- Export the image to JPG, try to get it around 4-6mb max.
- Edit the META data of your image. You can do that within Windows (Right click on the image, go to details) or use the online tool thexifer.net.
- Change Make to “RICOH” and Model to “RICOH THETA S”.
- Save/download the image
- Go to your Facebook timeline, and upload it like you’d do any other photo. Don’t post it in a comment, but use a new post.
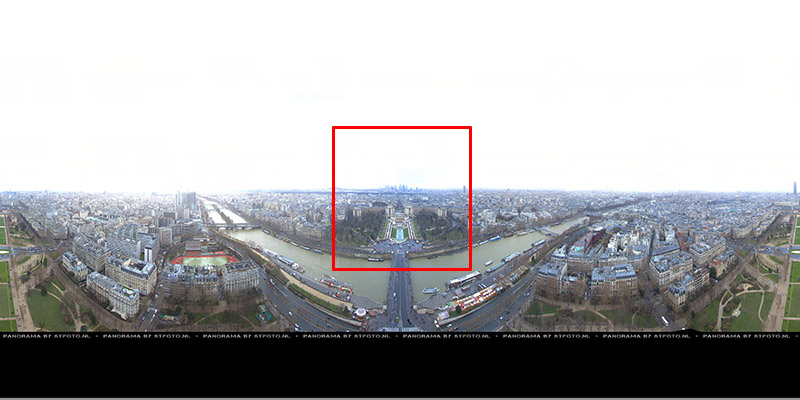
Here’s the above panorama, but flat. The red square indicates the absolute center ánd also the startingpoint where Facebook will position the viewer.
The lower part was a bit messy, so the black part will become a small disc. The grey line just becomes a dot. It’s good to have a center-point for oriëntation.
CHEATSHEET – Download the template
Here’s a PSD-template for Facebook panorama photo’s! Just download it, drag your panorama in and make it fit. The metadata is included, so no further editing needed! You can leave the black area on the bottom and edit the text or remove it if your panorama has the ground included as well.
 stfoto-facebook-panorama-template.psd (3mb)
Enjoy!
My work in a museum
Get the champagne out of the fridge, because it’s party time!
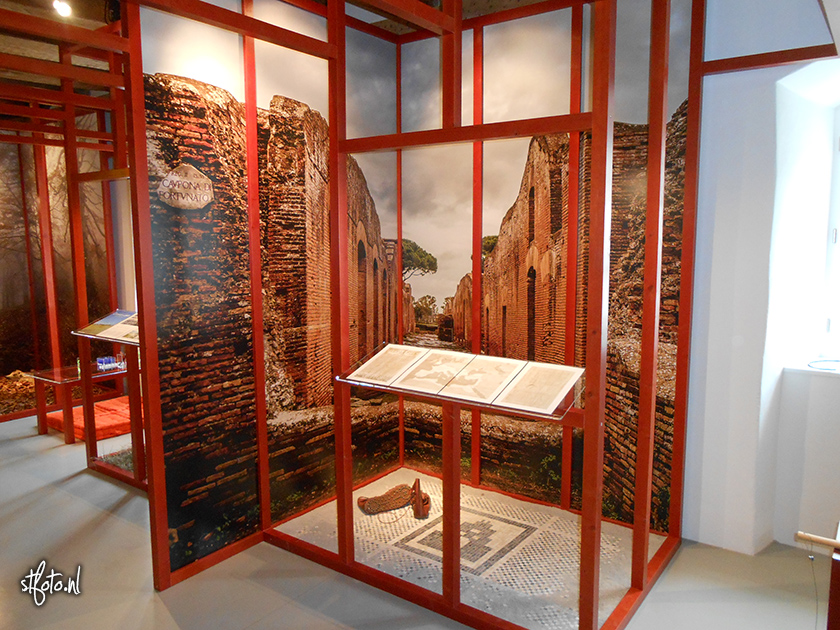
The Swiss Museum.bl asked me if they could use a photo of mine. I didn’t hesitate, found the original, edited it again, exported it for print and sent it as a gift. They were happy, and they delivered me with a photo which made me truly happy. Look mum and dad, I’m in a museum!
Abandoned factory in Czech
So, a couple of weeks ago I was at Borderer in the Czech Republic. When I couldn’t do much on the field, I decided to walk the road back 2 km…
When we arrived at the field, I noticed a large factory hidden in the hills. So I walked there, jumped the fence and this was what I found…
[Best_Wordpress_Gallery id=”7″ gal_title=”AbandonedFactory”]
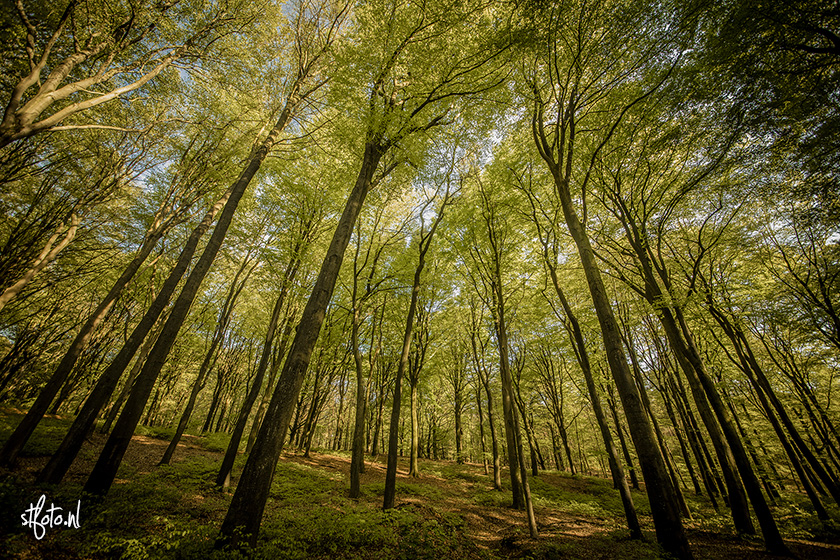
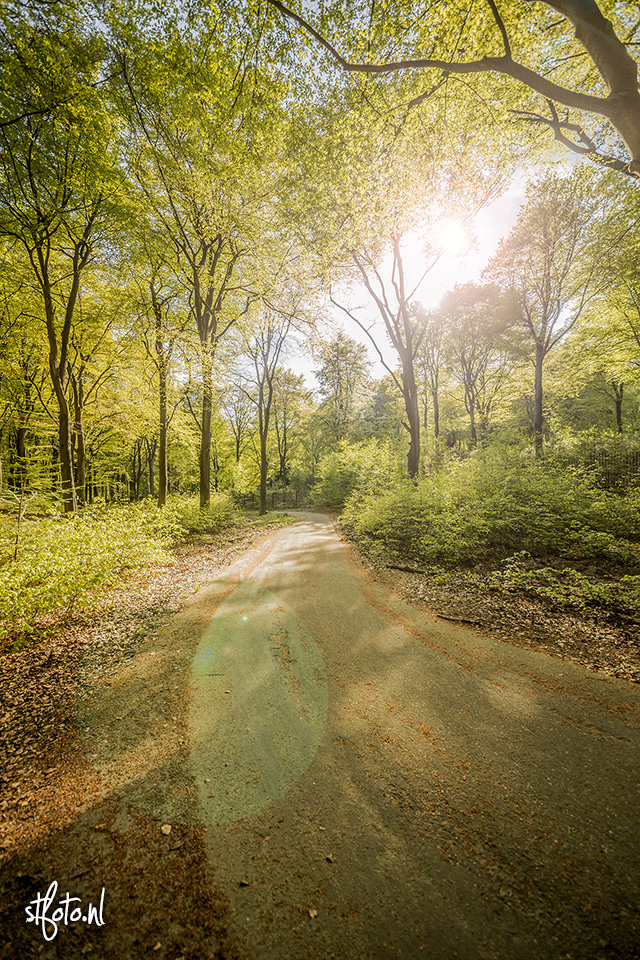
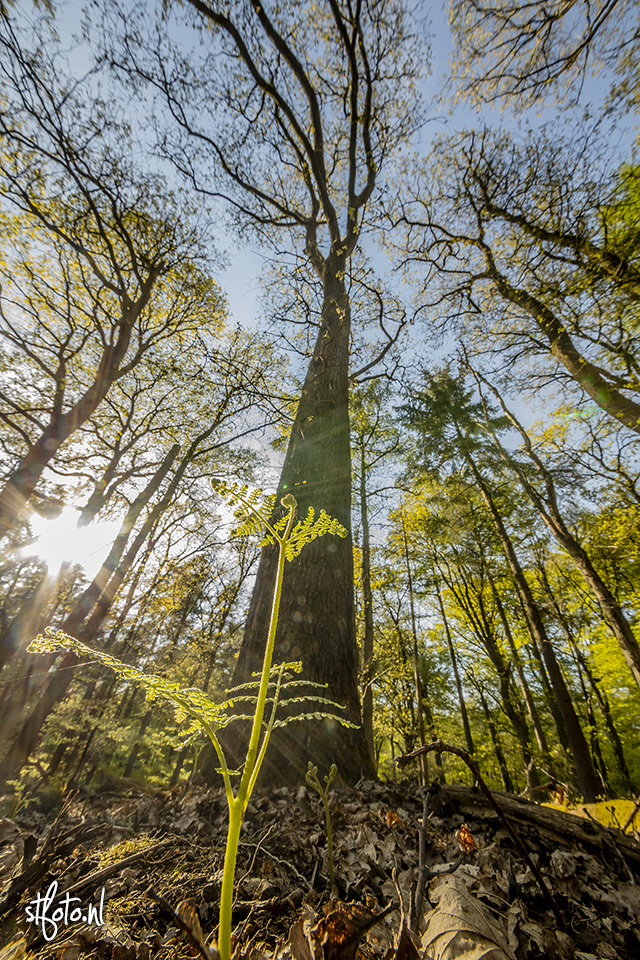
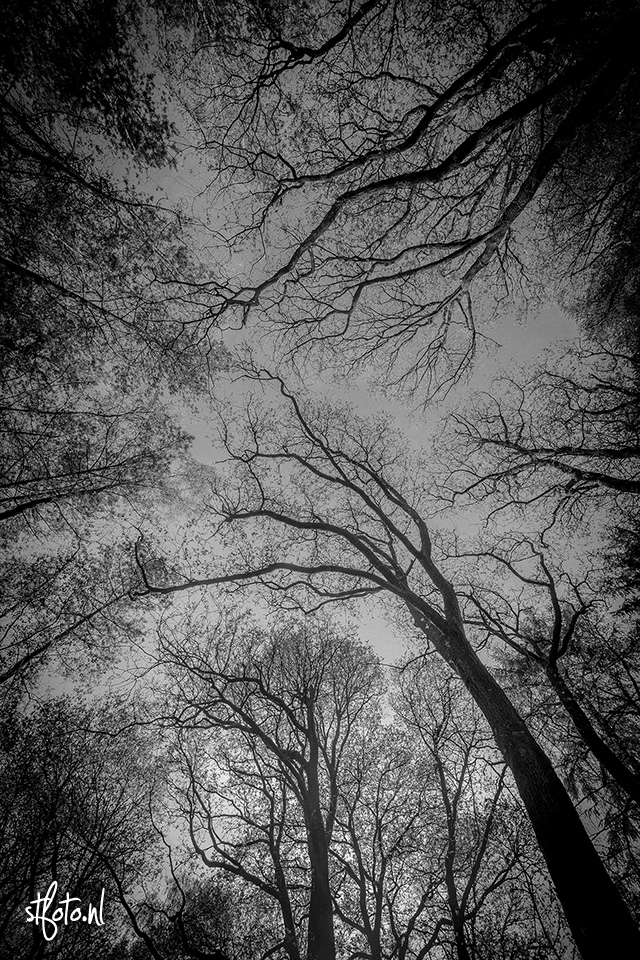
Random forrest photo’s
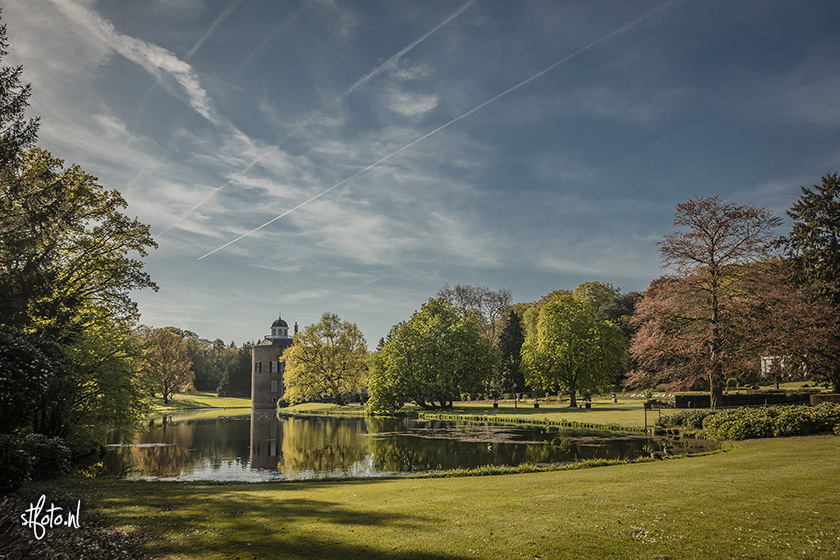
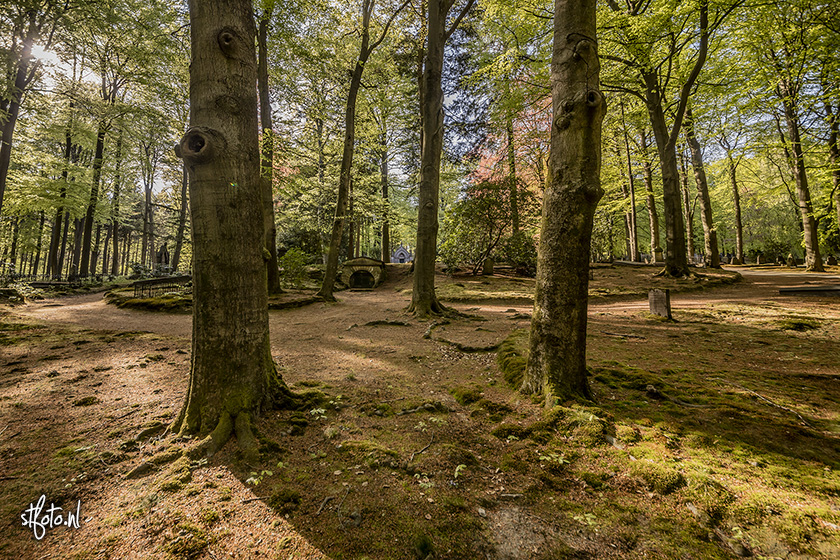
Did a 20km bicycle ride, as more often is the case, and I brought my camera. Here’s some results. Enjoy.
Borderwar 8: The warchief (airsoft event)
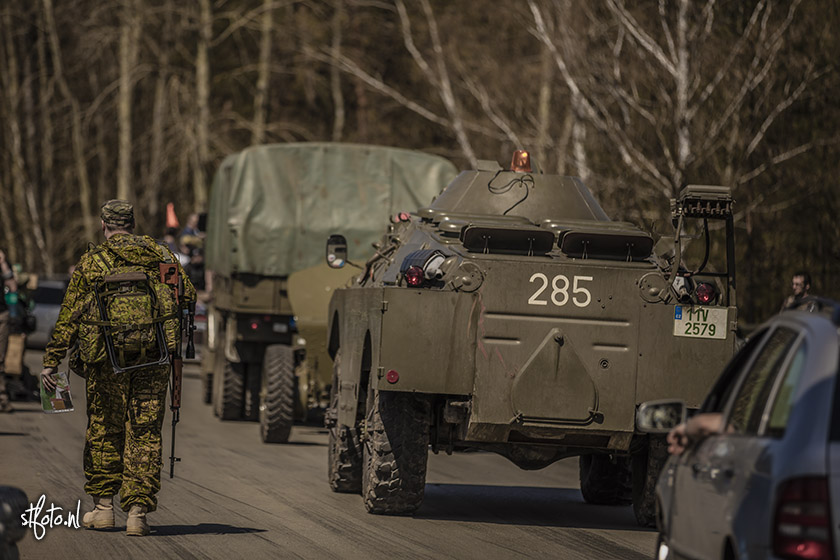
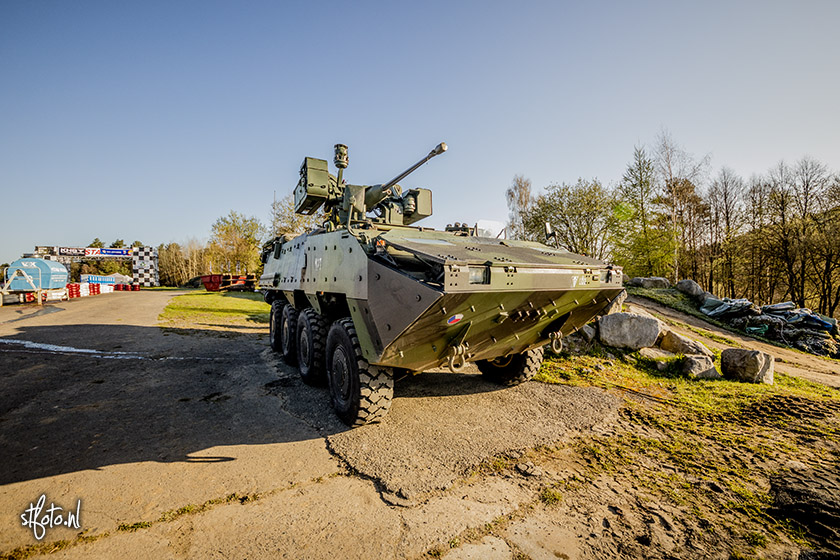
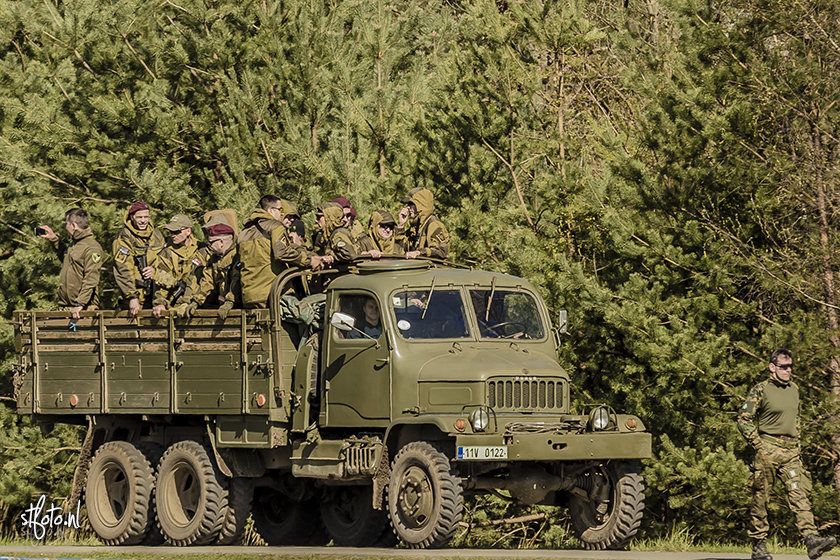
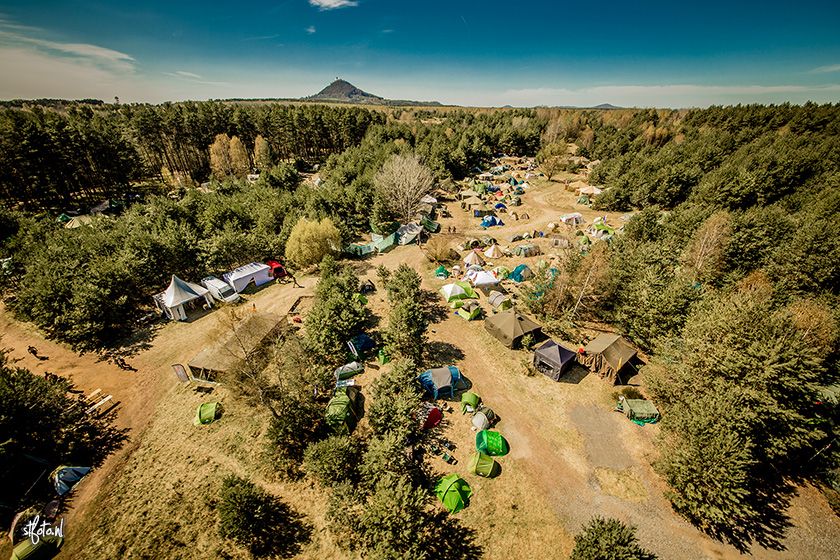
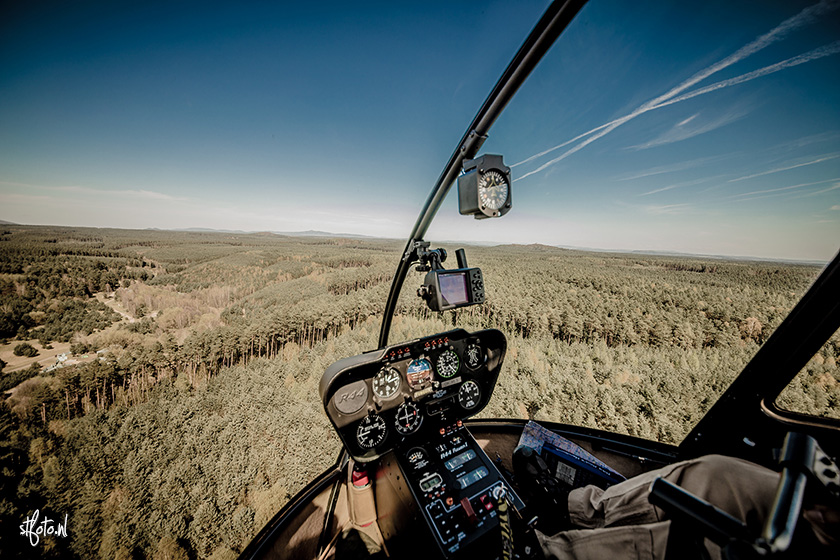
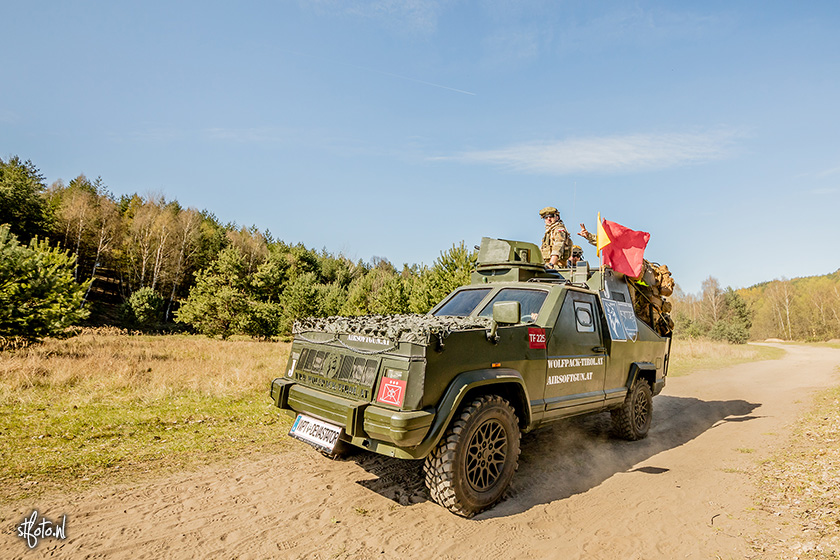
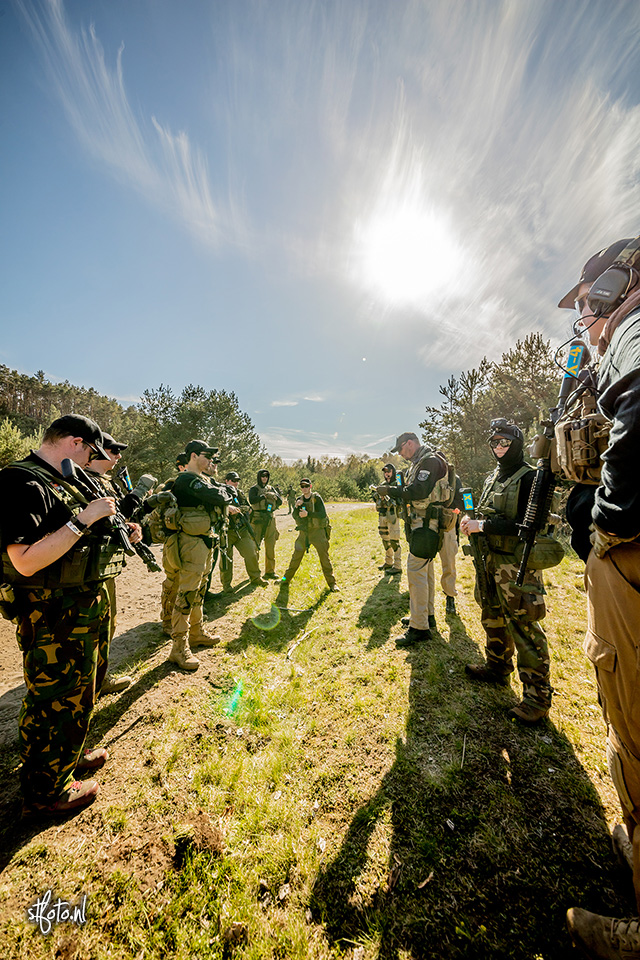
So last weekend I went to one of the biggest airsoft events in the world. Borderwar, the 8th edition. It has almost 4000 players all in military outfits, so why not hop on and play as a warphotographer?
The trip to the Czech location was long. We left on Wednesday and arrived on Thursday morning. But then again, it’s 900 long km’s. The weather was great the first 3 days, and that’s also when I took most in-game shots. Here are a couple of them, you can find the whole gallery on Facebook.
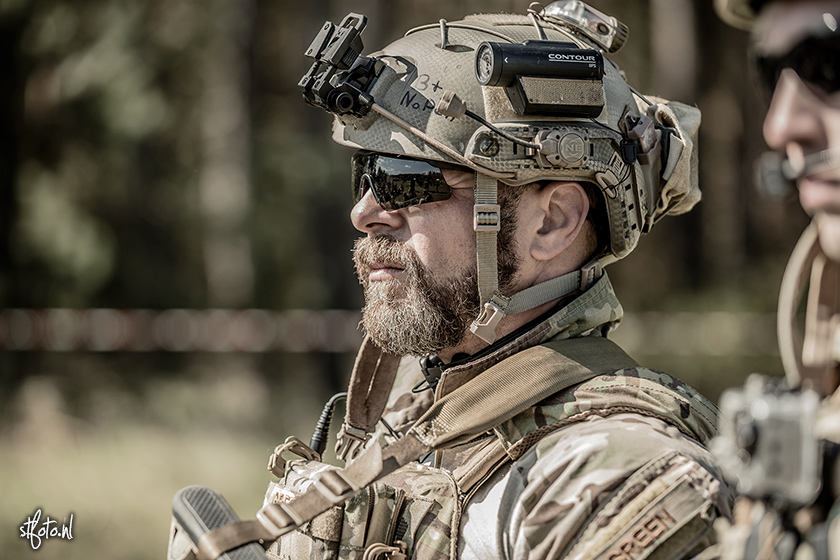
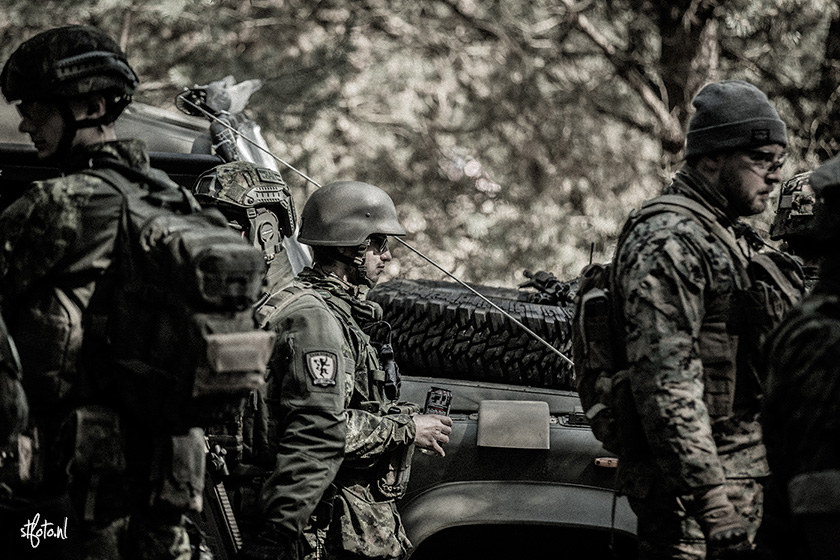
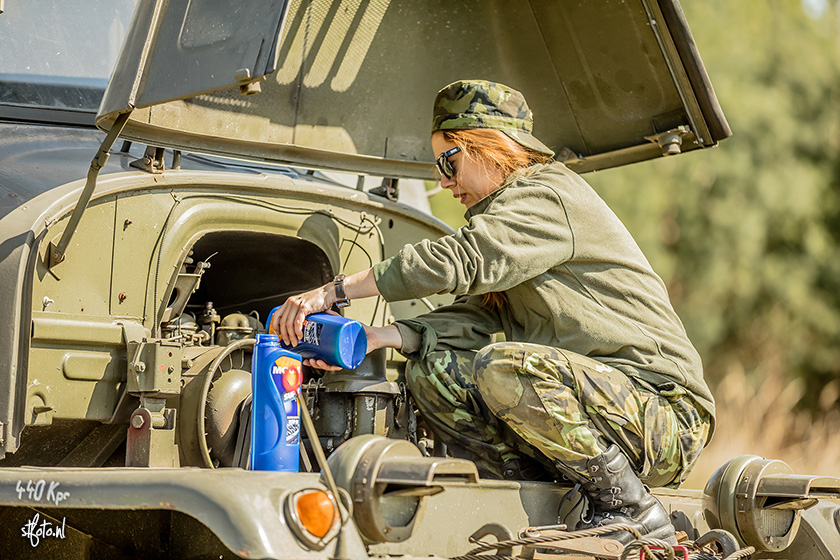
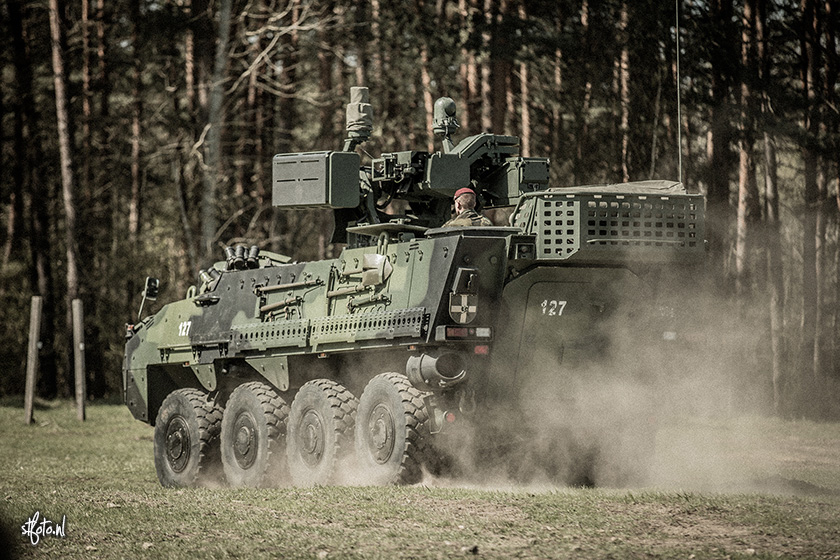
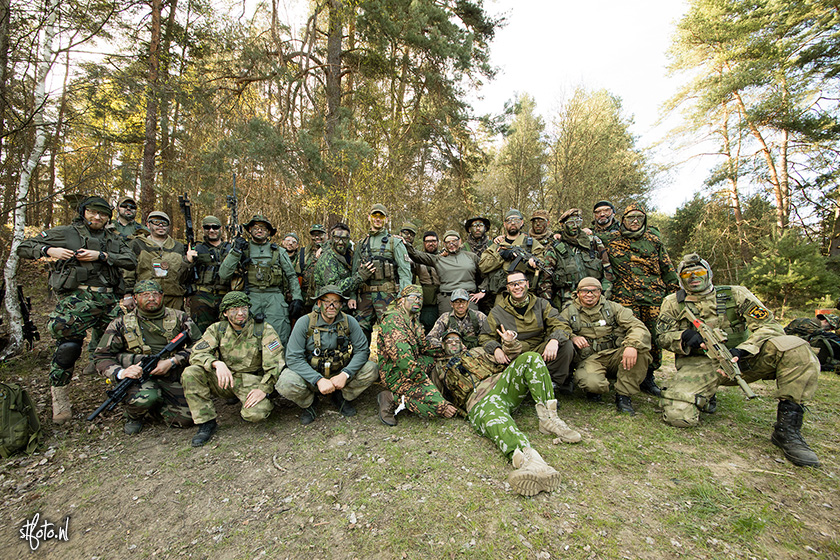
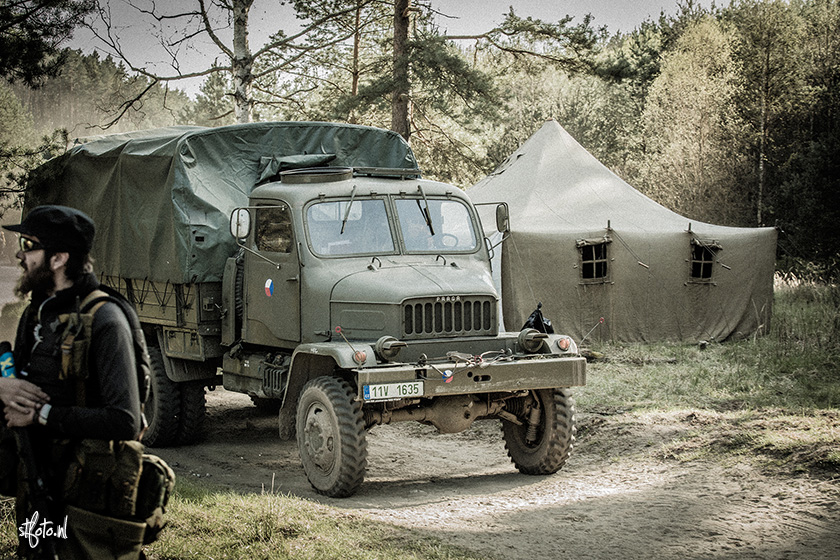
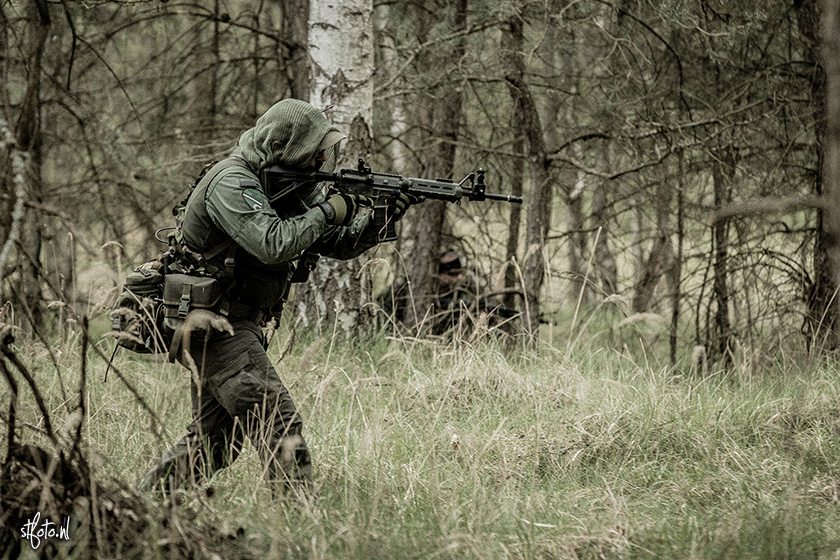
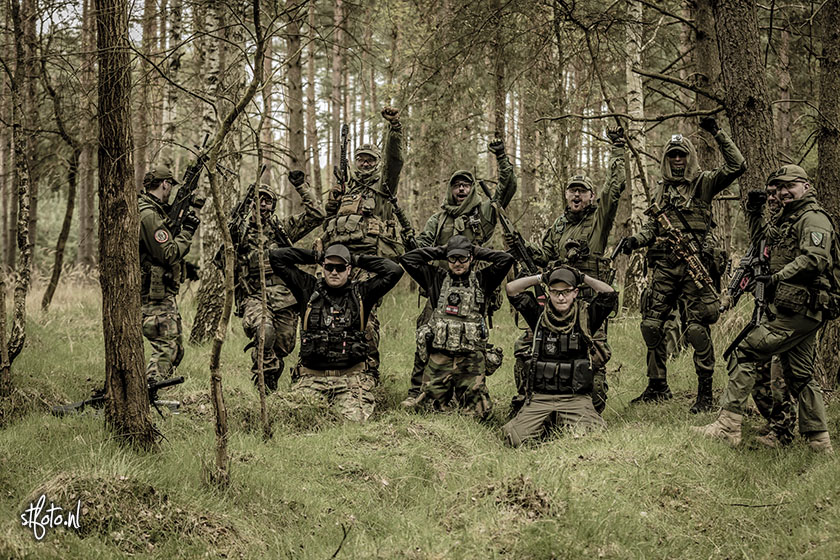
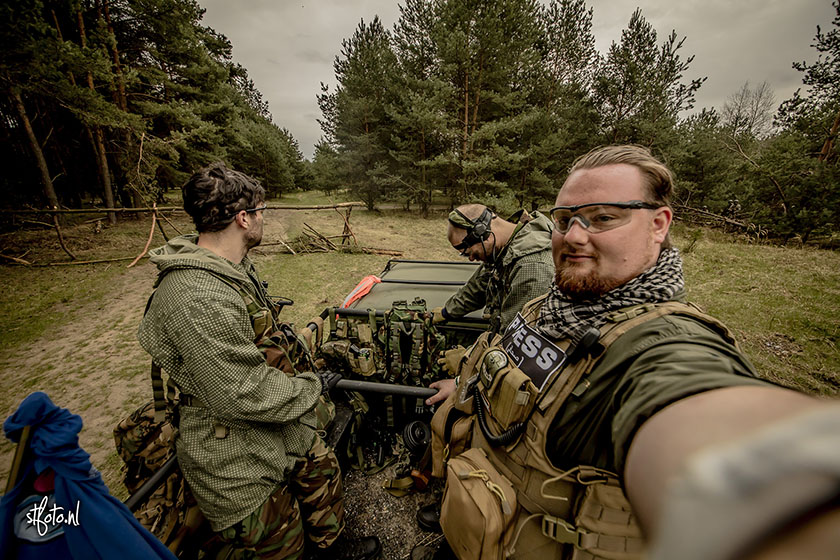
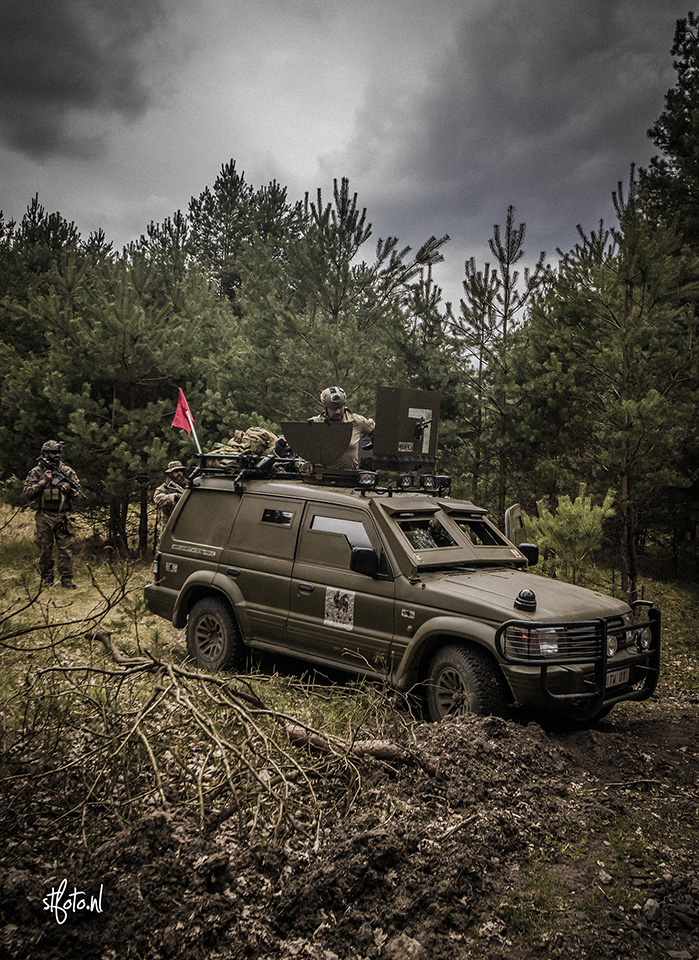
See the full gallery at Facebook
The Veluwe National Park
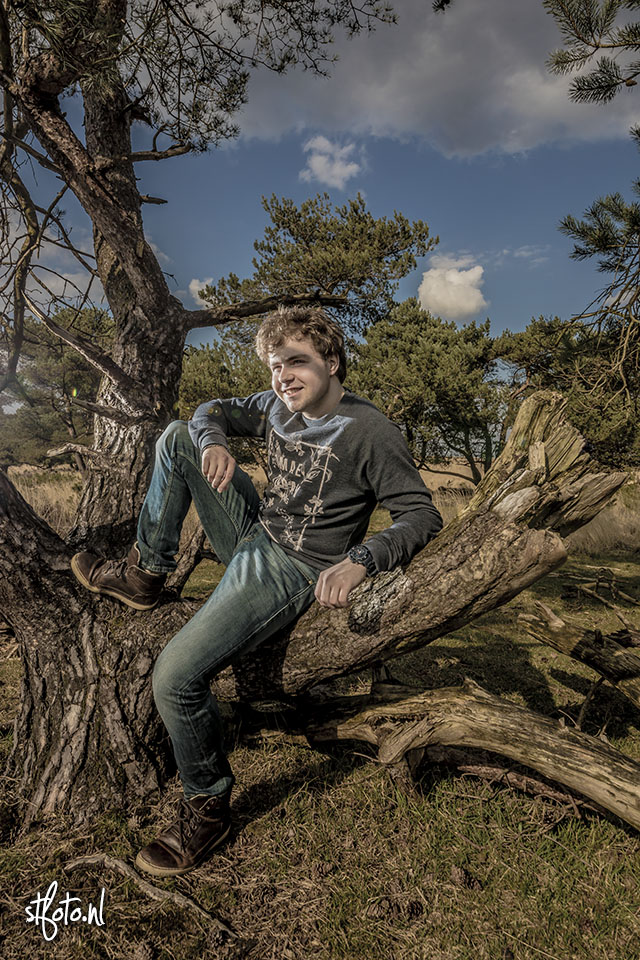
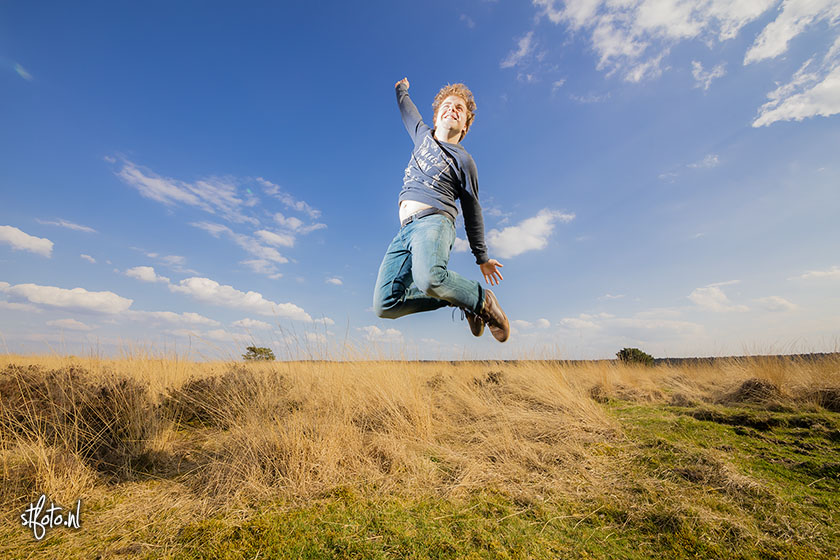
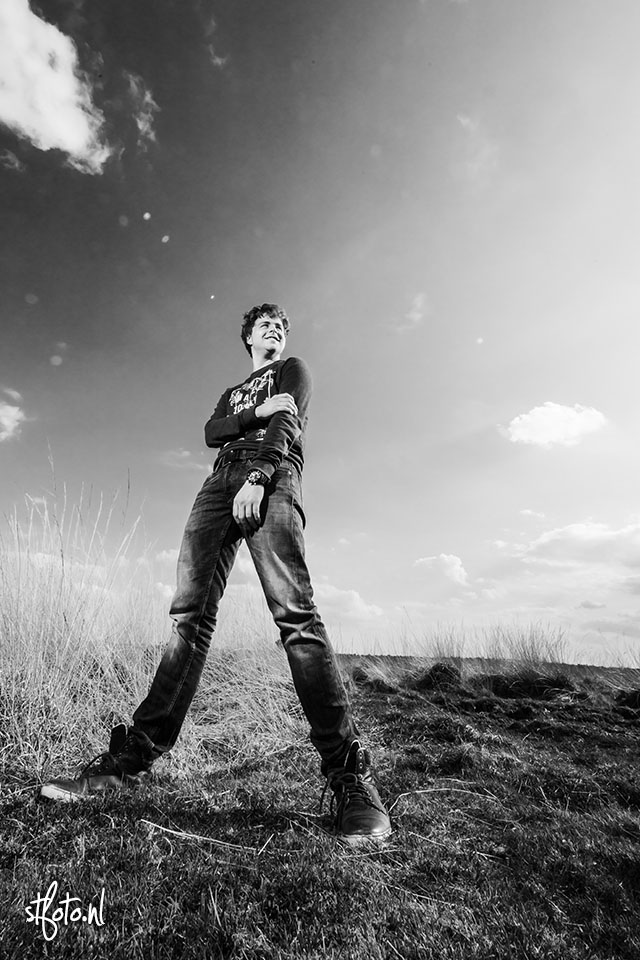
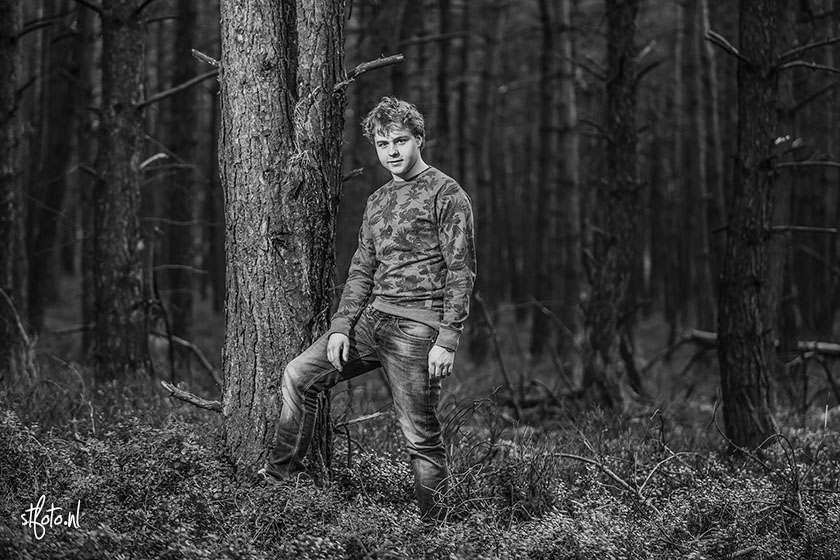
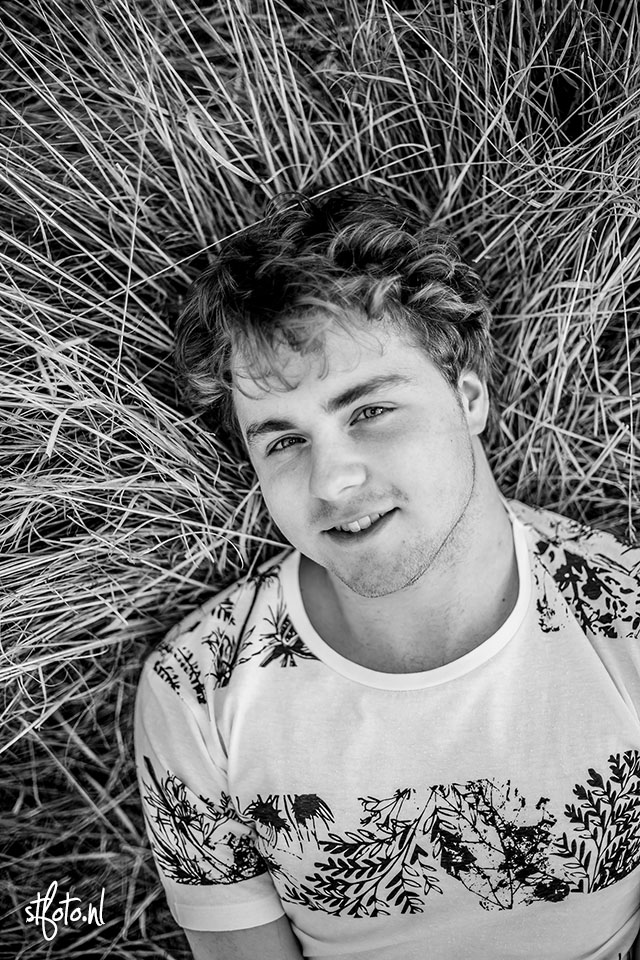
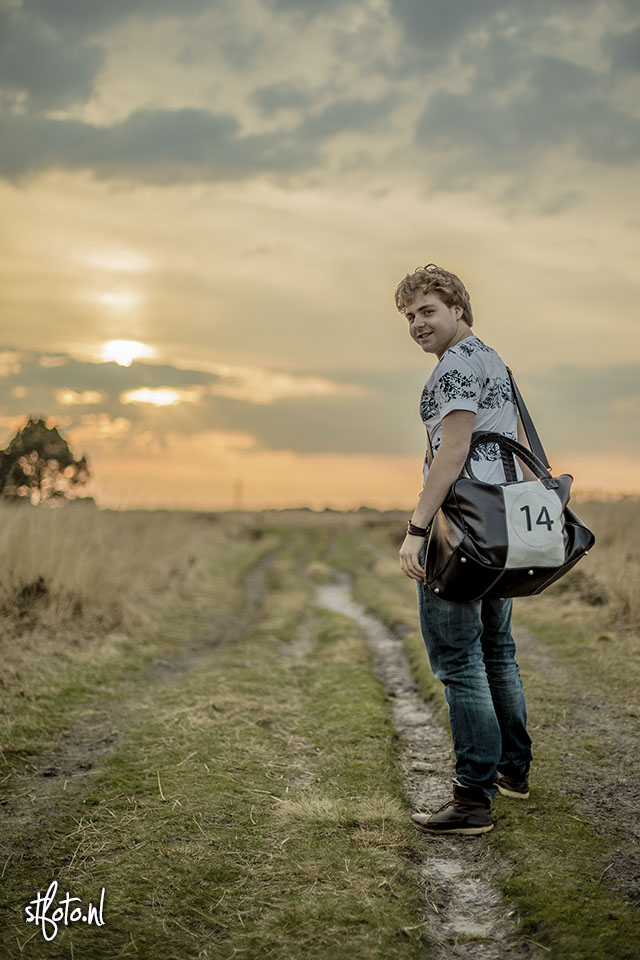
One of the most beautiful natural parcs in the Netherlands is the Veluwe. Actually, it is thé most beautiful in my opinion. Last Saturday I was there for a photoshoot with Tim, and I managed to take some area-photo’s as well. Here they are.
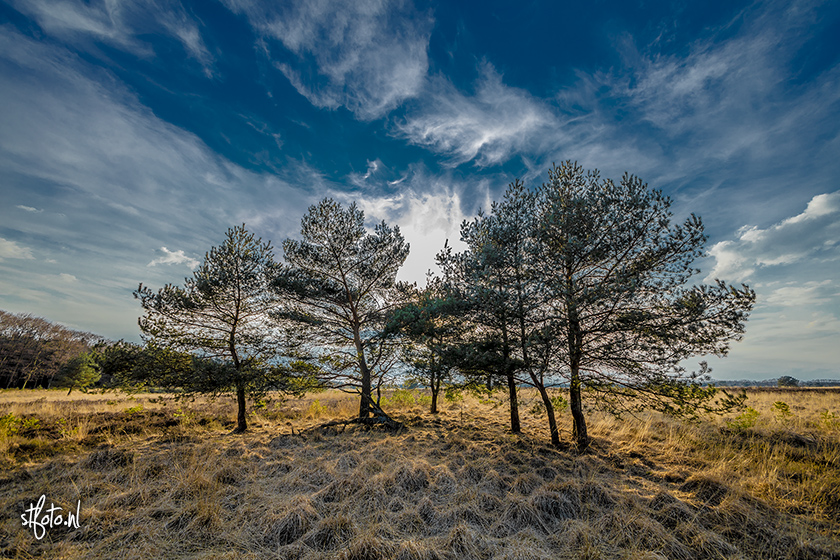
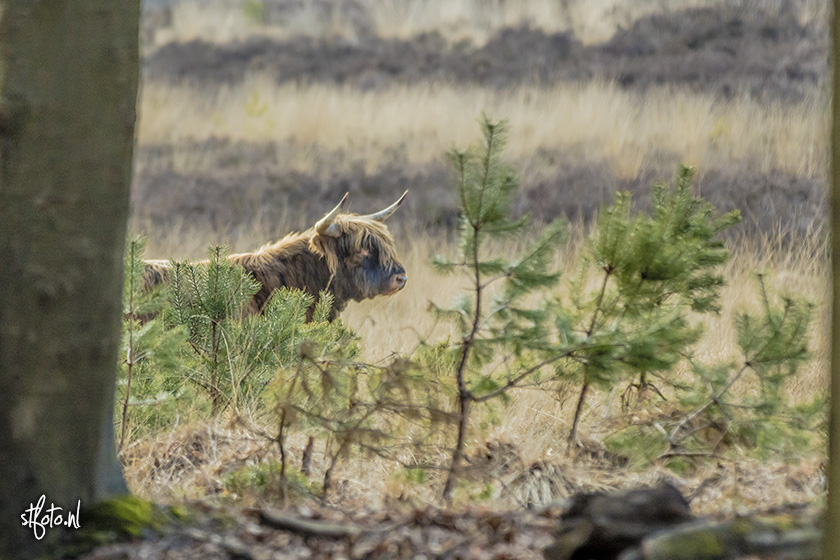
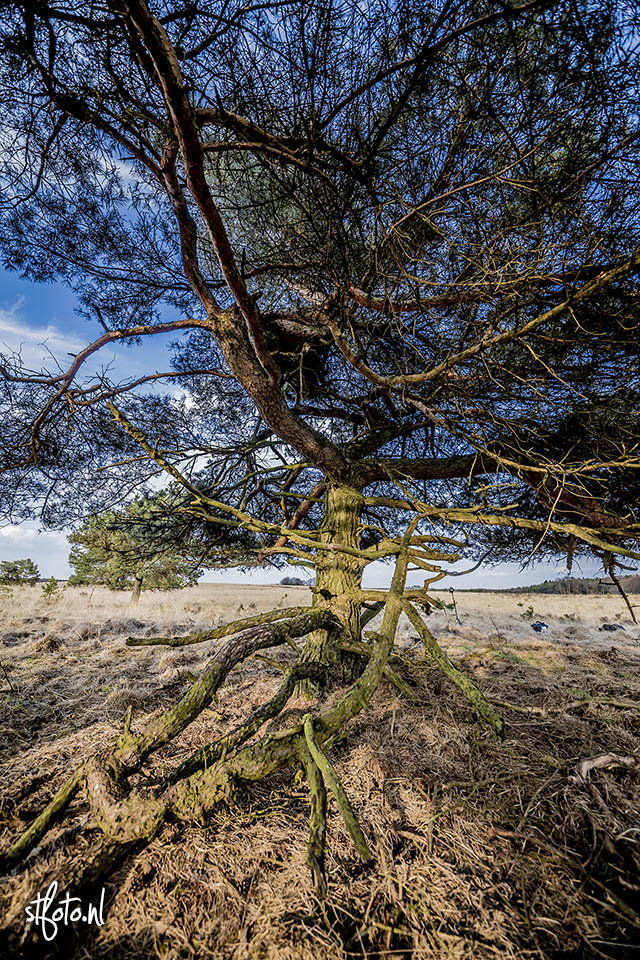
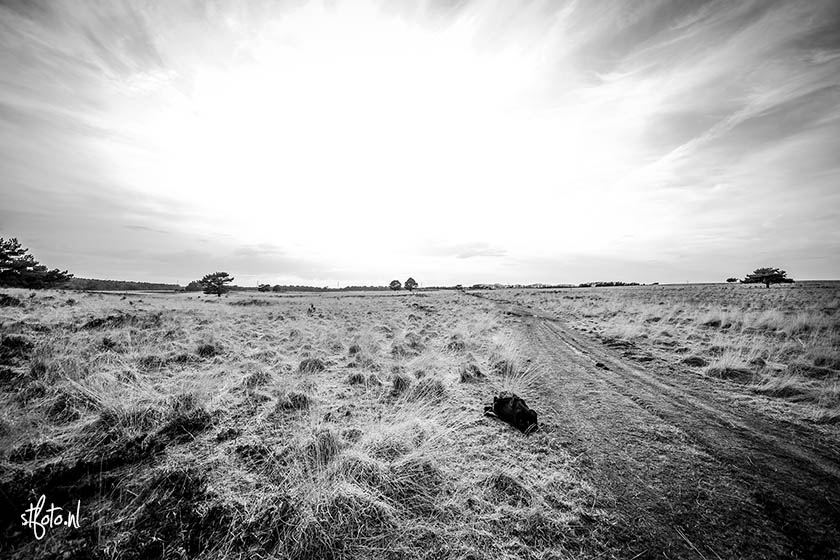
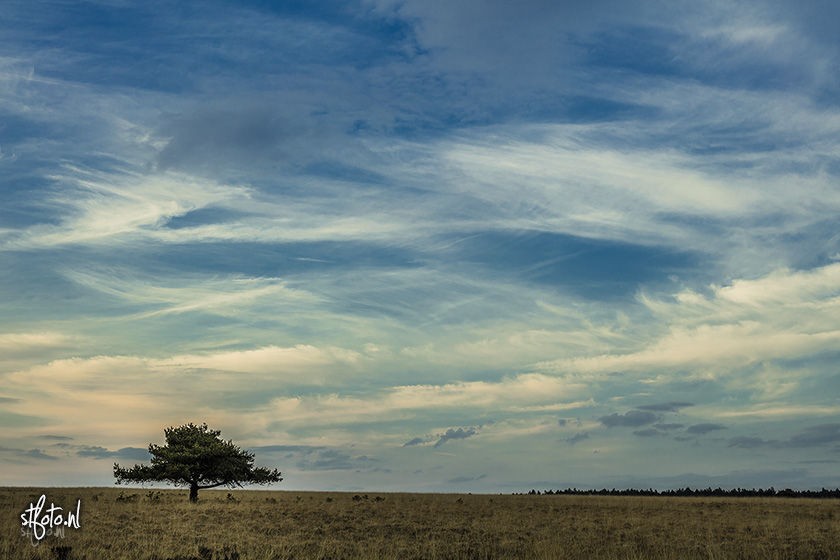
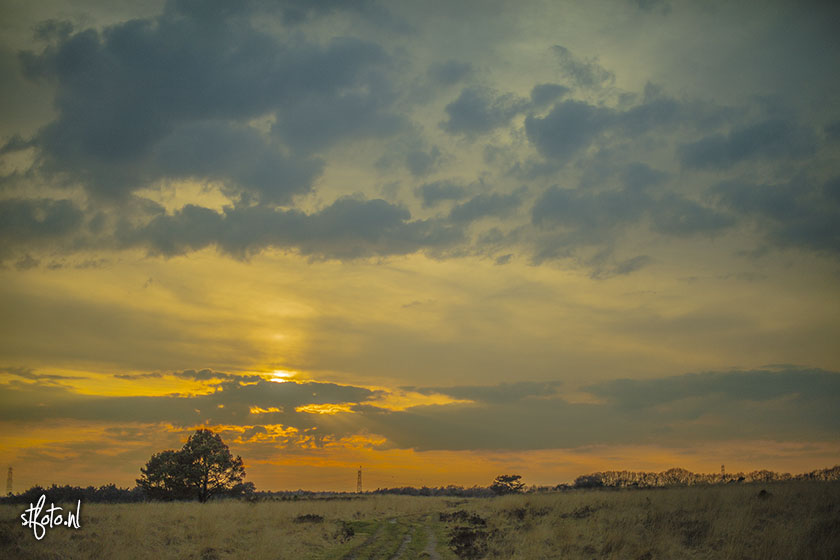
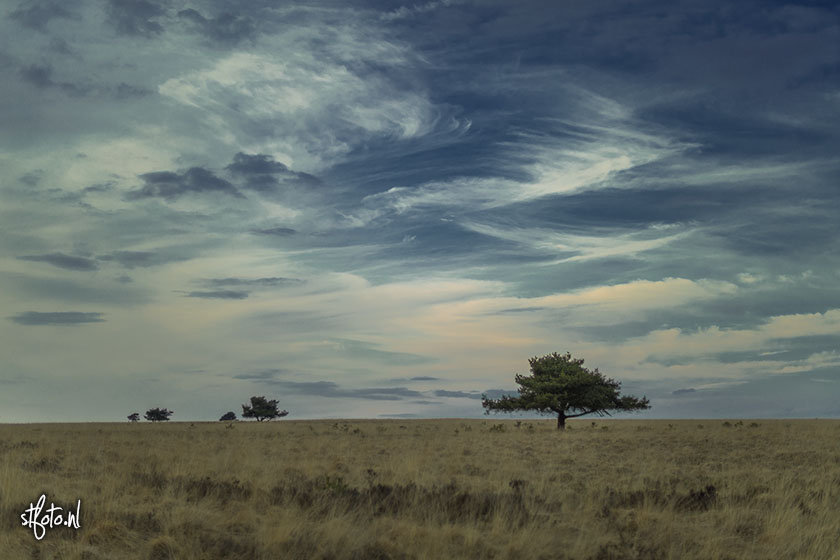
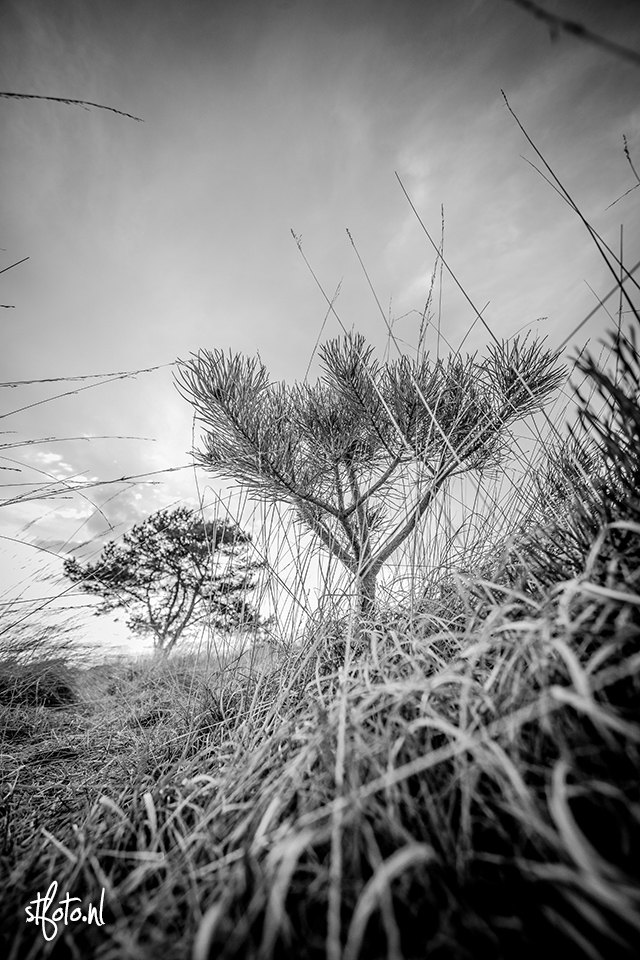
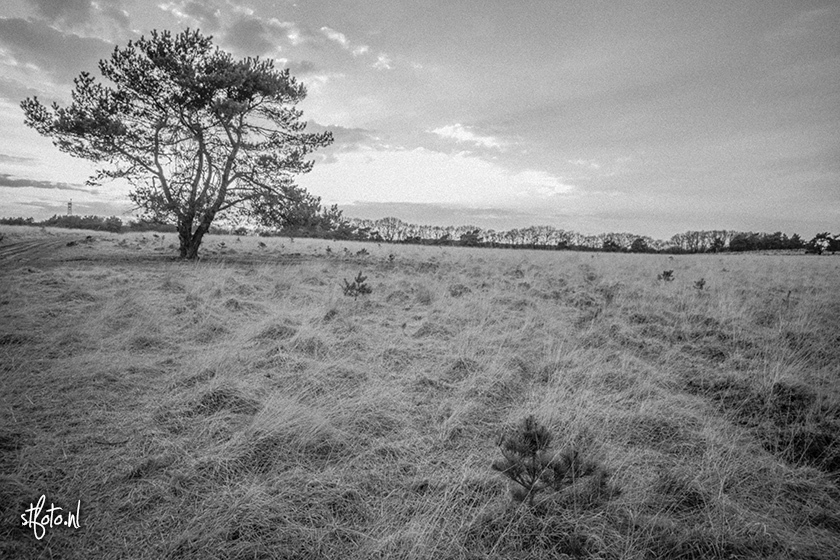
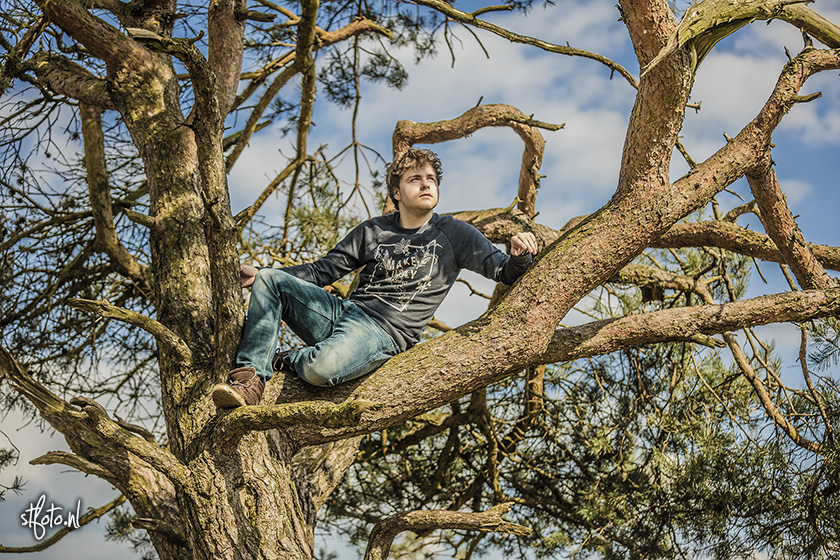
Photoshoot with Tim at the Veluwe
After working with Tim Aaldering already once in the studio, we decided it was time for another shoot.
This time we went into the great outdoors: the Dutch Veluwe. This is a large area in Gelderland with lot’s of trees, animals and open fields with sand and dry grass. A pretty cool location for a shoot, to show a feeling of freedom and fun.
Camera used:
- Canon EOS 5DSr
Flash used:
- Speedlite 600EX-RT
Lenses used:
- Canon 70-200mm f2.8 IS USM L ii
- Canon 50mm f1.4
- Sigma 12-24mm f4.5
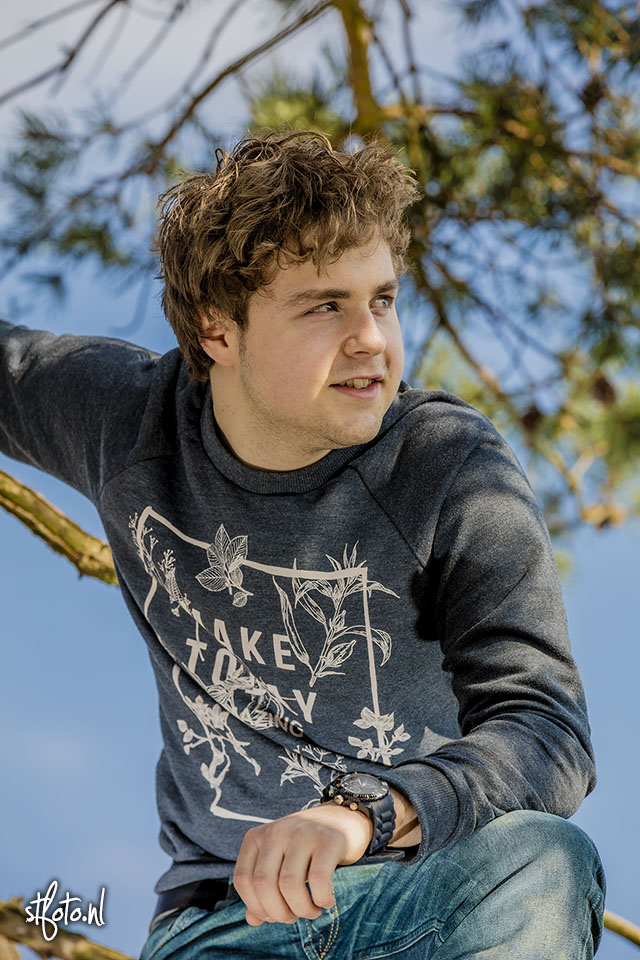
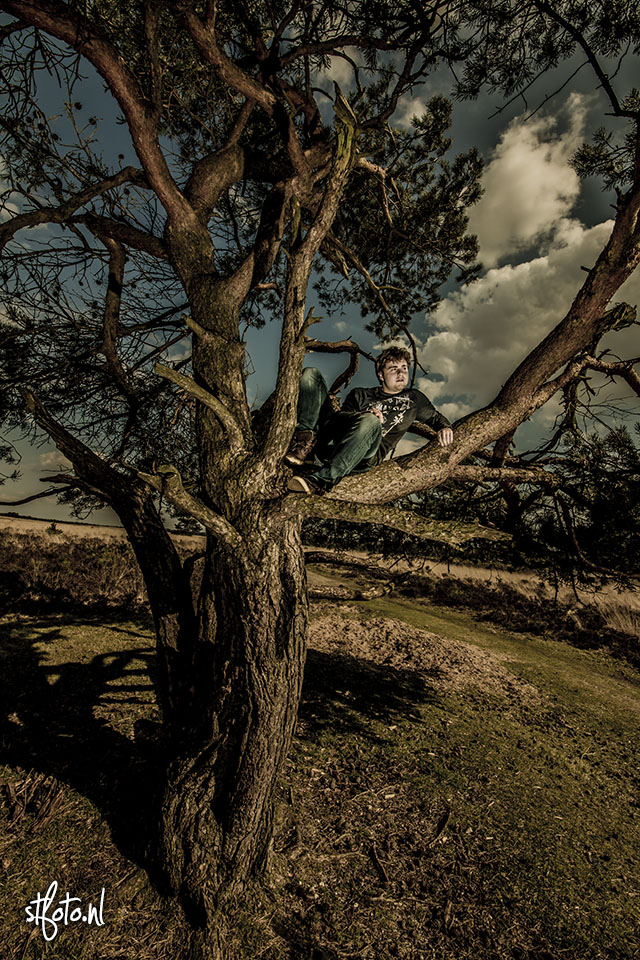
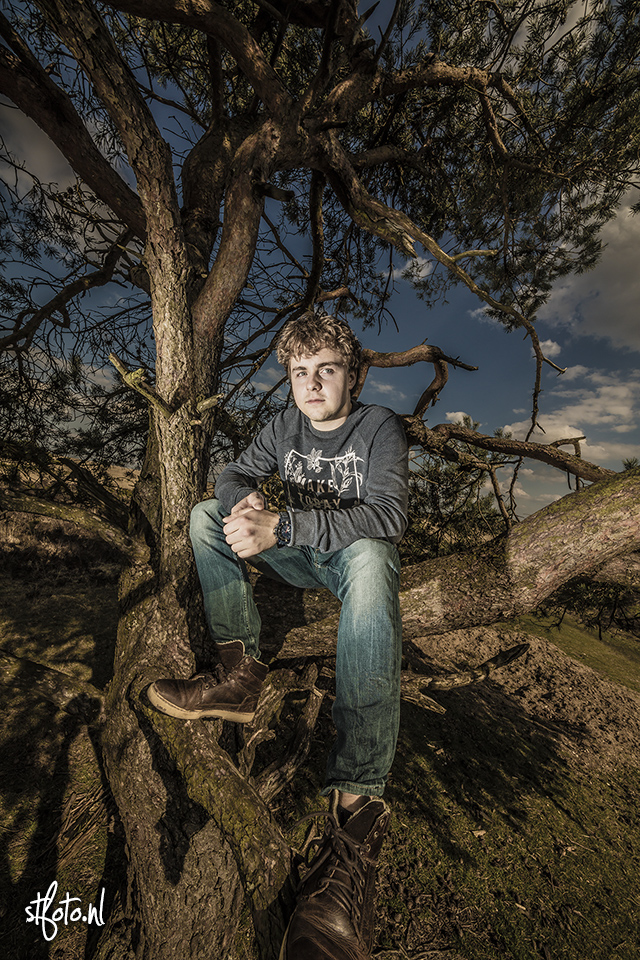
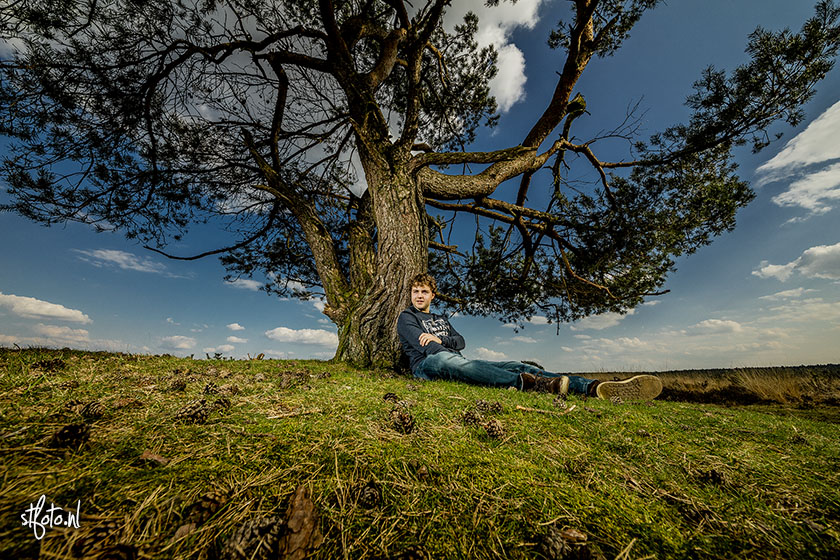
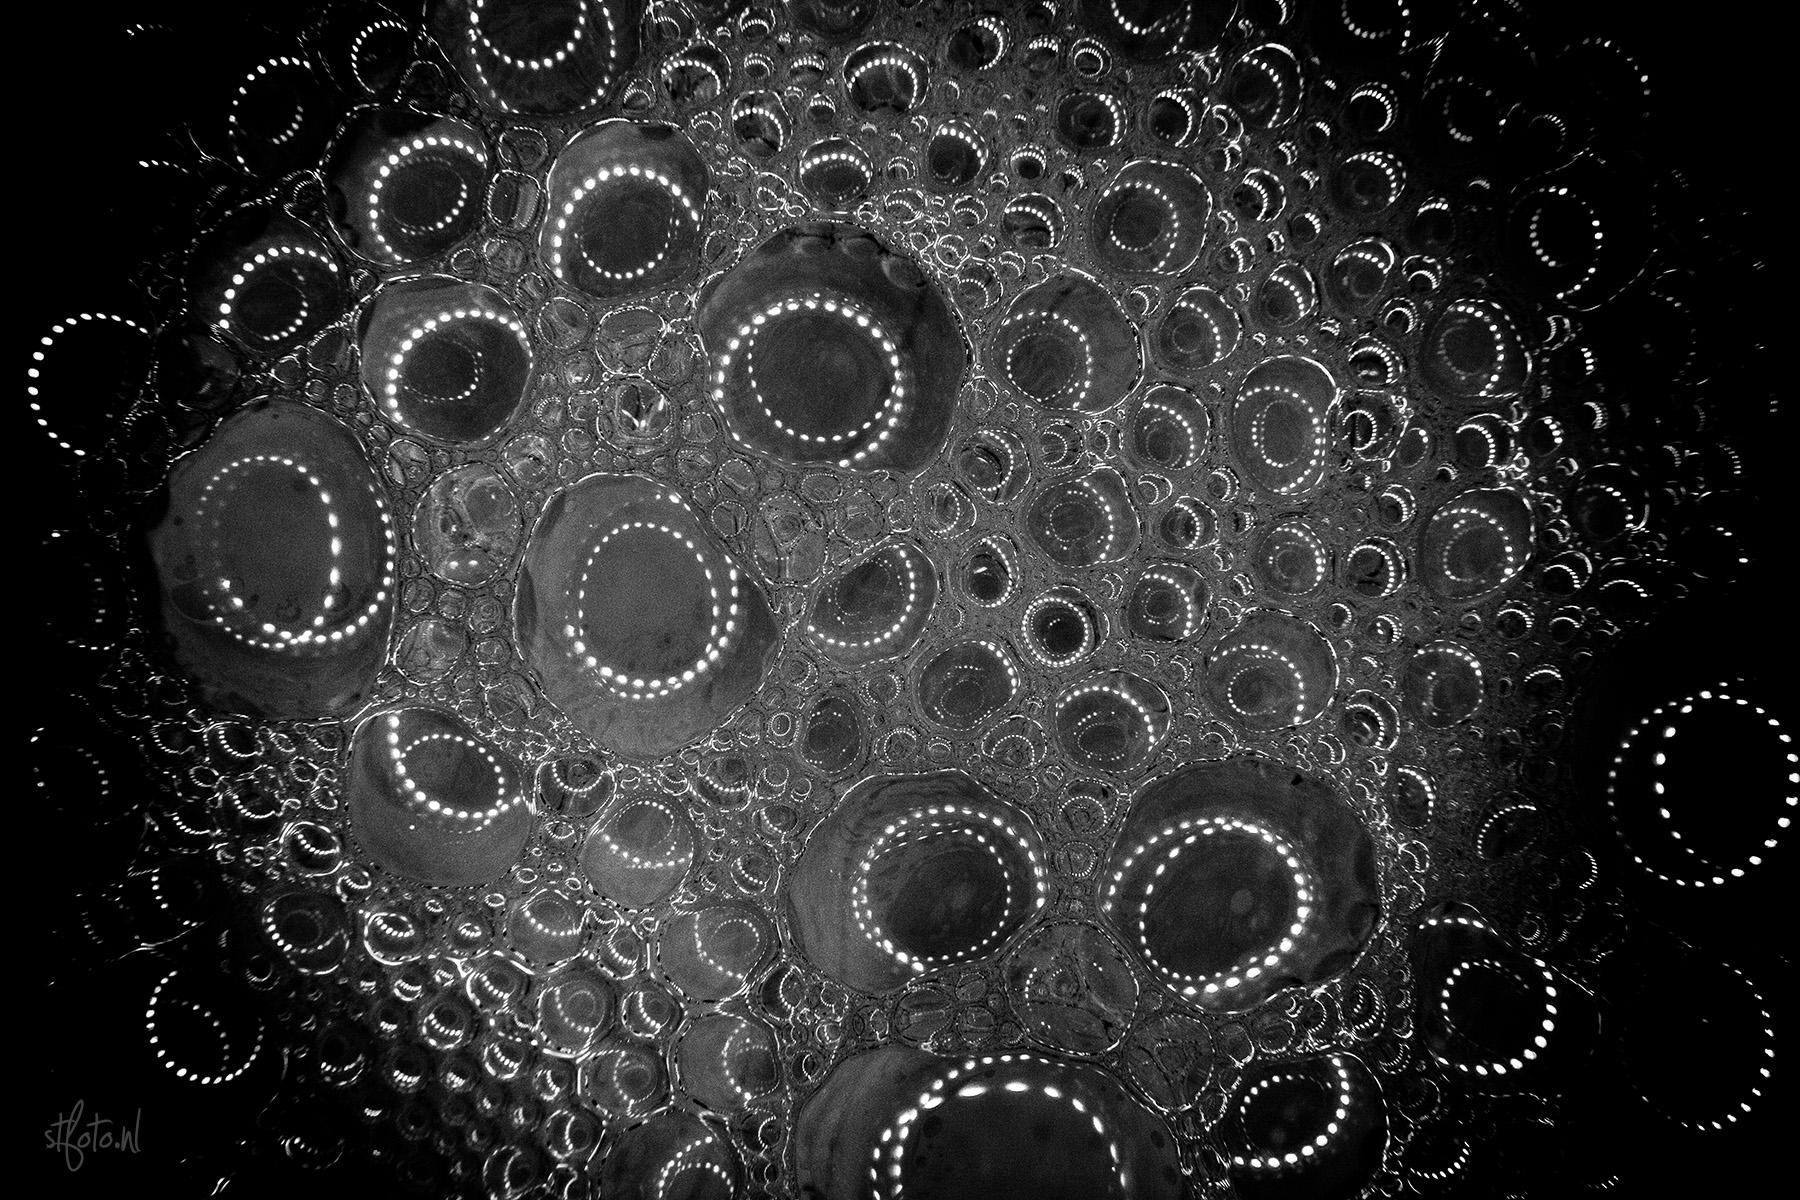
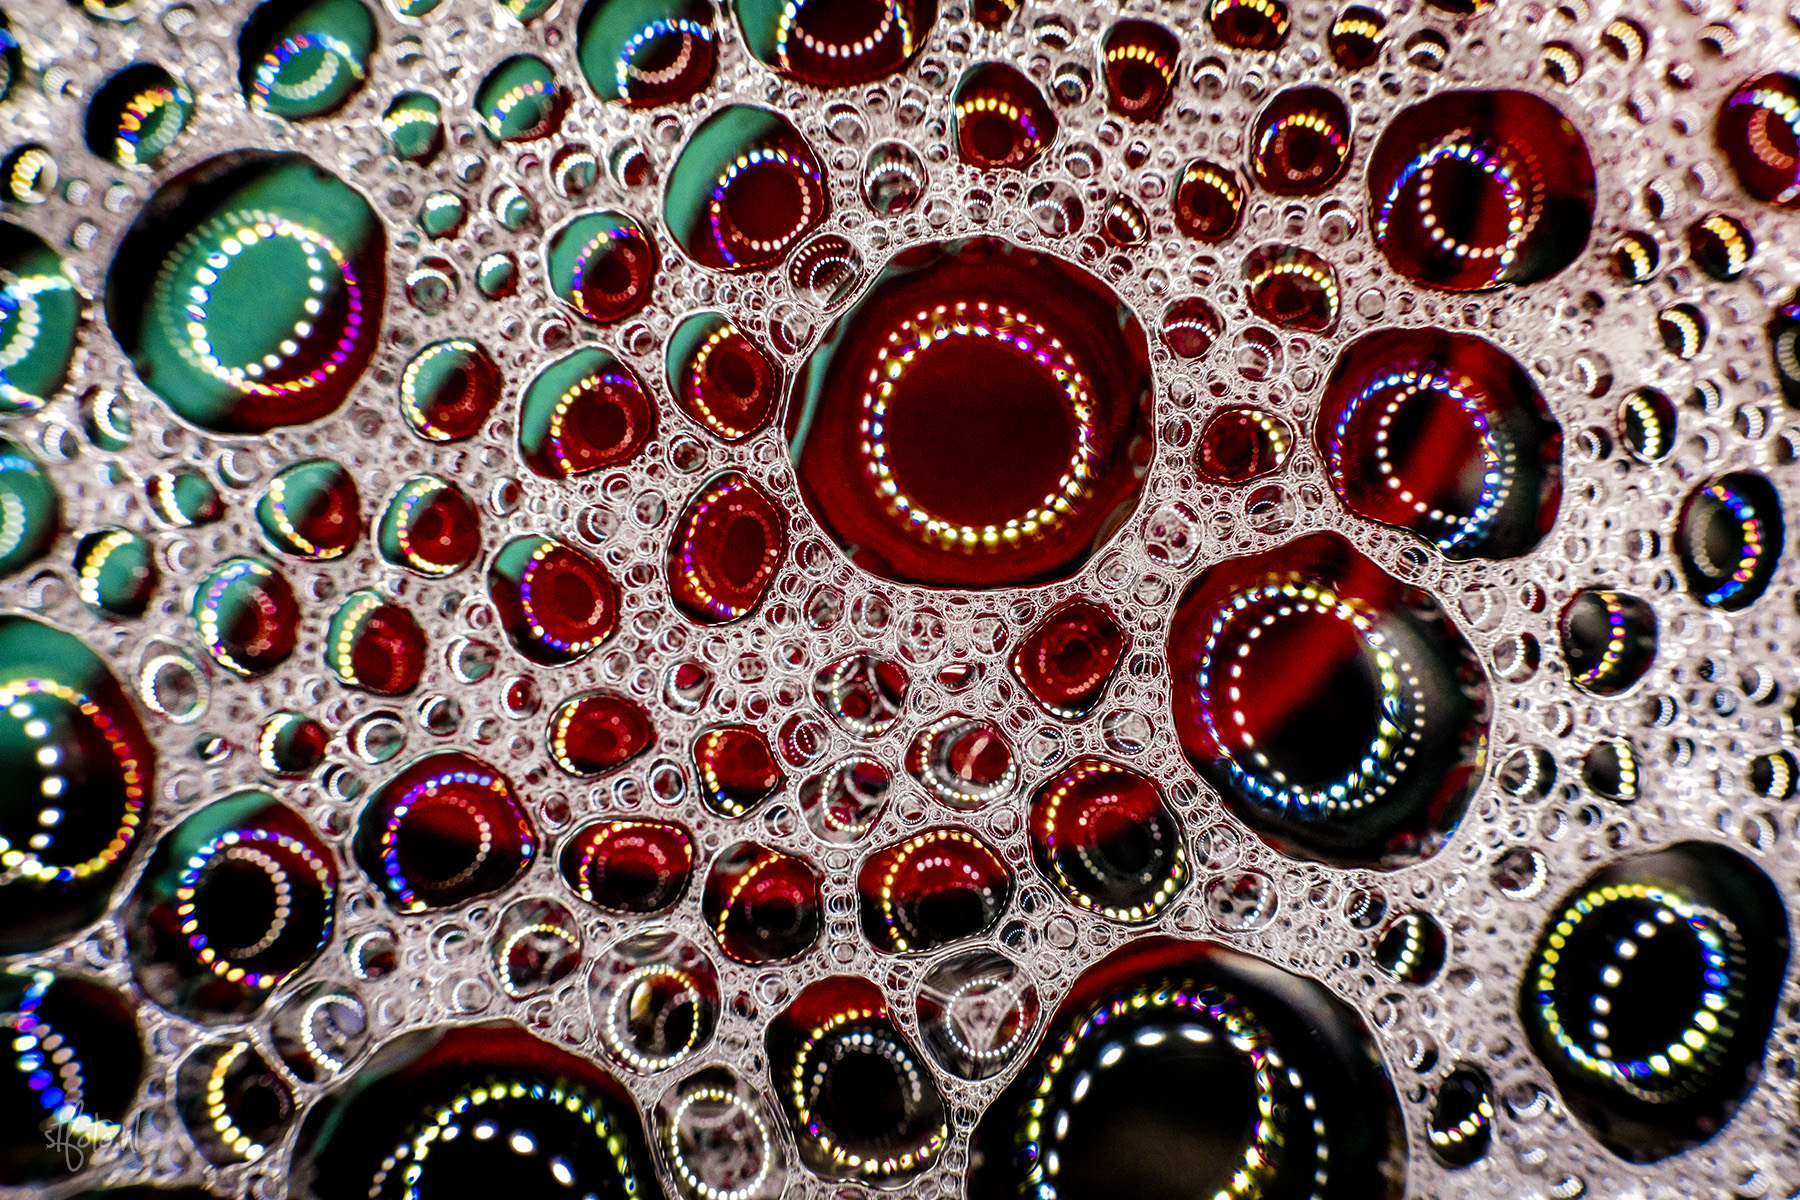
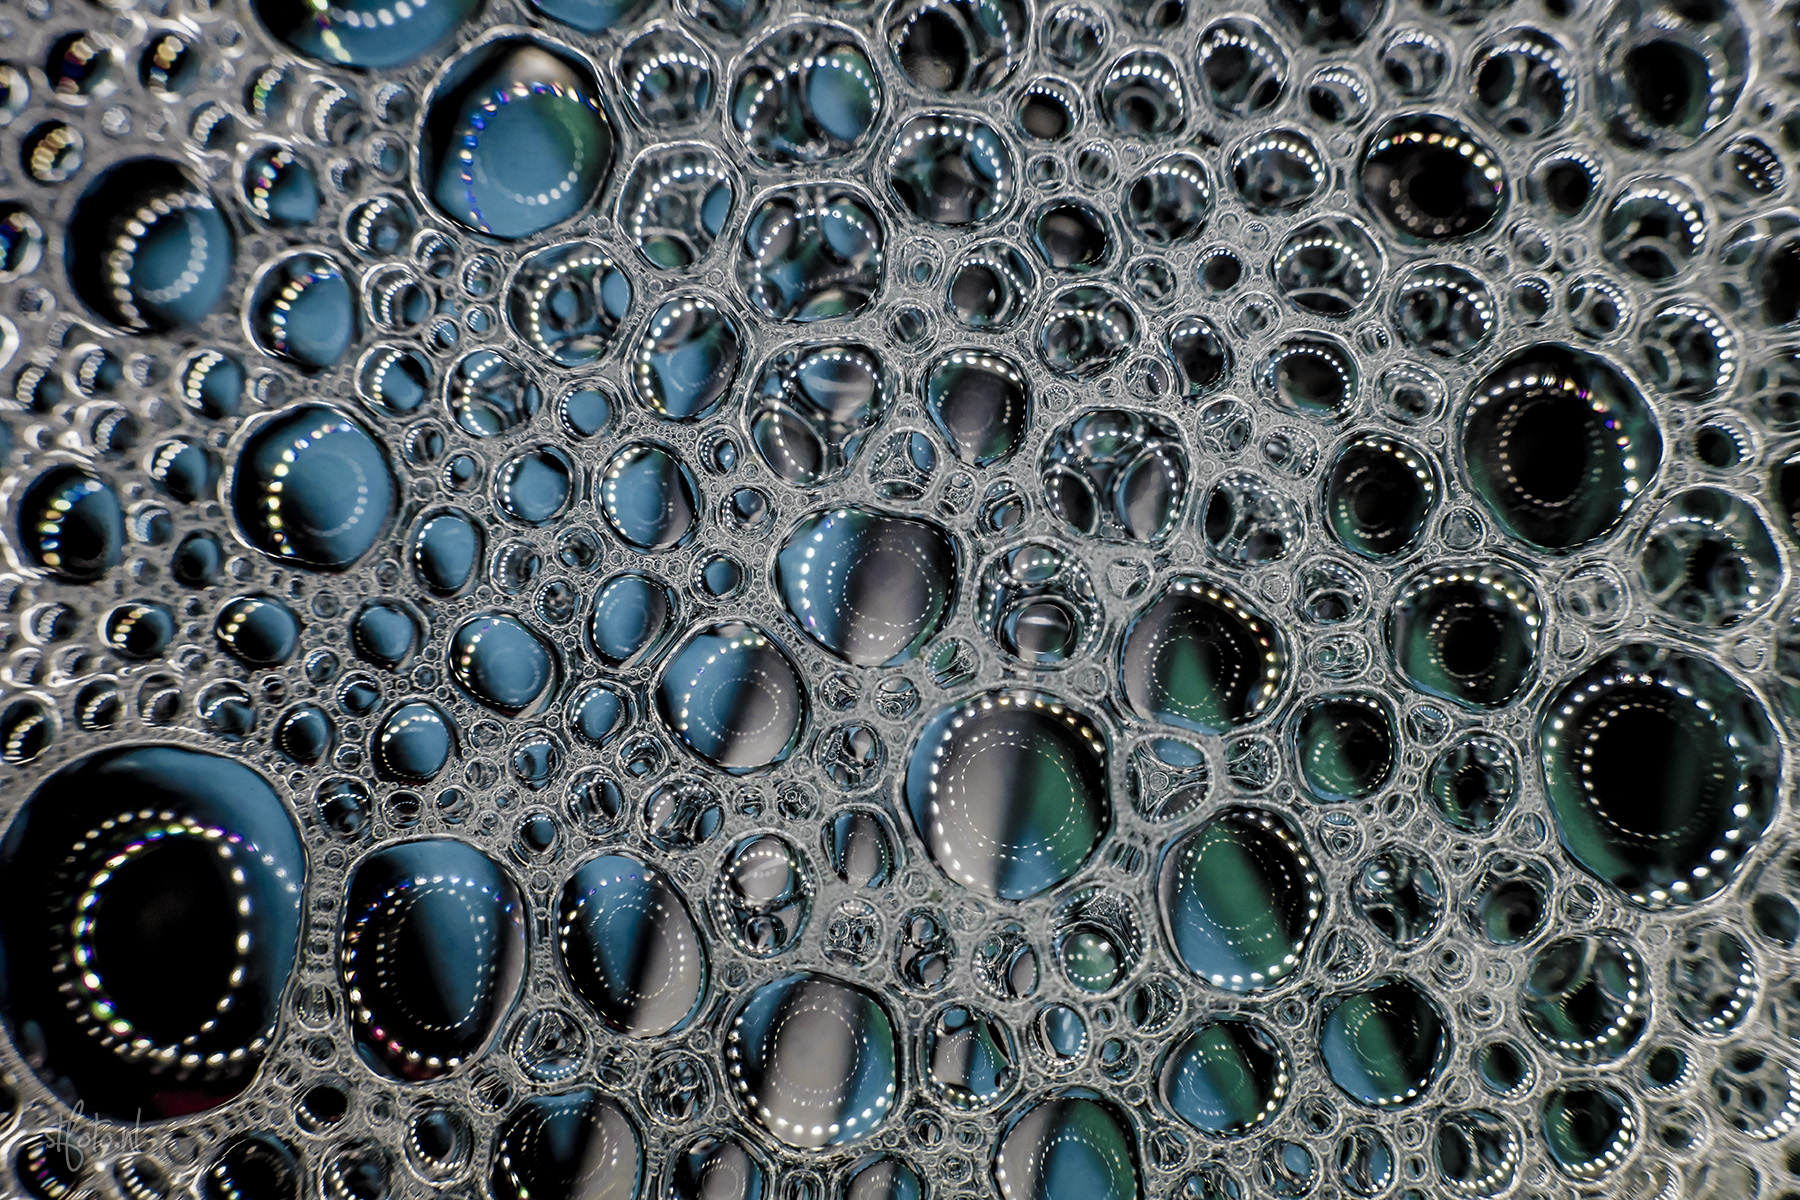
Bubbles. Lot’s of soapy bubbles.
Was doing the dishes, saw bubbles. Liked their colors, so what does a photographer do?
Exactly. Dries his hands, get’s camera. Hoovers over water and tests out both new macro tubes ánd a nice LED Ring-flash. The results…? Check it out for yourself.
Canon 5DSr
Canon 50mm 1.4
Meike ringflash
Phootlex Auto Focus Extension Tube set
Review: Tamron 45mm F/1.8 Di VC USD
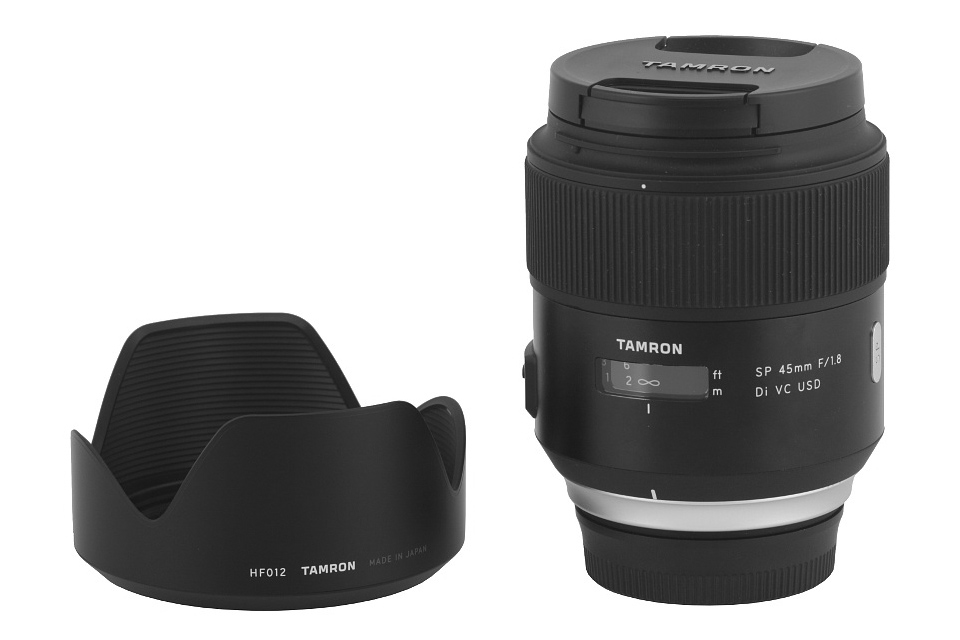 Een week lang mocht ik de Tamron 45mm 1.8 eens flink uitproberen. 45mm prime lenzen zie je niet veel, maar de lens is op meerdere vlakken heel uniek. Zo schiet hij macrofoto’s én heeft hij optische stabilisatie. En dat voor een 1.8 lichtsterke lens!
De lens heb ik een week lang getest op de Canon 5DSr. Deze camera schiet op 51mp en dankzij het low-pass cancelation filter wordt élk detail vastgelegd. Mijn review is geen laboratoriumtest, maar écht een gebruikersreview.
Eerste indruk
Nette doos, direct wat boekjes, lens daaronder stevig en secuur verpakt. Ook de zonnekap is veilig ingepakt. Lens eruit, voelt heel degelijk aan. Mooie afwerking ook. Focus gaat super smooth. Afwerking van het materiaal en de belettering zijn super strak. Zonnekap draait secuur op de lens en geeft een bevestigende klik. Ook de knopjes op de lens werken perfect. Wanneer je de autofocus of stabilisatie aan of uit zet geeft dit ook weer een fijne klik. Hoewel het super eenvoudig is om deze knopjes te verschuiven heb ik niet het idee dat dit per ongeluk zal gaan. Met andere lenzen heb ik weleens dat in mijn fototas de AF uitgezet wordt. Heel frustrerend als je na een aantal goede foto’s erachter komt dat de focus op handmatig stond. Dat zal met deze lens niet gebeuren.
45mm v.s. 50mm
Veel fotografen gebruiken de 50 1.8 voor portretfotografie. Deze lenzen zijn over het algemeen snel, scherp en creëren een mooi bokeh. Tamron’s 45mm wijkt daar dus iets van af en tijdens het fotograferen is dat merkbaar. Al is het slechts 5mm verschil, je hebt nét even wat meer beeld. Nét wat meer om later mee te spelen en net wat meer overzicht. Persoonlijk vond ik dit erg fijn zowel bij portret evenals landschap.
Prestaties – Scherpte
Er staan op het internet al een aantal reviews die heel gedetailleerd ingaan op de prestaties van deze lens, dus ik hou me vooral bij mijn bevindingen als een gebruiker.
De scherpte is meer dan goed te noemen van deze lens. Dat mag je van een prime uit dit segment ook wel verwachten. Ook in de randjes van de foto is alles in focus goed scherp. En dat getest op 51MP!
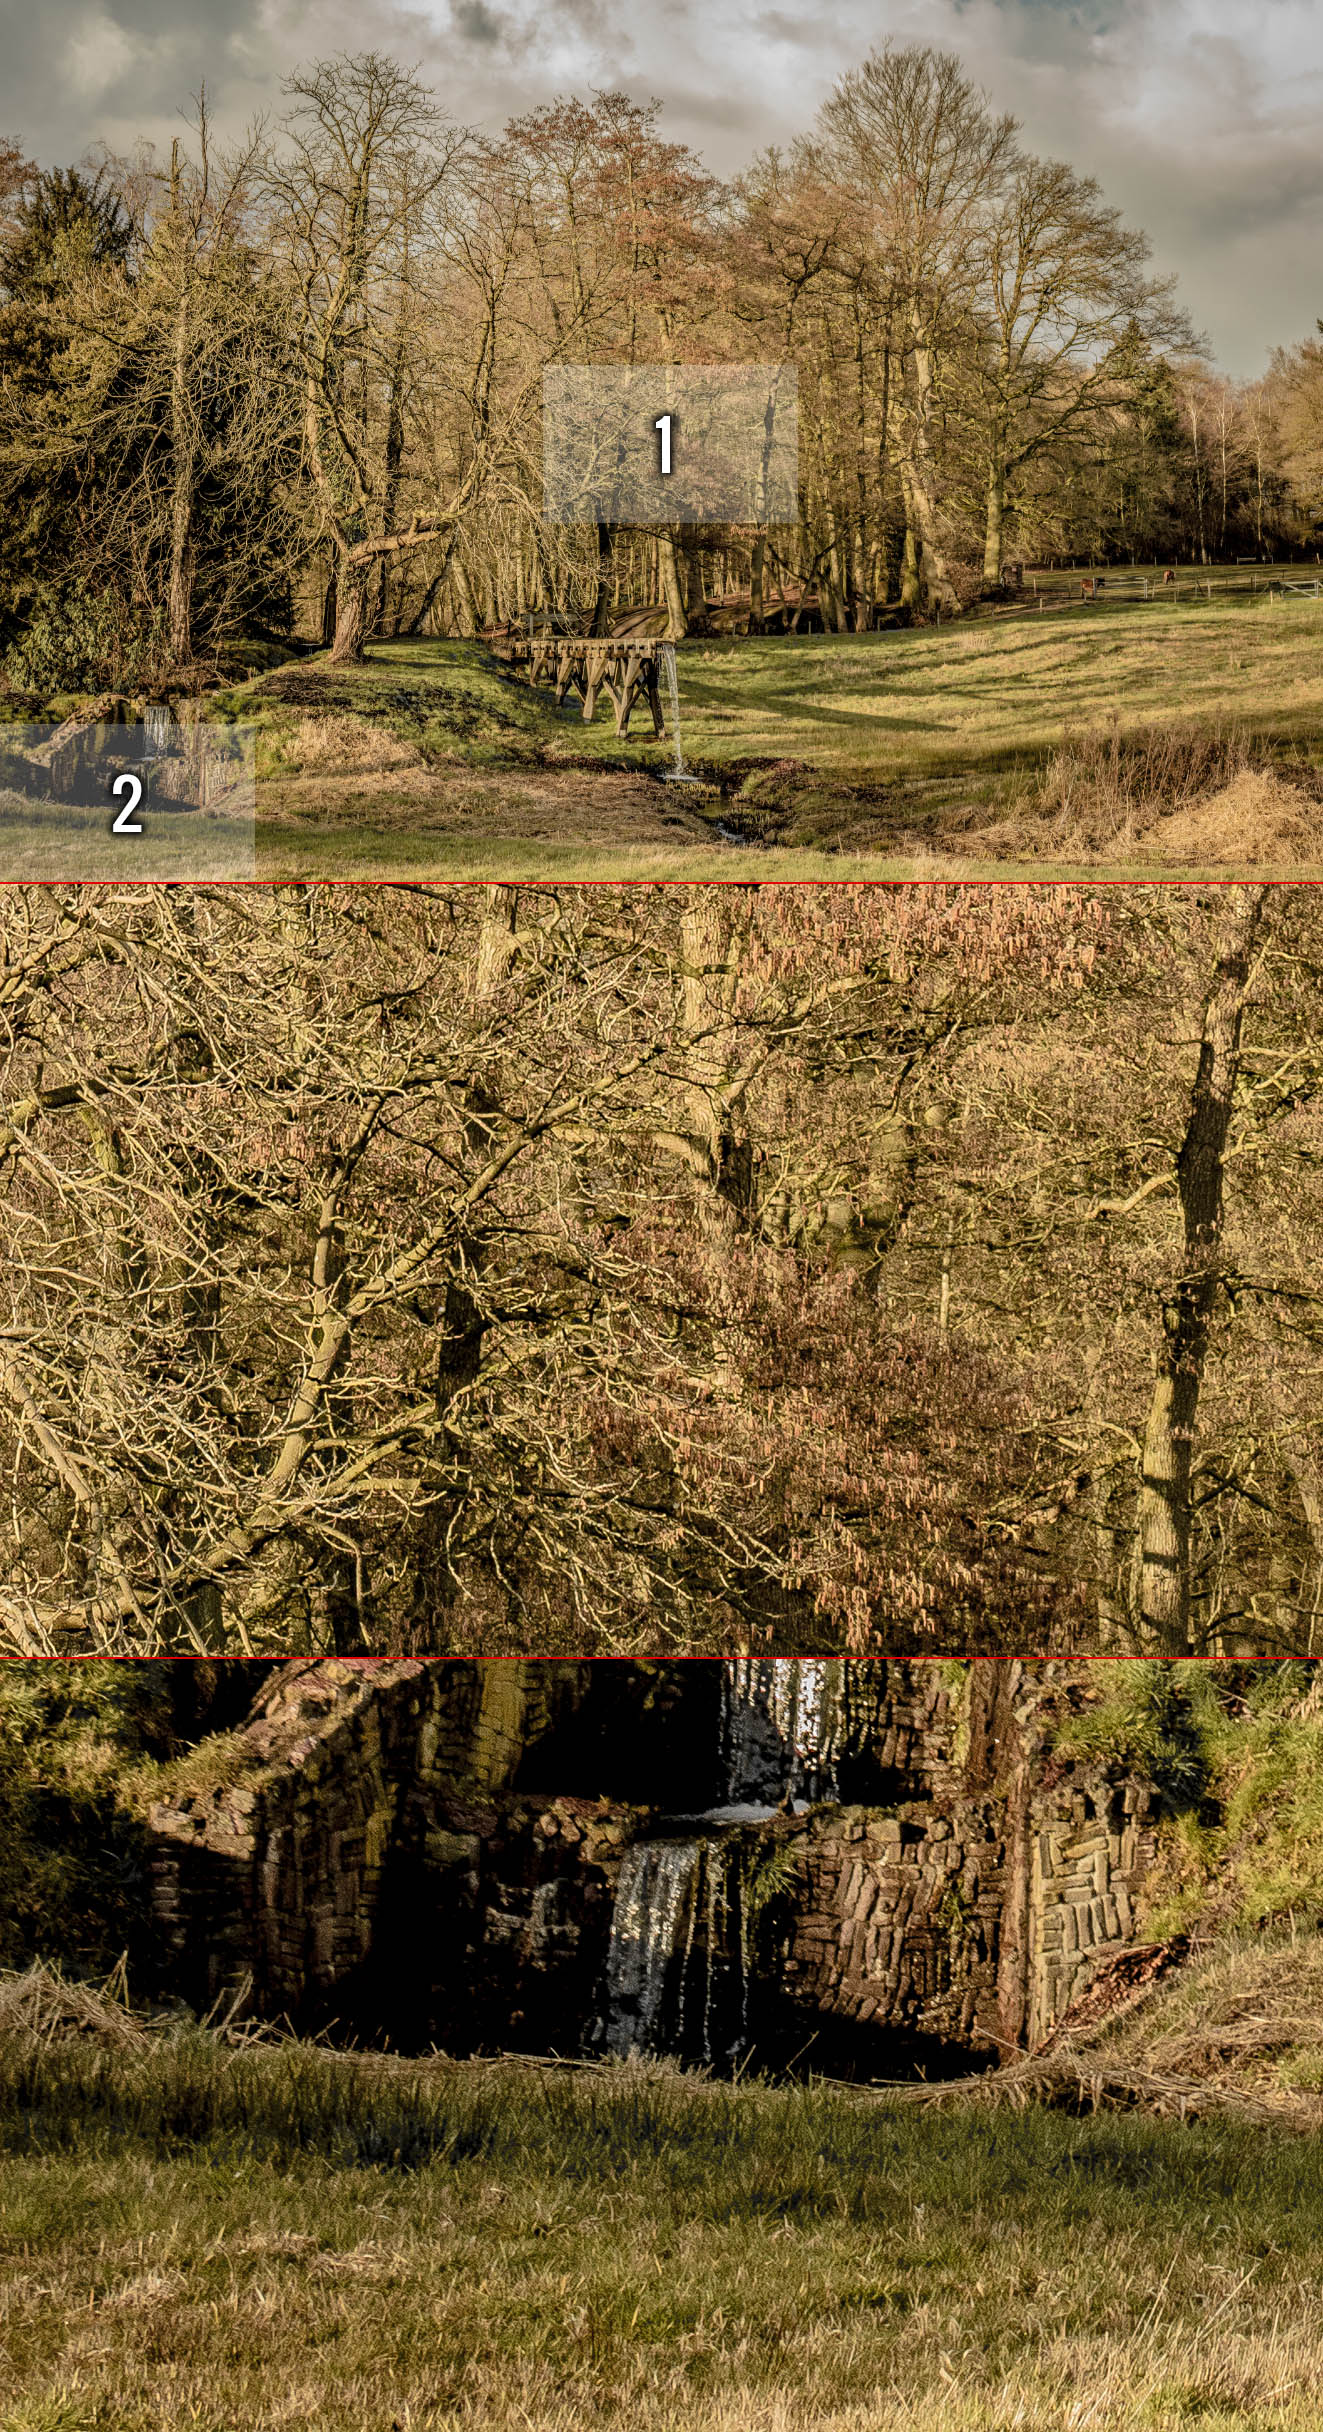
Prestaties – Chromatic Abberation
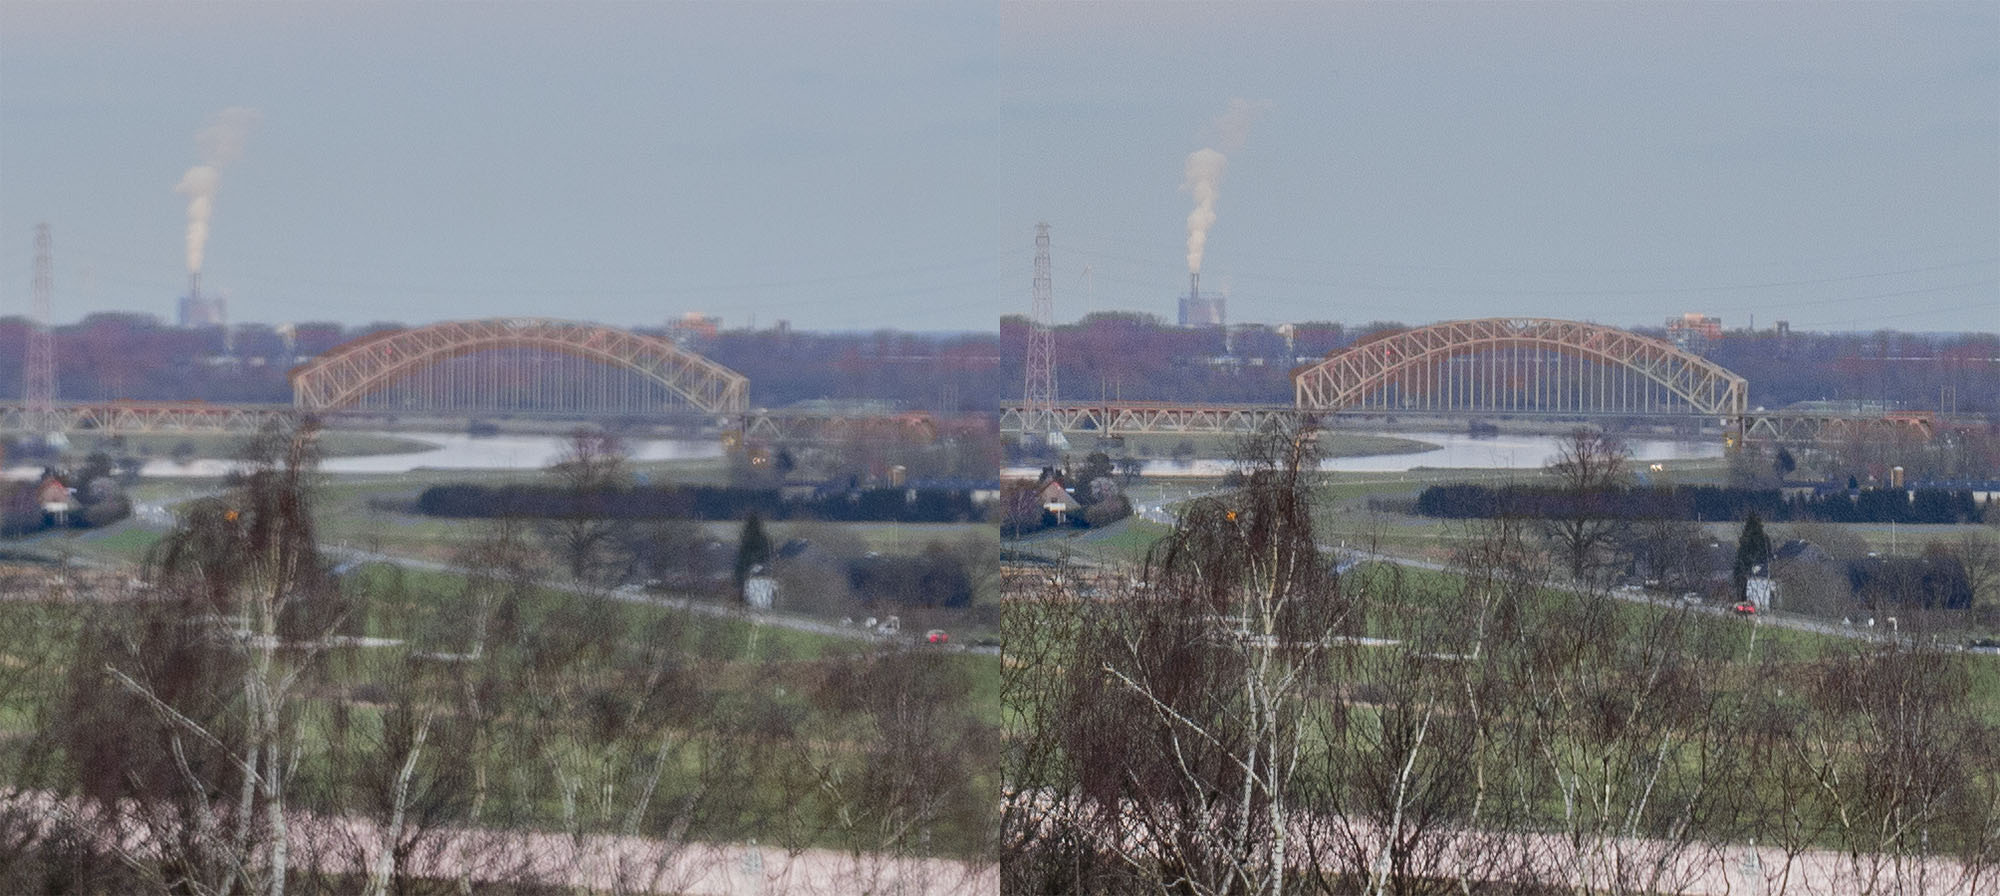
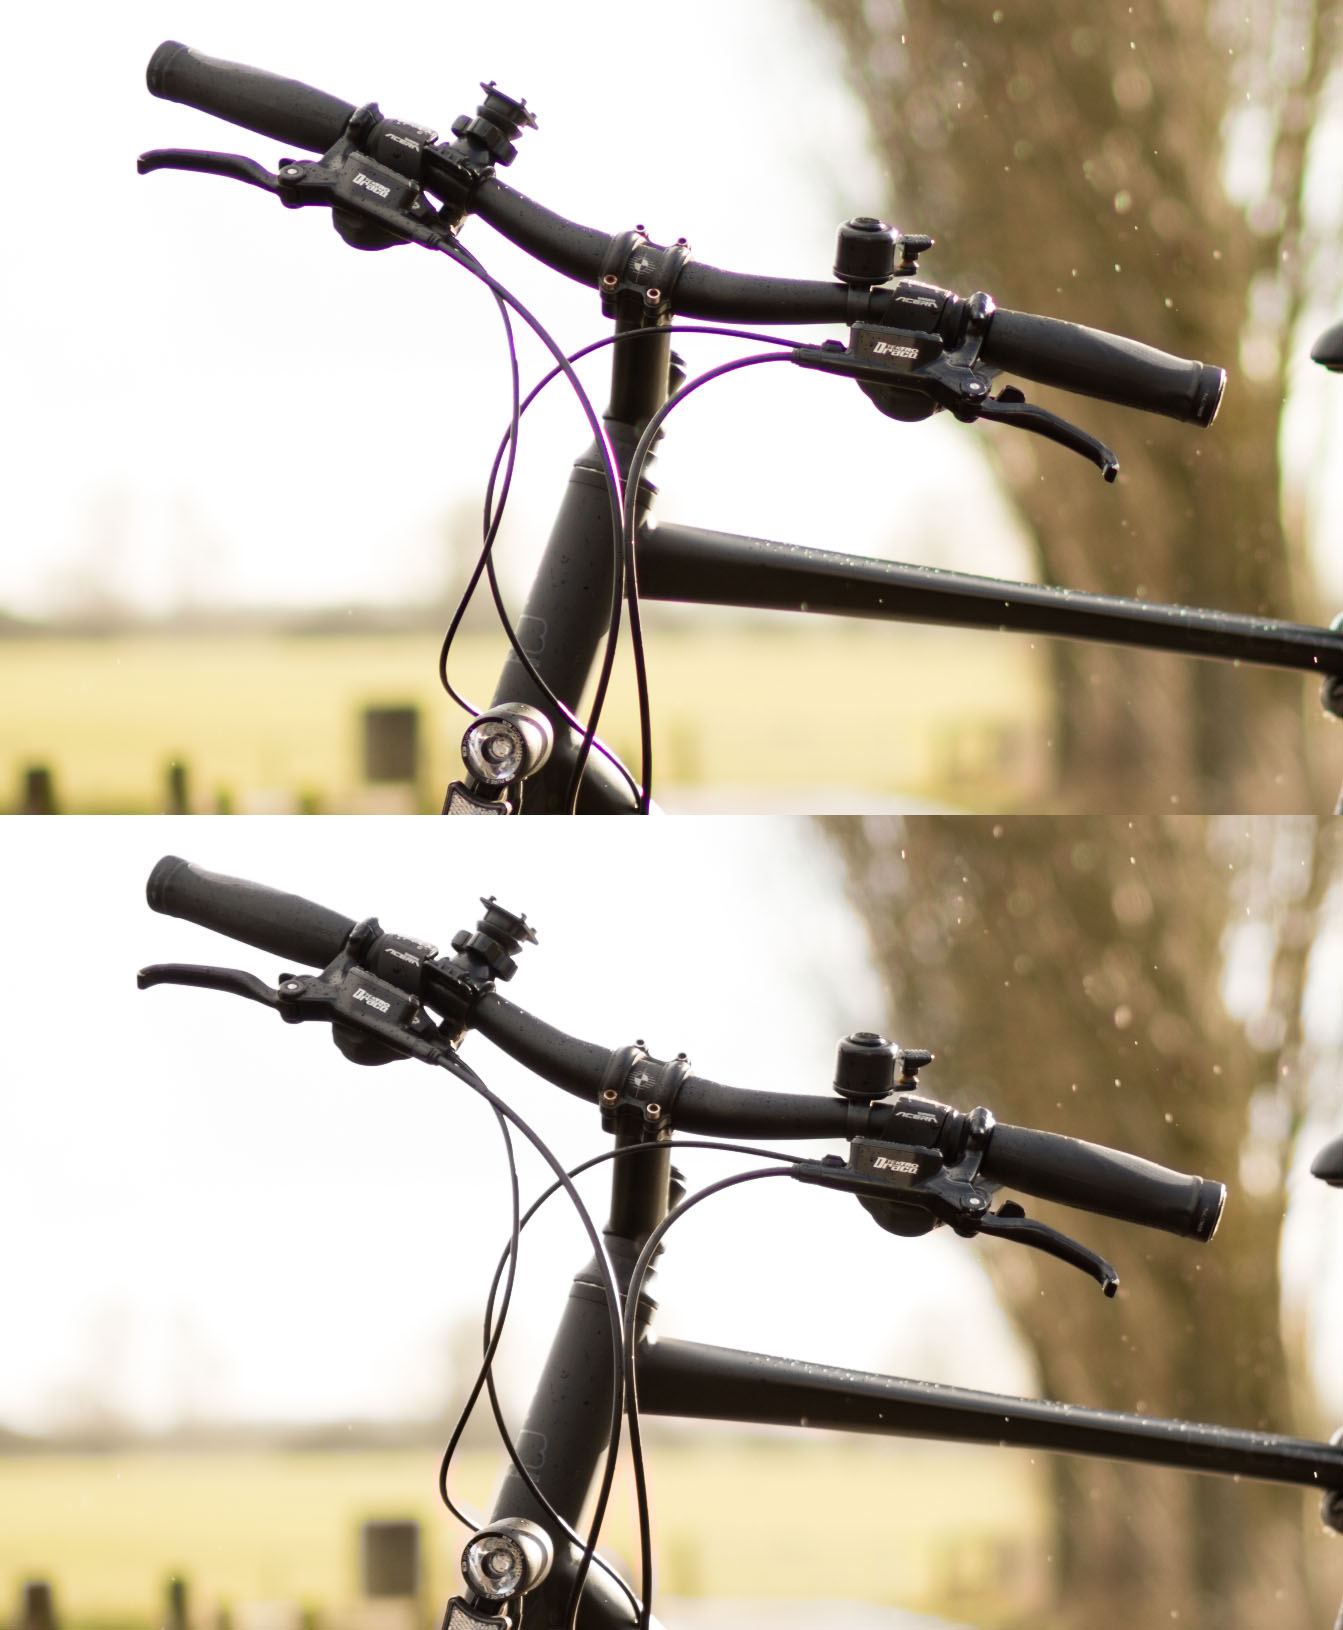
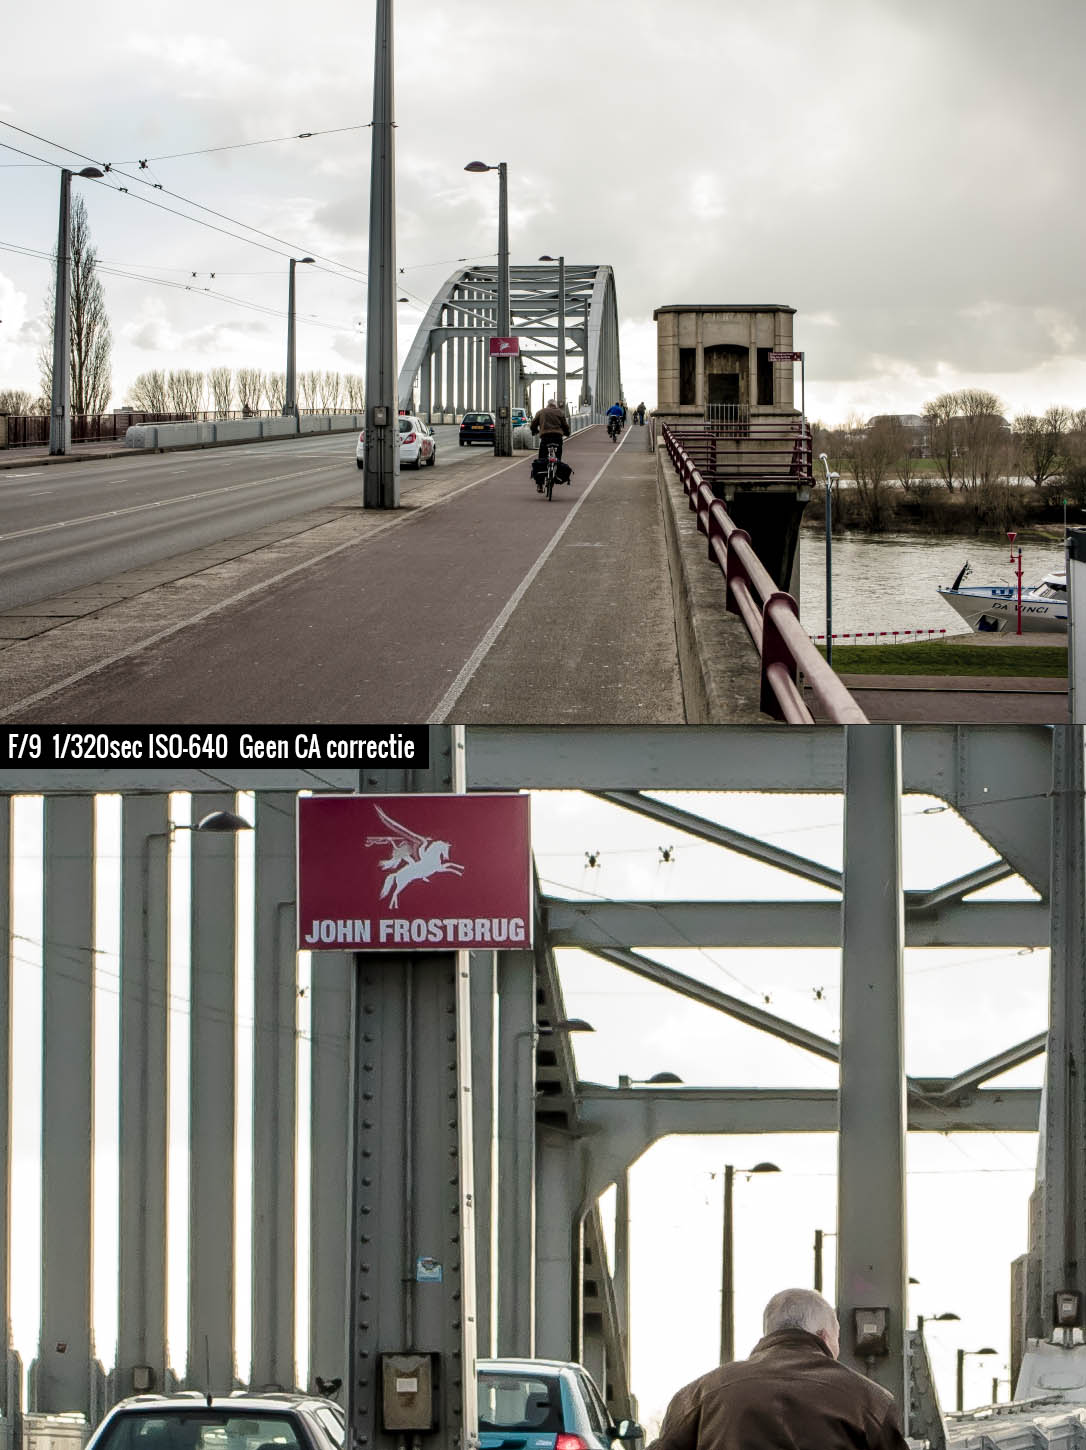
Wanneer je naar lenzen kijkt met een diafragma kleiner dan 3.0 dan kun je wel aardig wat chromatic abberation verwachten. De Tamron 45mm 1.8 is daar geen uitzondering op, maar er is prima mee te werken. Ga je naar wat hogere diafragmawaarden heb je er al snel geen last meer van. En schiet je wel vol open op 1.8 dan is de chromatic abberation goed weg te werken in bijvoorbeeld Lightroom, DxO of Photoshop.
Hier is de chromatic abberation weggewerkt in Photoshop. Als we 100% vergroten zien we het zó voor en na:
Maar gaan we bijvoorbeeld naar F/9 dan is zonder bewerking er amper chromatic abberation zichtbaar.
Bokeh
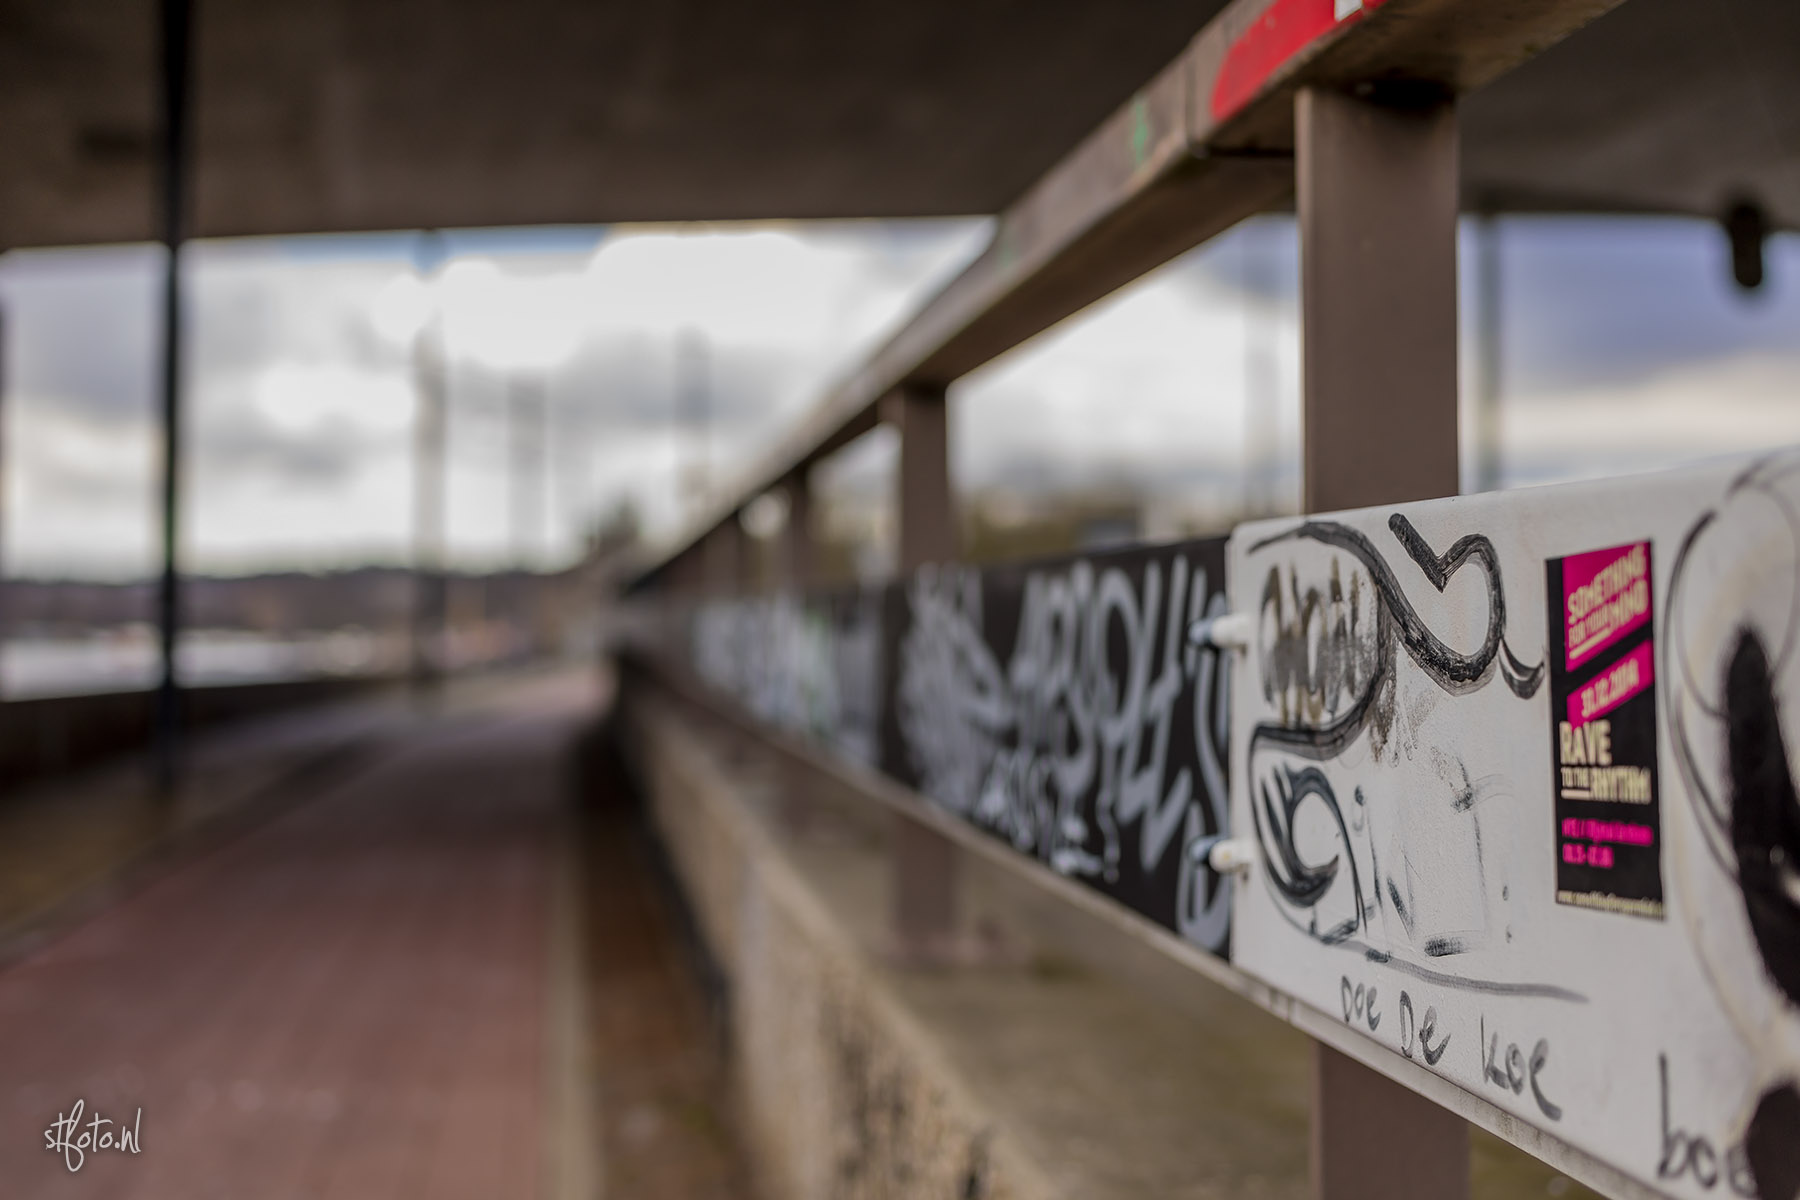
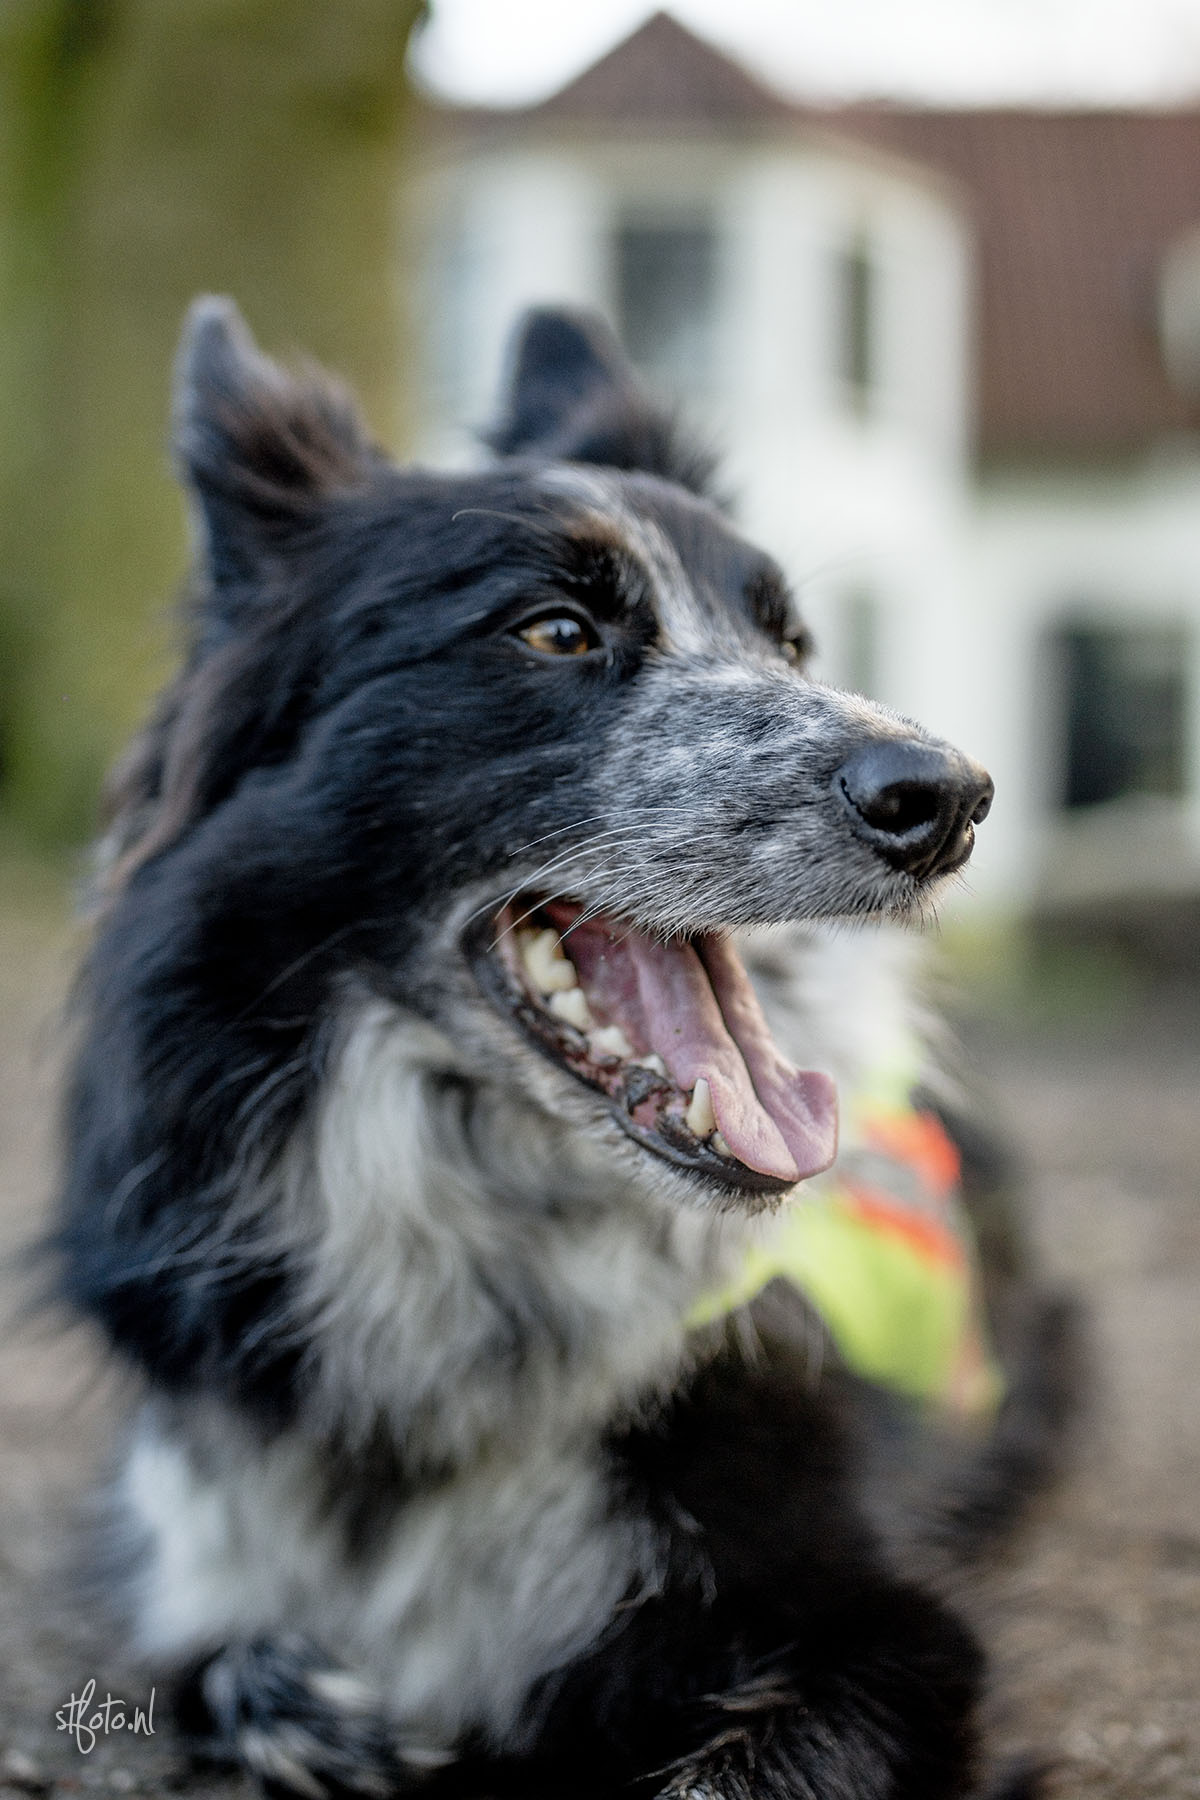
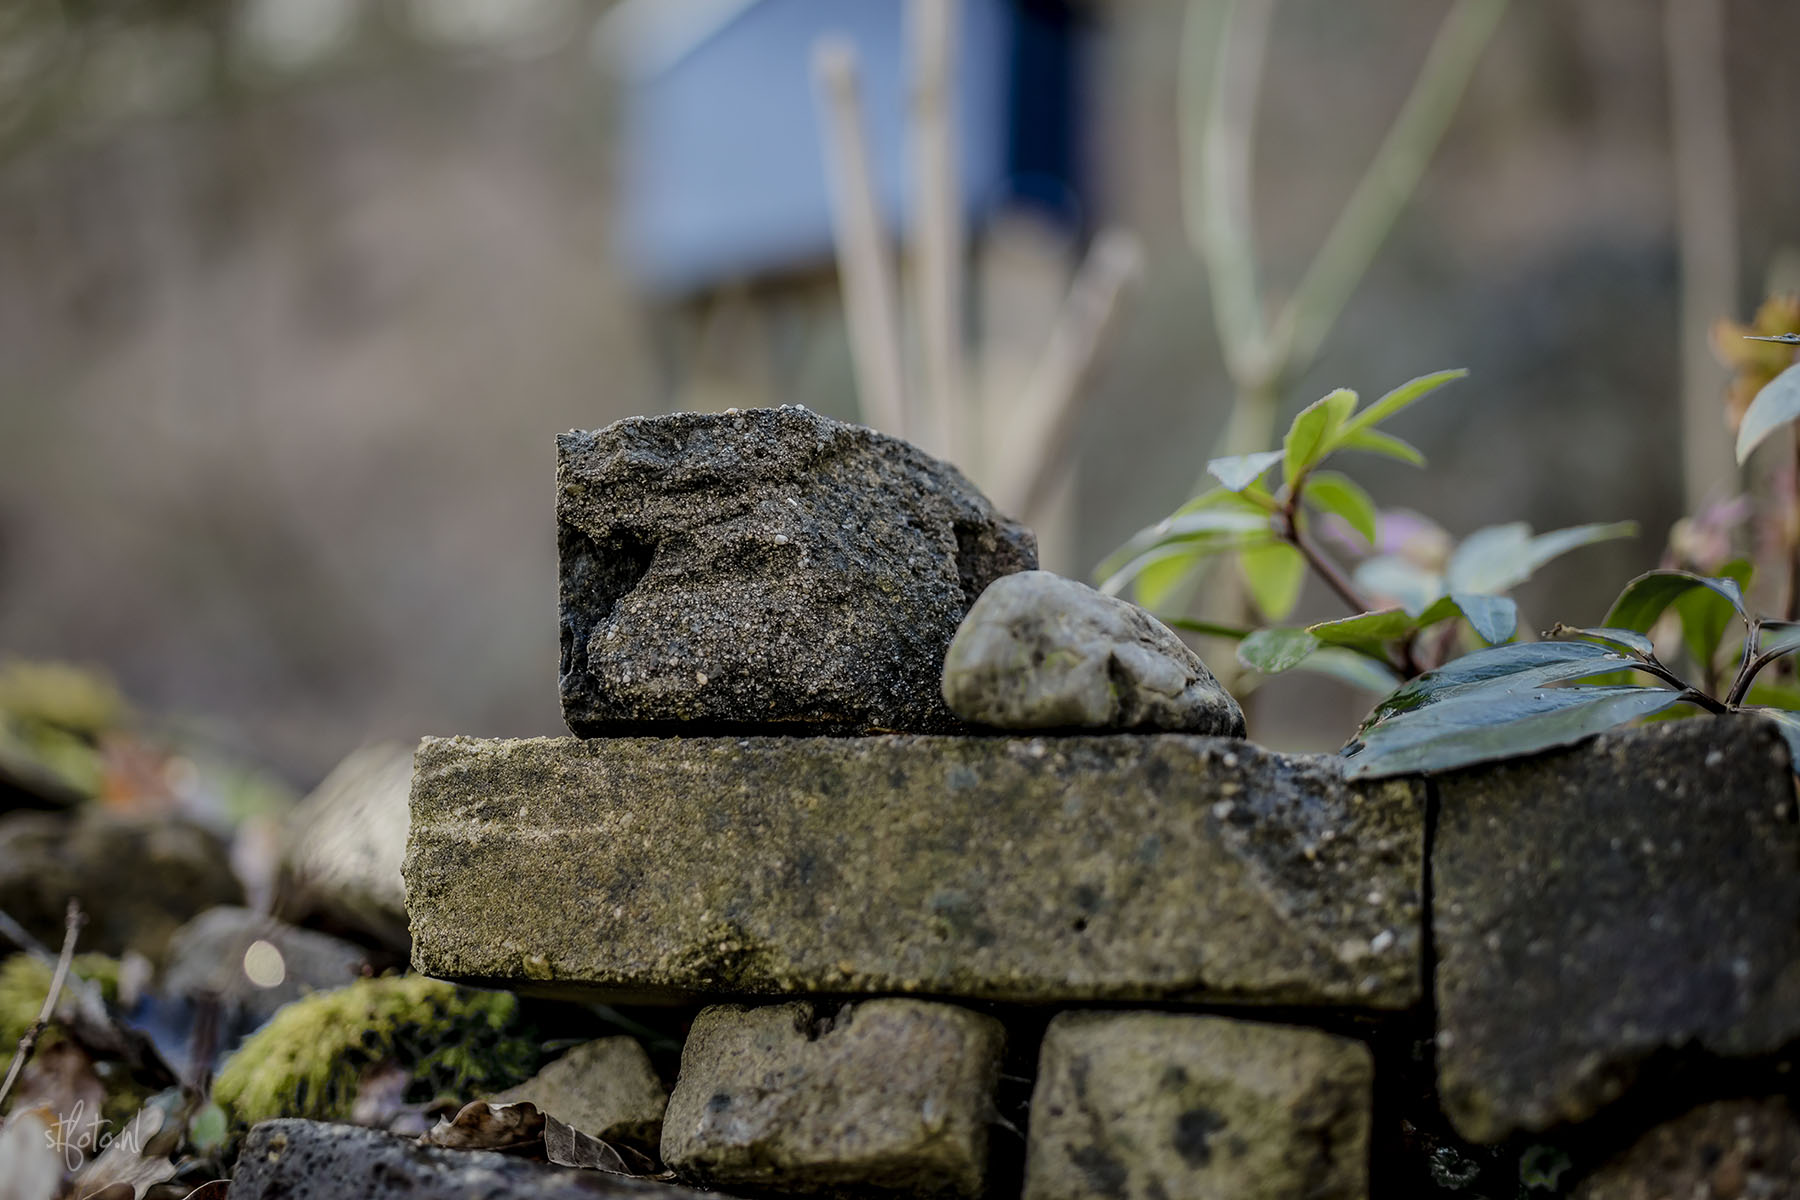
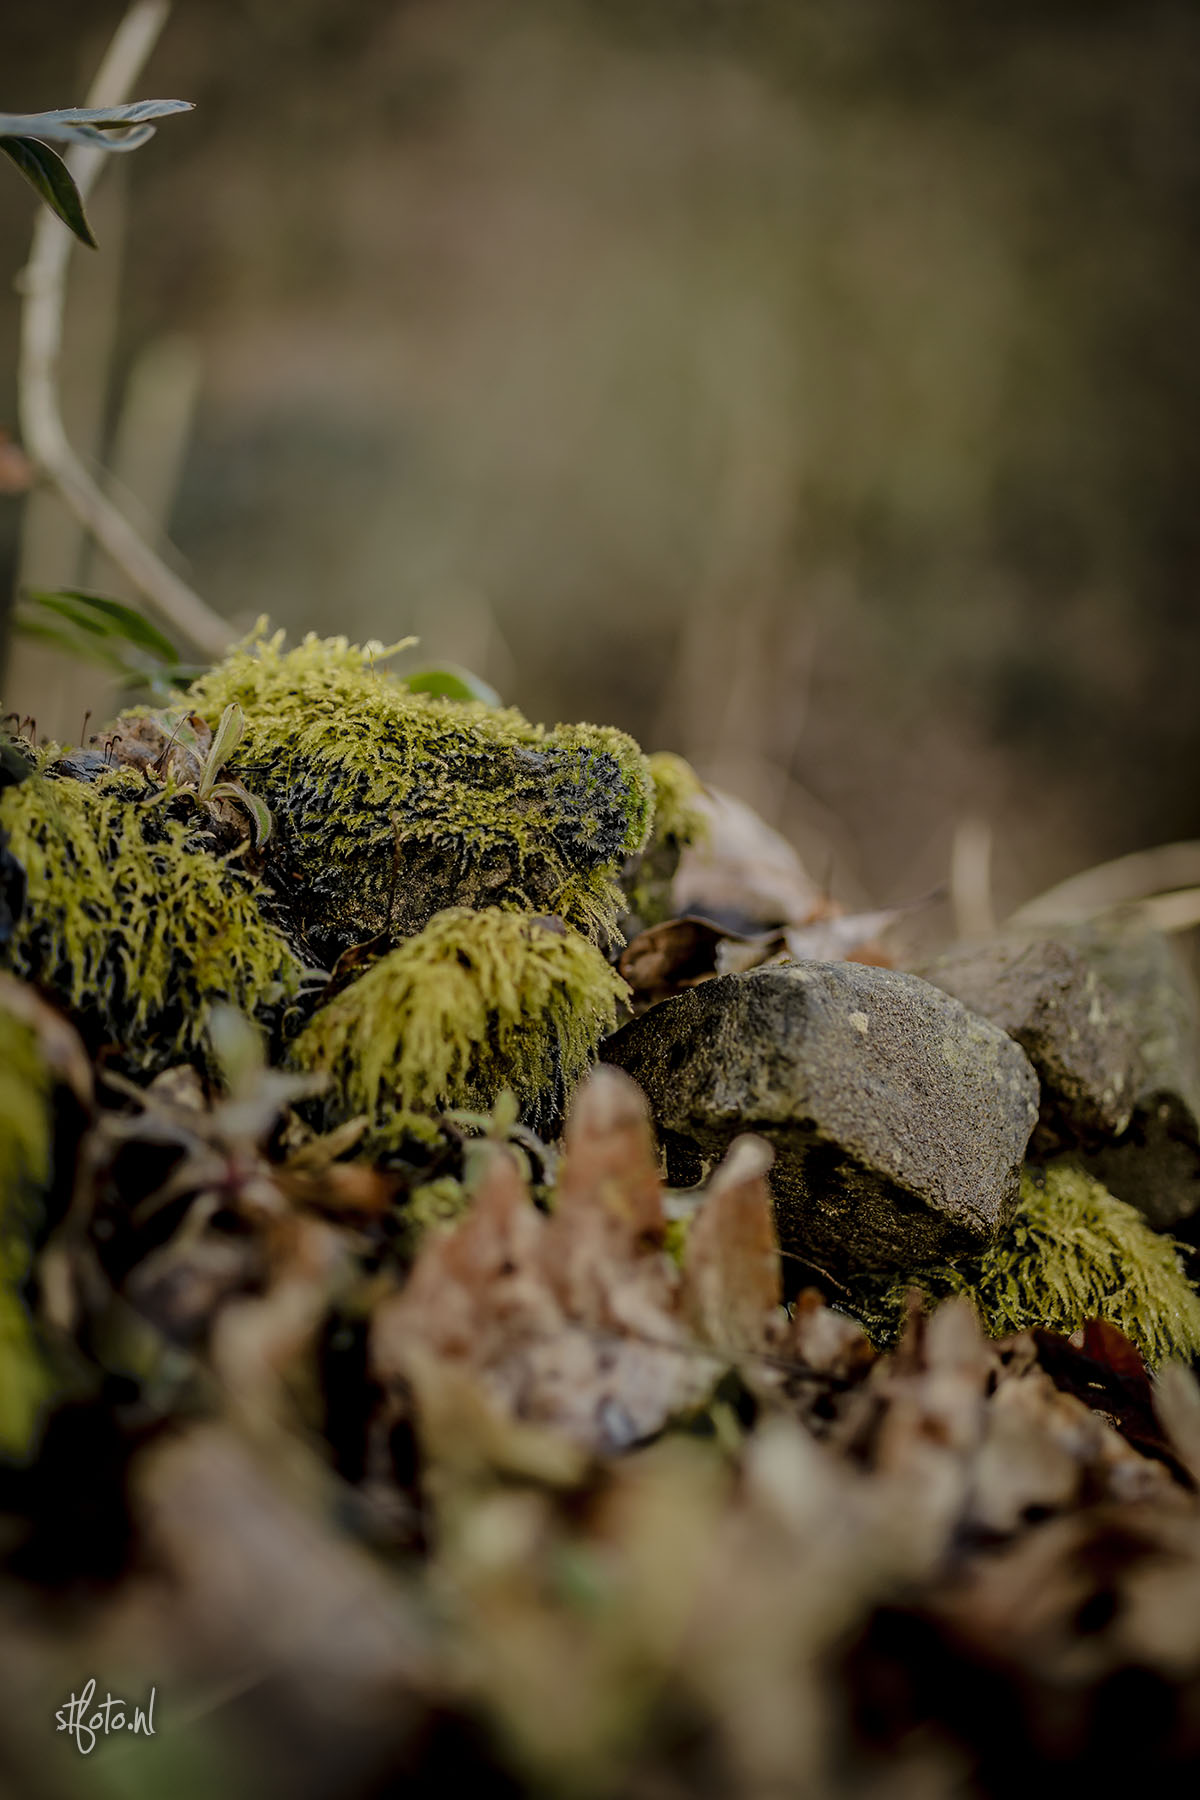
Een van de hoofdredenen om voor een 1.8 lens te gaan is uiteraard de bokeh. Ofwel, de onscherpte van hetgeen out of focus is. Deze is echt super zacht bij deze Tamron lens. Zowel op macro als bij portret wordt de achtergrond heel fijn wazig.
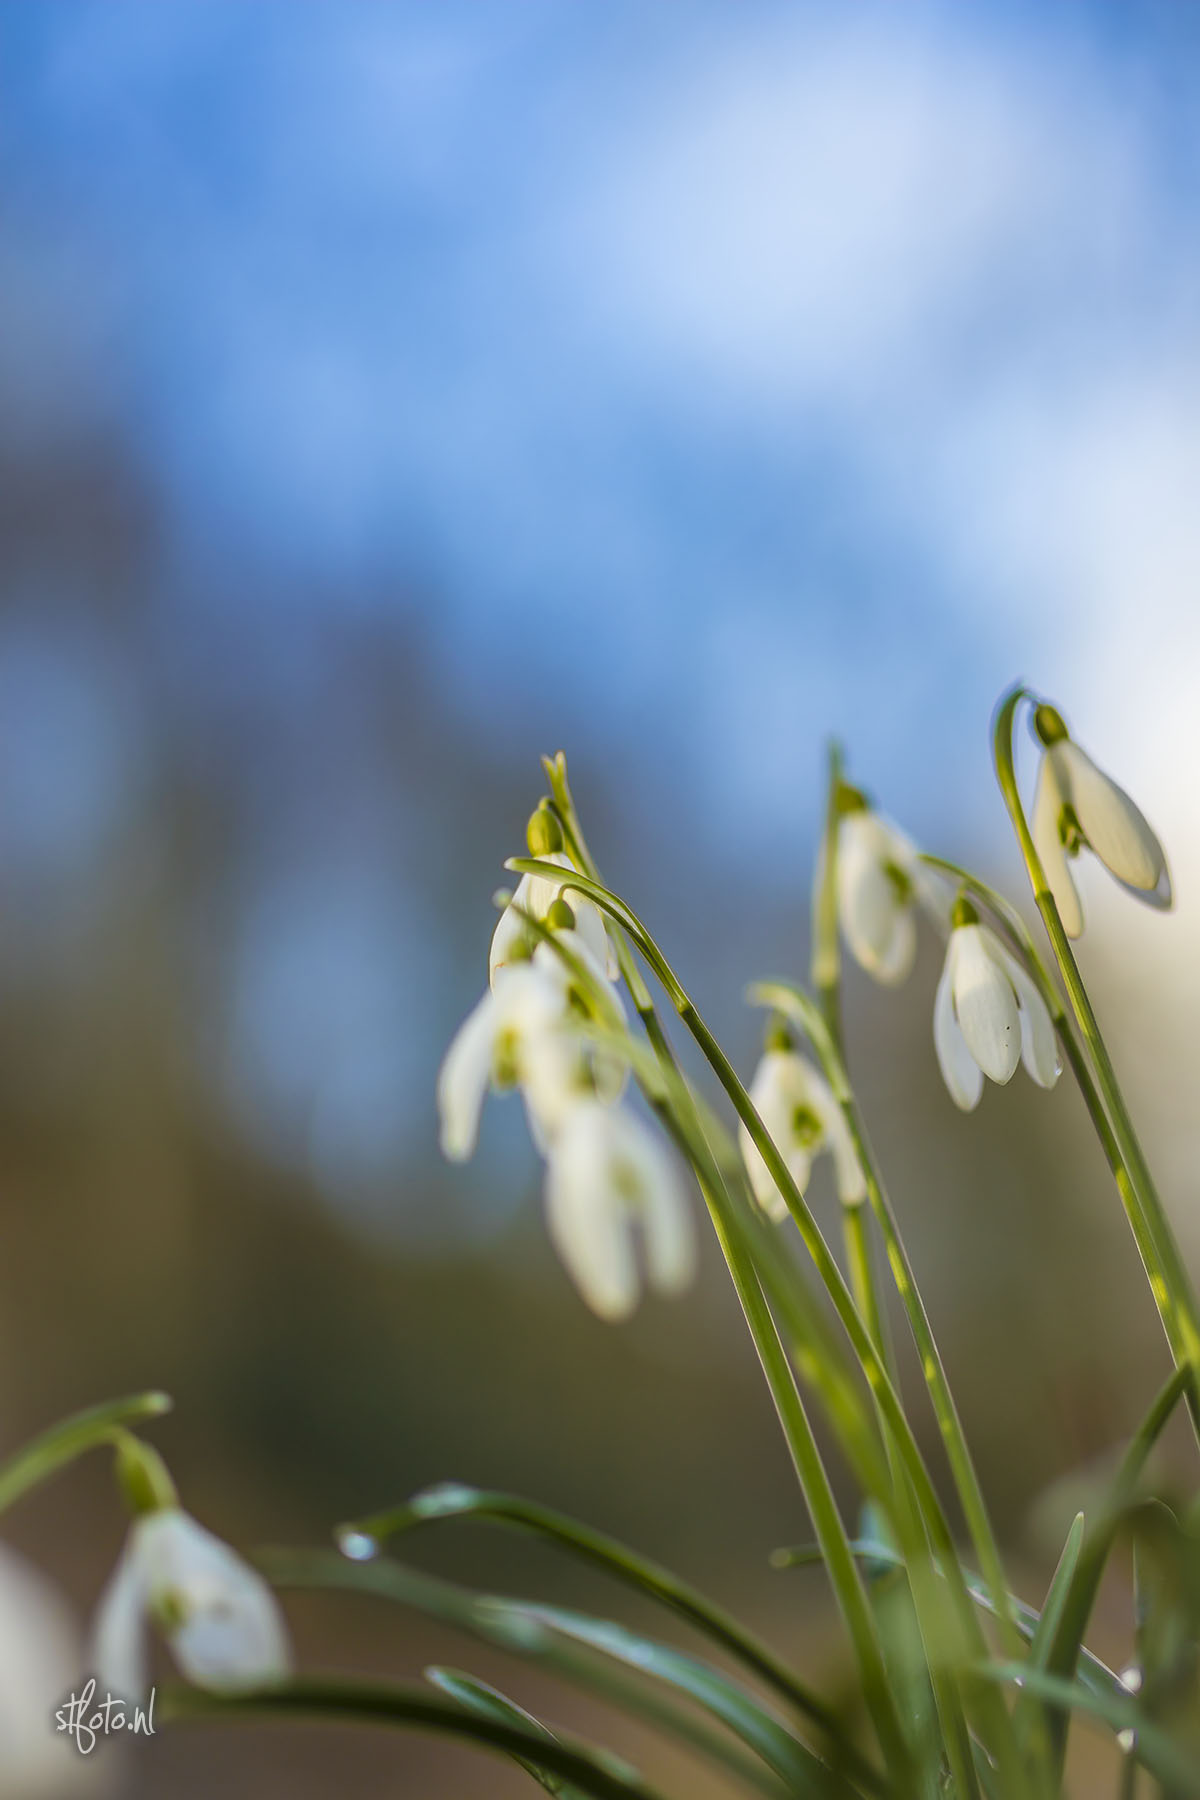
Macro
Ook vrij uniek aan deze lens is de mogelijkheid om héél dichtbij te fotograferen. En dat biedt onwijs veel leuke mogelijkheden. Denk bijvoorbeeld aan prachtige details tijdens een bruiloft, of shots van bloemen en de natuur. De macro-modus is snel en accuraat. Zonder enige frustratie kon ik zonder door de zoeker te kijken toch een aantal bloempjes er goed op krijgen. Wanneer je van zó dichtbij fotografeert en je nog digitaal kan uitvergroten kun je heel veel detail verwachten.
Foto’s bij weinig licht
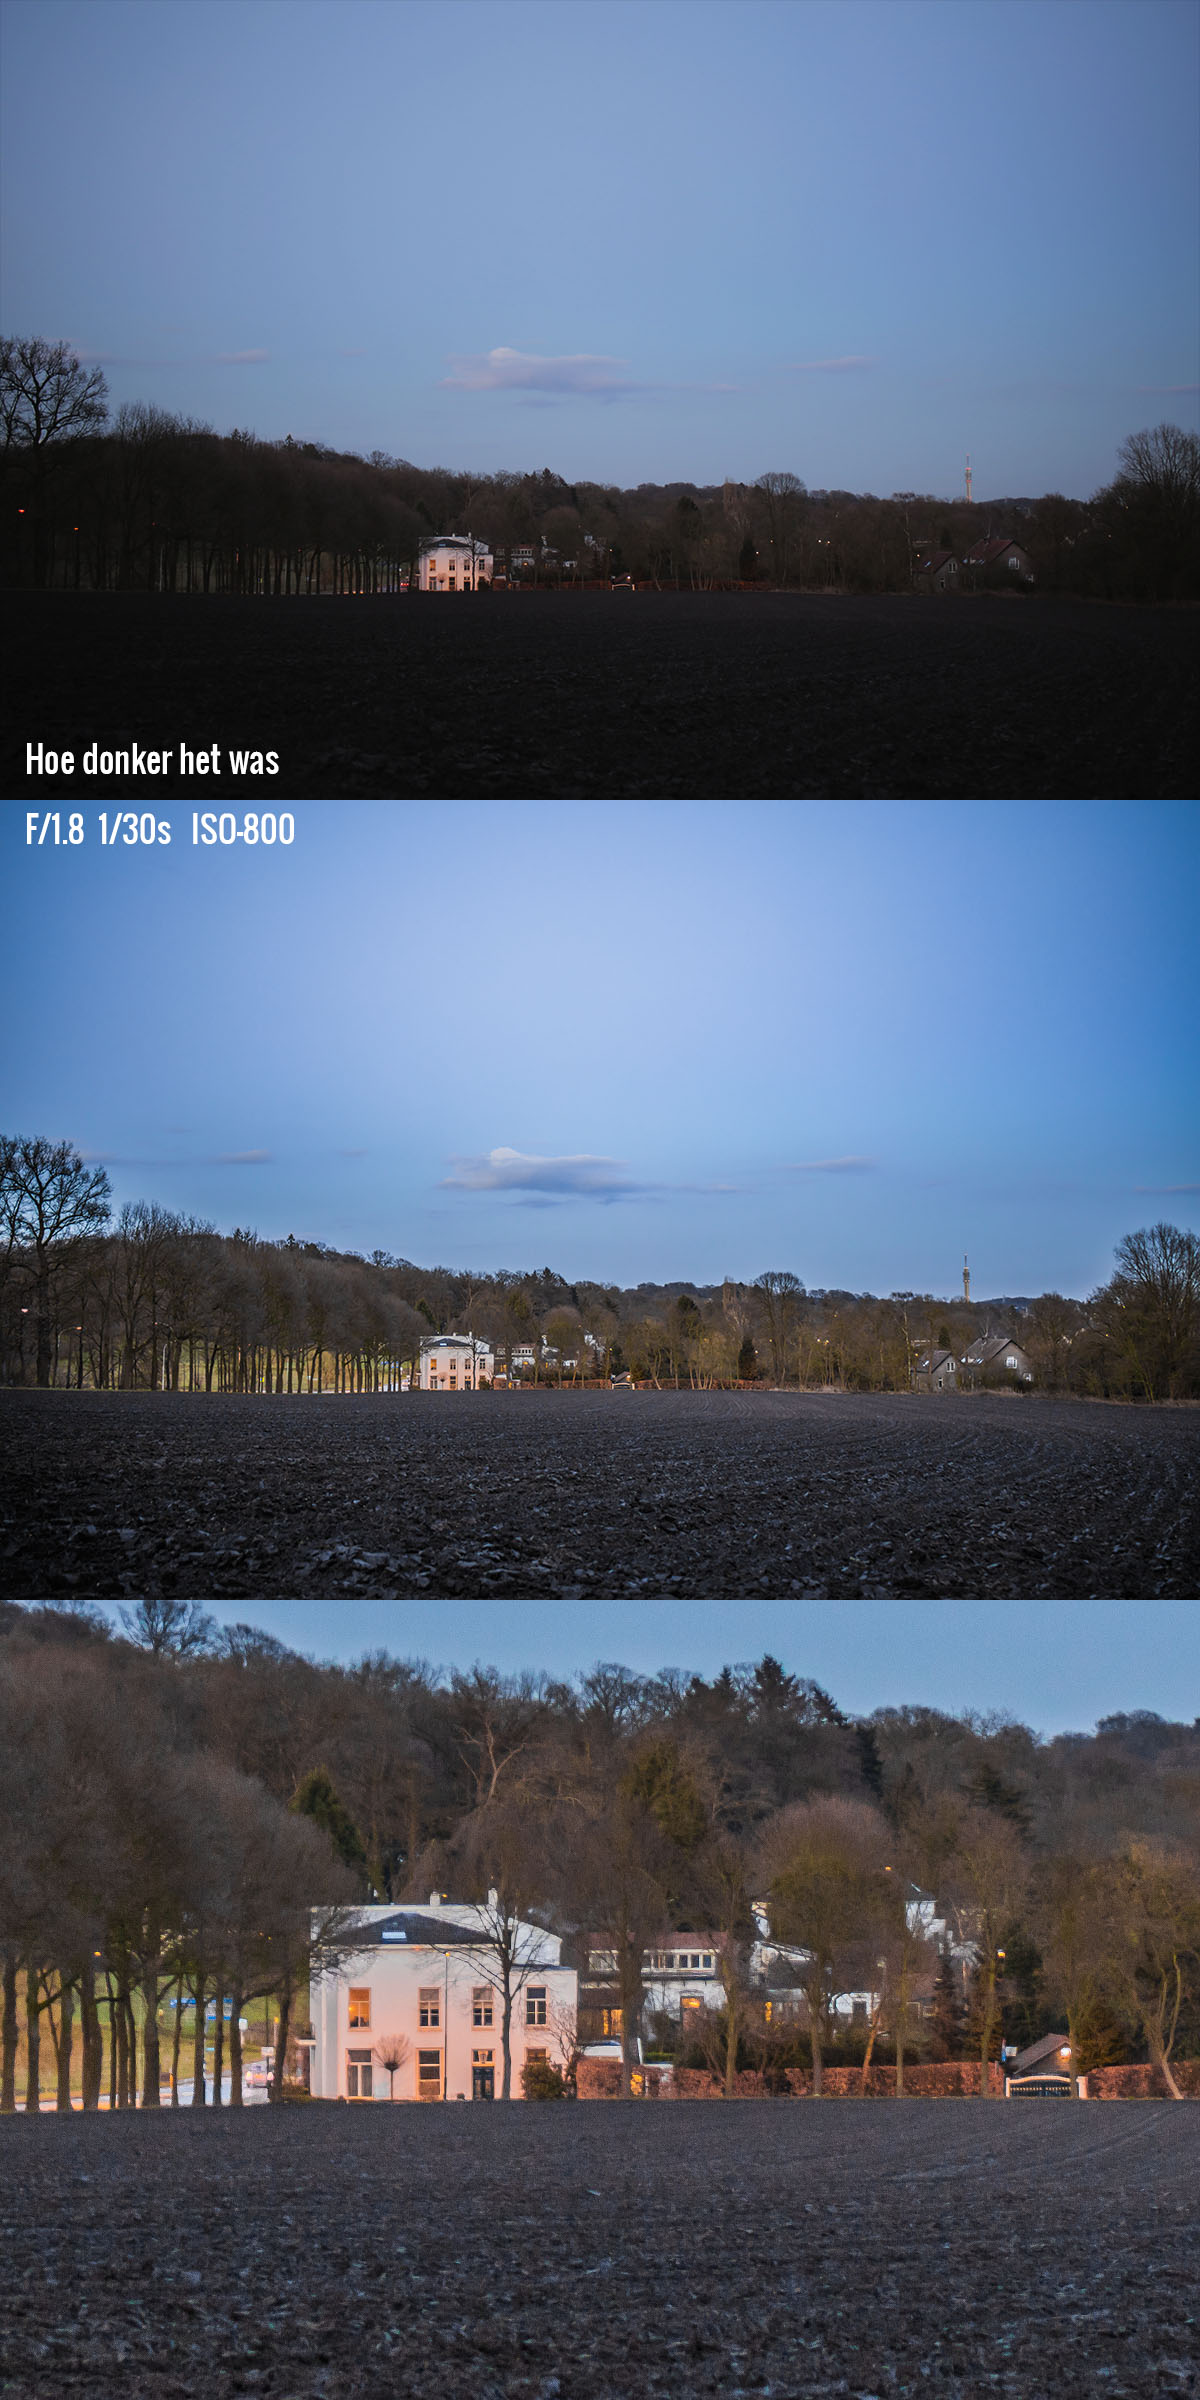
Met het diafragma van 1.8 kun je bij weinig licht nog prima foto’s maken. Zelfs vanuit de hand en zonder flitser was dit eigenlijk geen enkel probleem. Ook is fotograferen met een sluitertijd van 1/30e uit het losse handje prima te doen, zonder bewegings-onscherpte te krijgen. Wil je portretten schieten bij feestjes, ’s avonds? Dan is dit absoluut een ideale lens. Zéker in combinatie met de stabilisatie.
Optische beeldstabilisatie, VC (Vibration Compensation)
De Tamron 45mm 1.8 is de enige 45mm prime lens met beeldstabilisatie. Normaliter heb je dit vooral nodig in zoom-lenzen. Hoe verder je inzoomed, des te meer je ook bewegingsonscherpte vergroot. Daarnaast zijn dit vaak donkerdere lenzen.
Om een ontzettend lichtsterk objectief als deze tóch beeldstabilisatie te geven maakt deze lens naast uniek ook alleen maar nóg geschikter voor het donker.
De stabilisatie zelf hoor je nauwelijks. Dit is bij andere merken wel anders. Soms twijfelde ik zelfs of hij aan stond, maar als je dan goed luisterd dan is hij druk aan het werk.
Door de lens zie je niet veel van de stabilisatie, maar dat is niet gek. Op 45mm zijn ook je bewegingen behoorlijk “uitgezoomed” en dus niet snel merkbaar. Wanneer je stabilisatie op 200mm probeert zie je het effect pas een beetje.
Echter, bekijk je na een dag schieten je foto’s dan zie je wel degelijk veel verschil. Een aantal foto’s die ik normaal nooit uit het losse handje had kunnen schieten waren ineens prima scherp.
Deze foto is gemaakt met een sluitertijd van 1/6e, zonder statief. F/10 en ISO van 400.
Dezelfde foto heb ik tweemaal gemaakt, maar dan mét en zonder stabilisatie aan. De foto zegt genoeg.
Ik ben toch echt wel heel positief verrast hoe goed de stabilisatie werkt. Het lukte me zelfs met een sluitertijd van 1/3e om hele scherpe foto’s te krijgen.
Mijn ervaringen
In het weekje dat ik de lens gehad heb, ben ik hem vooral gaan gebruiken. Ik heb de lens meegenomen naar een airsoft-evenement waar ik na het evenement zelf een aantal deelnemers mee het bos in heb genomen. Hier heb ik een aantal portretfoto’s geschoten welke ik in een jare 50 style wou krijgen. De lens werkte hier top mee, ondanks dat het steeds donkerder werd. Vooral in het bos was er al snel nog maar amper licht.
[Best_Wordpress_Gallery id=”3″ gal_title=”TamronRUS”]
Ook op kantoor heb ik de lens getest. Samen met een collega zijn we naar buiten gegaan om een aantal portretfoto’s te maken. De zon stond er vol op, en er was overal reflectie. Toch werkte de zonnekap prima mee en zijn de foto’s scherp en helder geworden. Het viel me al snel op dat de foto’s zonder bewerking een professionele look gaven. 45mm is ook breed genoeg om iemand er van niet al te ver volledig op te krijgen.
[Best_Wordpress_Gallery id=”4″ gal_title=”TamronHerman”]
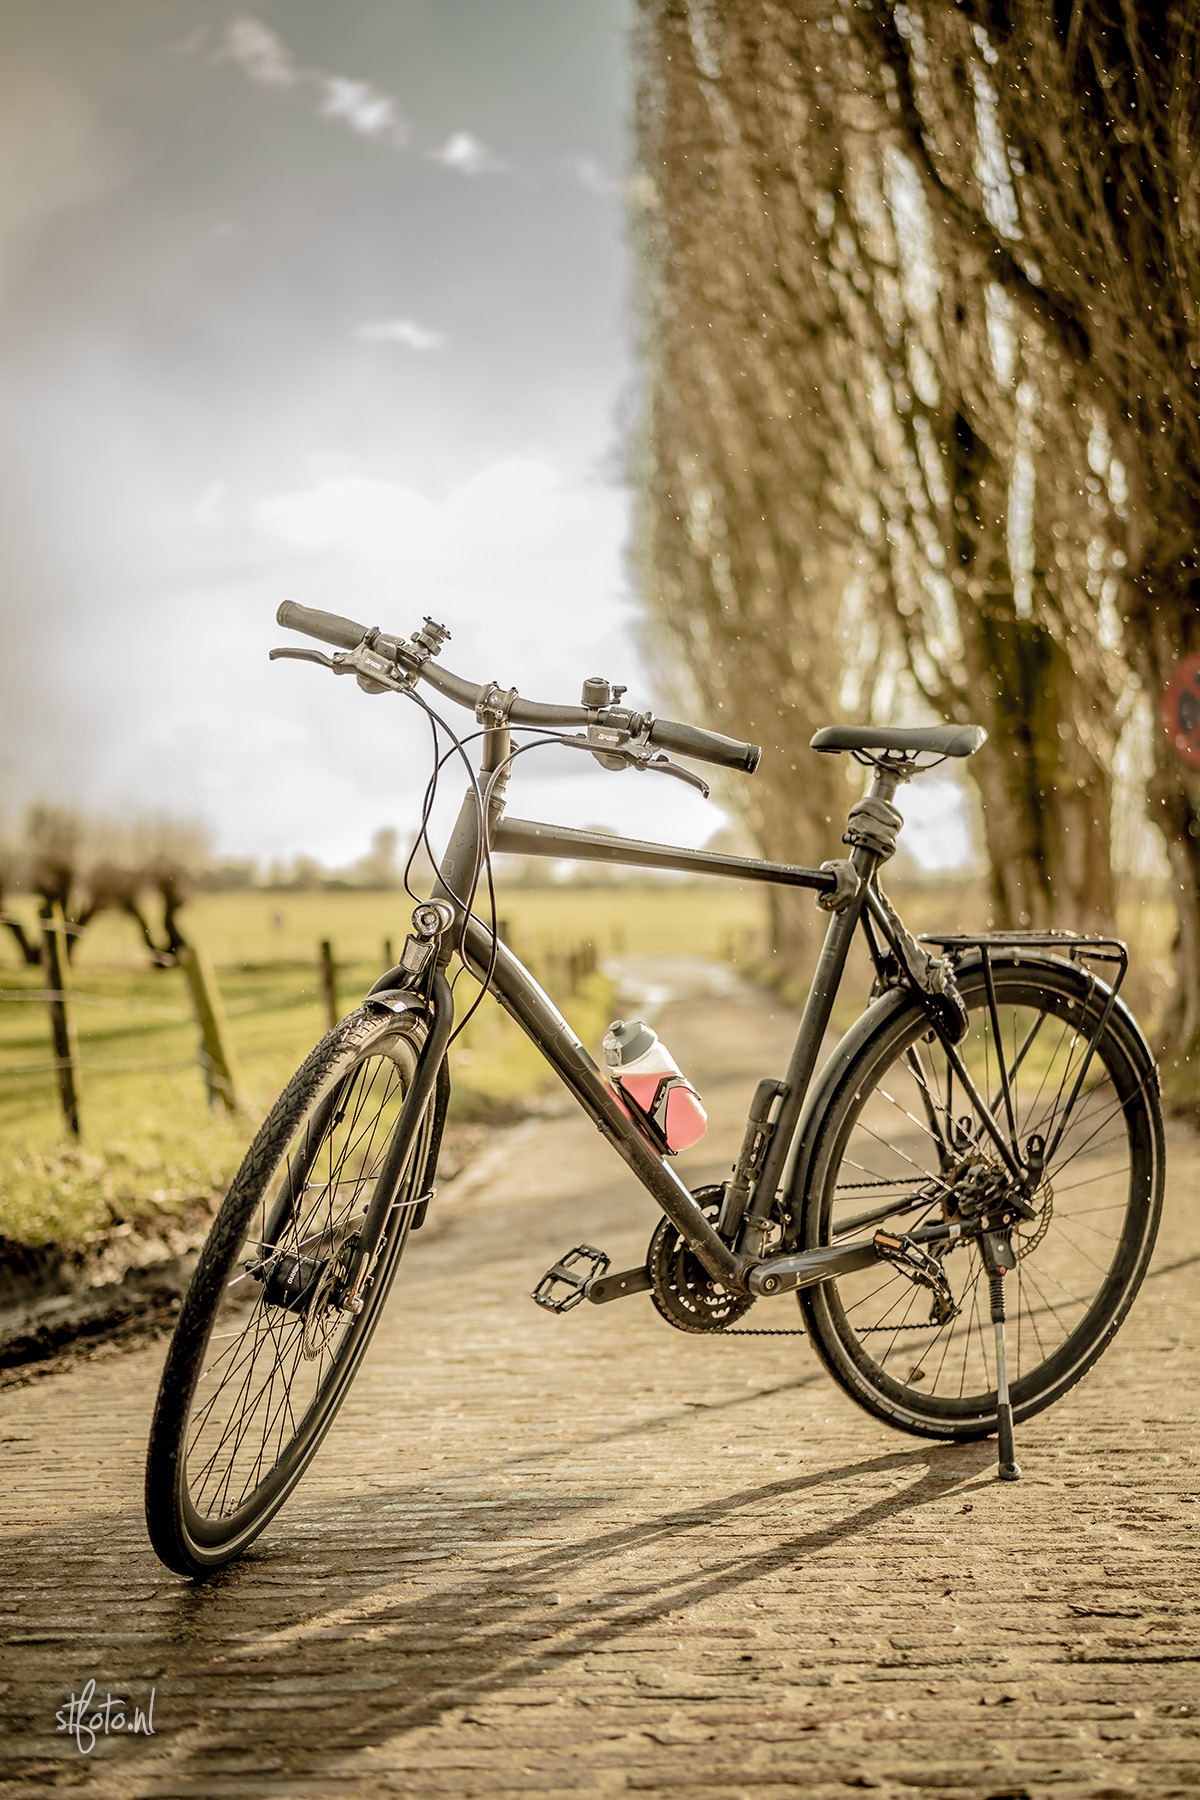
Als laatste heb ik een fietstocht van zo’n 30km gemaakt. Omdat de lens niet al te groot was kon ik hem met camera en al gewoon in een klein fietstasje doen. Zo is hij constant bij de hand. Dus ook voor fietsers absoluut een aanrader. Tijdens dit tochtje was het vrij donker, bewolkt, regenachtig en ontzettend koud. Ondanks het trillen van mijn handen (zowel van de kou evenals het zware fietsen met fixe klimmetjes) waren alle foto’s scherp. Vooral de stabilisatie heeft hier ontzettend aan bijgedragen.
[Best_Wordpress_Gallery id=”6″ gal_title=”Tamrontrip”]
Conclusie
De Tamron 45mm F/1.8 Di VC USD is een bijzondere lens. 45mm geeft een fijne beeldhoek, de lens heeft een prachtige bokeh, is scherp, heeft een top-stabilisatie, is voor macro te gebruiken én is gunstig geprijsd. Zeker als je bedenkt dat soortgelijke lenzen geen stabilisatie hebben. De chromatic abberation is goed merkbaar, maar absoluut naderhand prima te corrigeren.
Pro’s |
Cons |
|
|
Dankzij de lichtsterkte en stabilisatie is het lastig een shot niet scherp te krijgen. Daarnaast zien de foto’s er zelfs op het schermpje van je camera prachtig en professioneel uit. Je ziet direct het verschil met normale digitale camera’s. Dit is echt een lens die het plezier in fotografie benadrukt. Tijdens het schieten met deze lens werd ik dan ook helemaal blij toen ik steeds de resultaten op mijn schermpje zag.
Kortom, een kwalitatief goede lens, die goed presteert zelfs onder lastige omstandigheden. Heb je nog geen portretlens of standaard reislens? Kijk dan niet verder.
Nitro Circus Live 2016 Arnhem
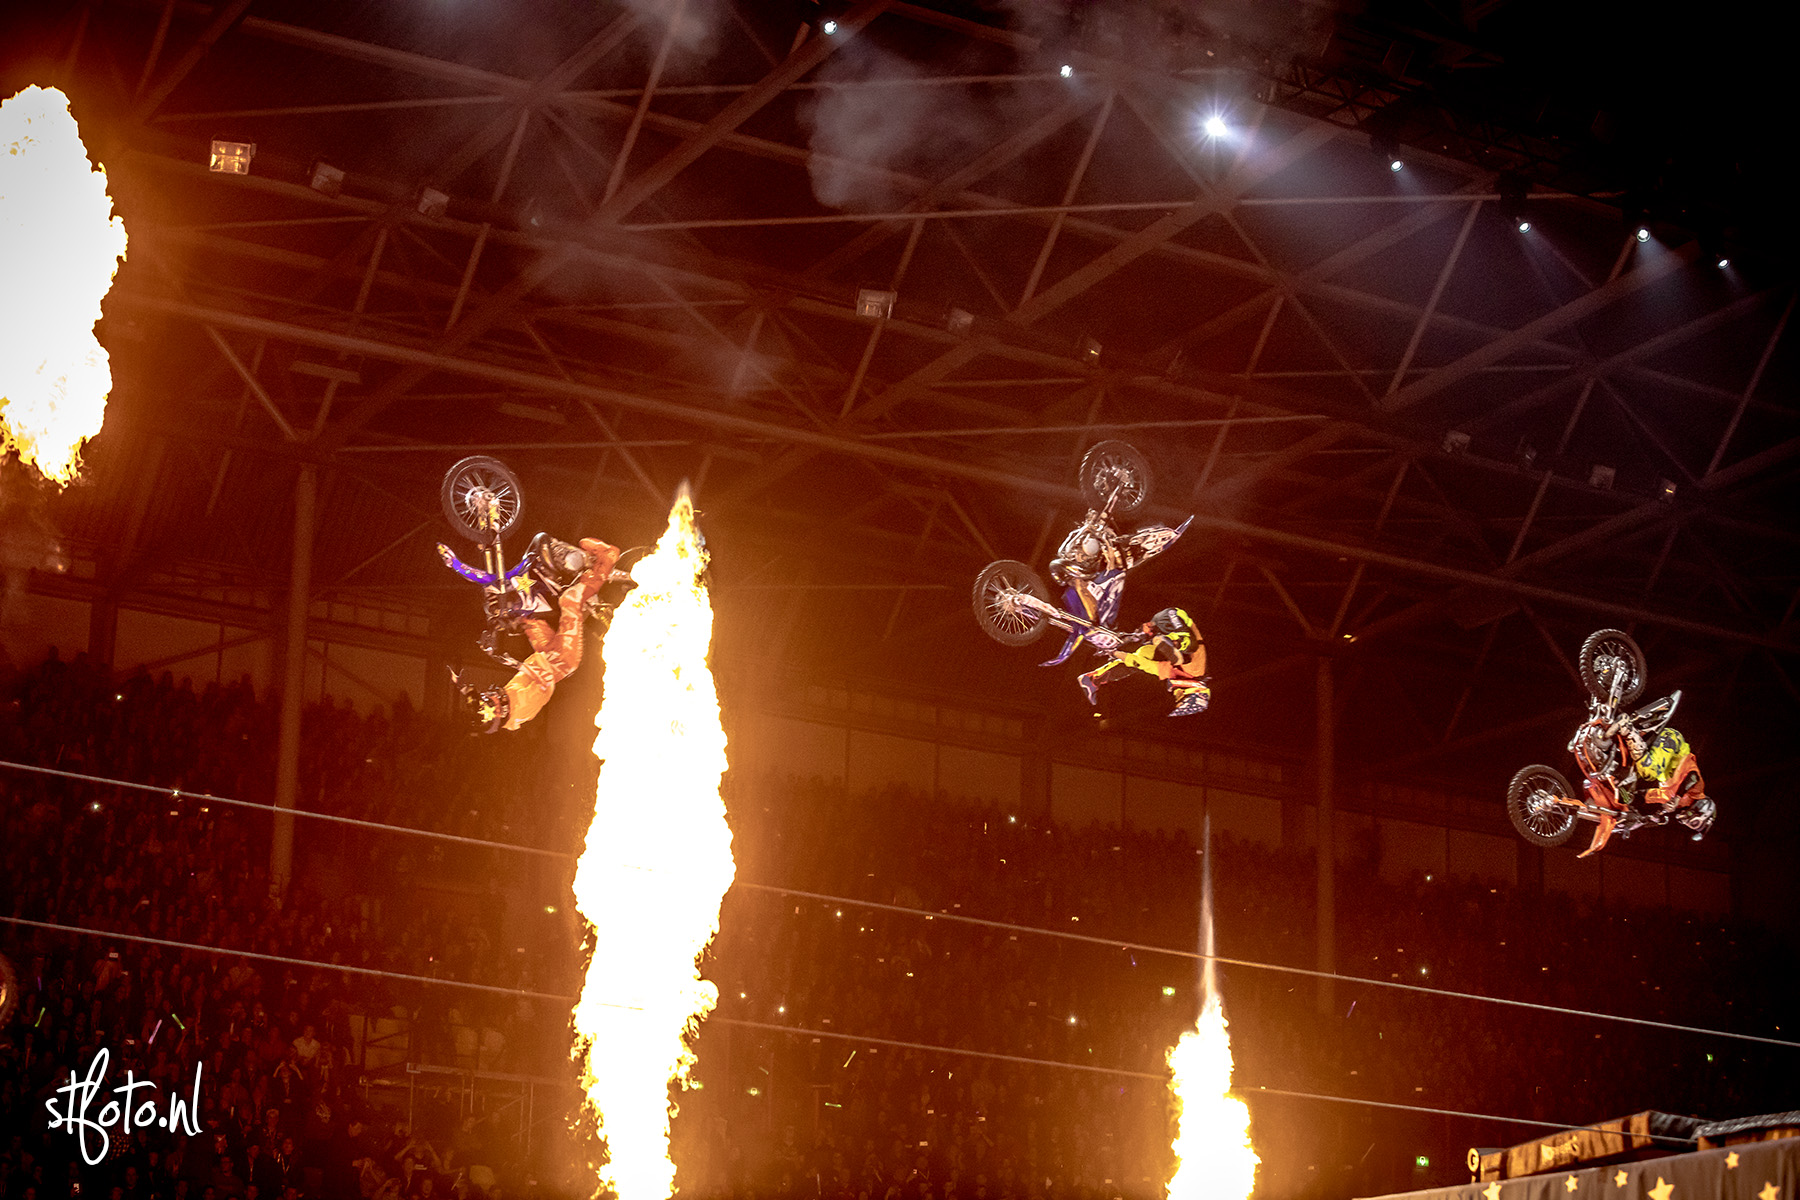
So Nitro Circus was in town, and it was awesome!
Got some press-tickets from a friend of mine, so I went there with my brother. We watched the show from up close, on the ground next to the ramp. We had the best spots in the whole stadium. By far.
 Ophanging