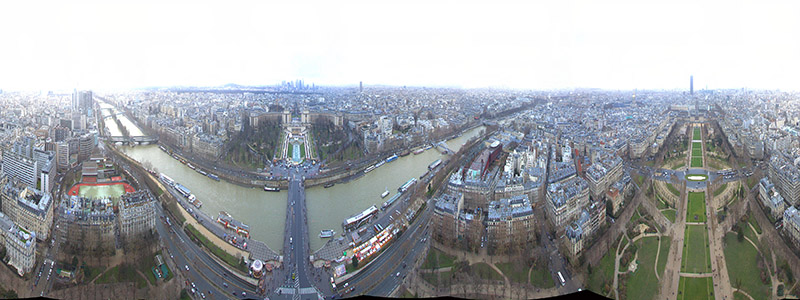
New camera’s and even smartphones often have an option or app to make beautiful panorama photo’s. Remove the frame around a photo and let others relive the view you had!

So Facebook added a feature to show panorama’s with their new panoramaviewer. It works on PC’s by draging your mouse over the photo, while mobile users can actually look around with their smartphone.
Facebook panorama example
Click the image to see it at Facebook.
Easy steps: how to do it yourself
- Create a panorama photo. This depends on the equipment you have. Suggestions: DSLR with fisheye lens, Smartphone with panorama app or use a 360 camera (not many out there yet, but it’s coming!)
- Drag your photo to Photoshop or any other edit tool. Your photo needs to have an aspect ratio of 1:2. So for example 5 high, 10 wide. The maximum for Facebook is 6000 pixels wide and 3000 pixels high. That’s what I use.
- The horizon should be in the middle of the photo. Also, the absolute center of the photo is where your Facebook viewer wil start.
- Export the image to JPG, try to get it around 4-6mb max.
- Edit the META data of your image. You can do that within Windows (Right click on the image, go to details) or use the online tool thexifer.net.
- Change Make to “RICOH” and Model to “RICOH THETA S”.
- Save/download the image
- Go to your Facebook timeline, and upload it like you’d do any other photo. Don’t post it in a comment, but use a new post.
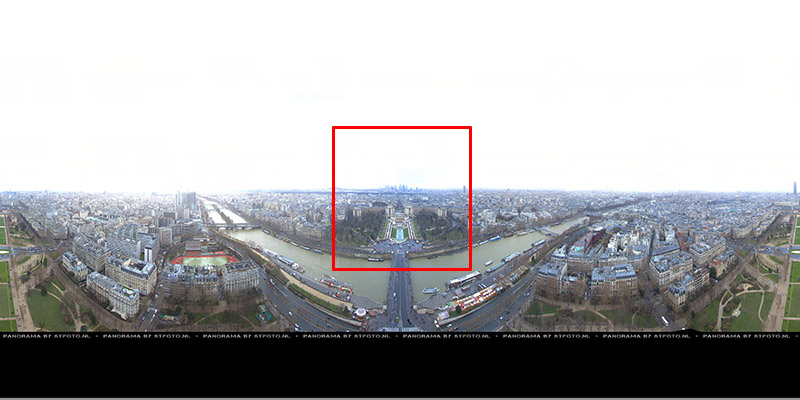
Here’s the above panorama, but flat. The red square indicates the absolute center ánd also the startingpoint where Facebook will position the viewer.
The lower part was a bit messy, so the black part will become a small disc. The grey line just becomes a dot. It’s good to have a center-point for oriëntation.

CHEATSHEET – Download the template
Here’s a PSD-template for Facebook panorama photo’s! Just download it, drag your panorama in and make it fit. The metadata is included, so no further editing needed! You can leave the black area on the bottom and edit the text or remove it if your panorama has the ground included as well.
 stfoto-facebook-panorama-template.psd (3mb)
Enjoy!
Many thanks – works a dream!
Hello
i tried all you process, but it’s not working;. I really don’t know what i made wrong. i used you photoshop psd application and made the exportation as you recommended ( size 6000*3000 pix – jpeg file = 5-6 mo. the meta data looked correct with the ricoch reference in). When i charged my picture in facebook from my workstation as a unique photo, it’ not working and look like a usual pics. You’re description up here seems perfectly clear. All my panorama (360*180°) are made from kolor application. when i read them on my FSP VIEWER, they worked perfectly. can you help me. Maybe a problem with facebook version… sorry for my bad english…
Thanks per advance
Pascal
Very well done. By far the best explanation of how to get them into Facebook in true 360. Lastly, thanks for the template. It makes things a lot faster.
¡Muchas gracias!
Thank,
it works,
but once uploaded in FB, i can move the photo, but if i realease the mouse, the photo become black…
I followed your instructions and even downloaded your file and when I upload my image to FB, its showing it as a regular photo and not a 360 photo. Can you offer any thoughts as to what I might be missing with this process?
Okay so I played around with the image size and the width 10000 px and width 5000 px then uploaded that file to FB. This time is recognized my image as a 360 degree photo but when I clicked on the photo with my mouse, it was a still image that didn’t move around. I am completely clueless as to why its not doing what i want it to do.